Making my first full body puppet part 3

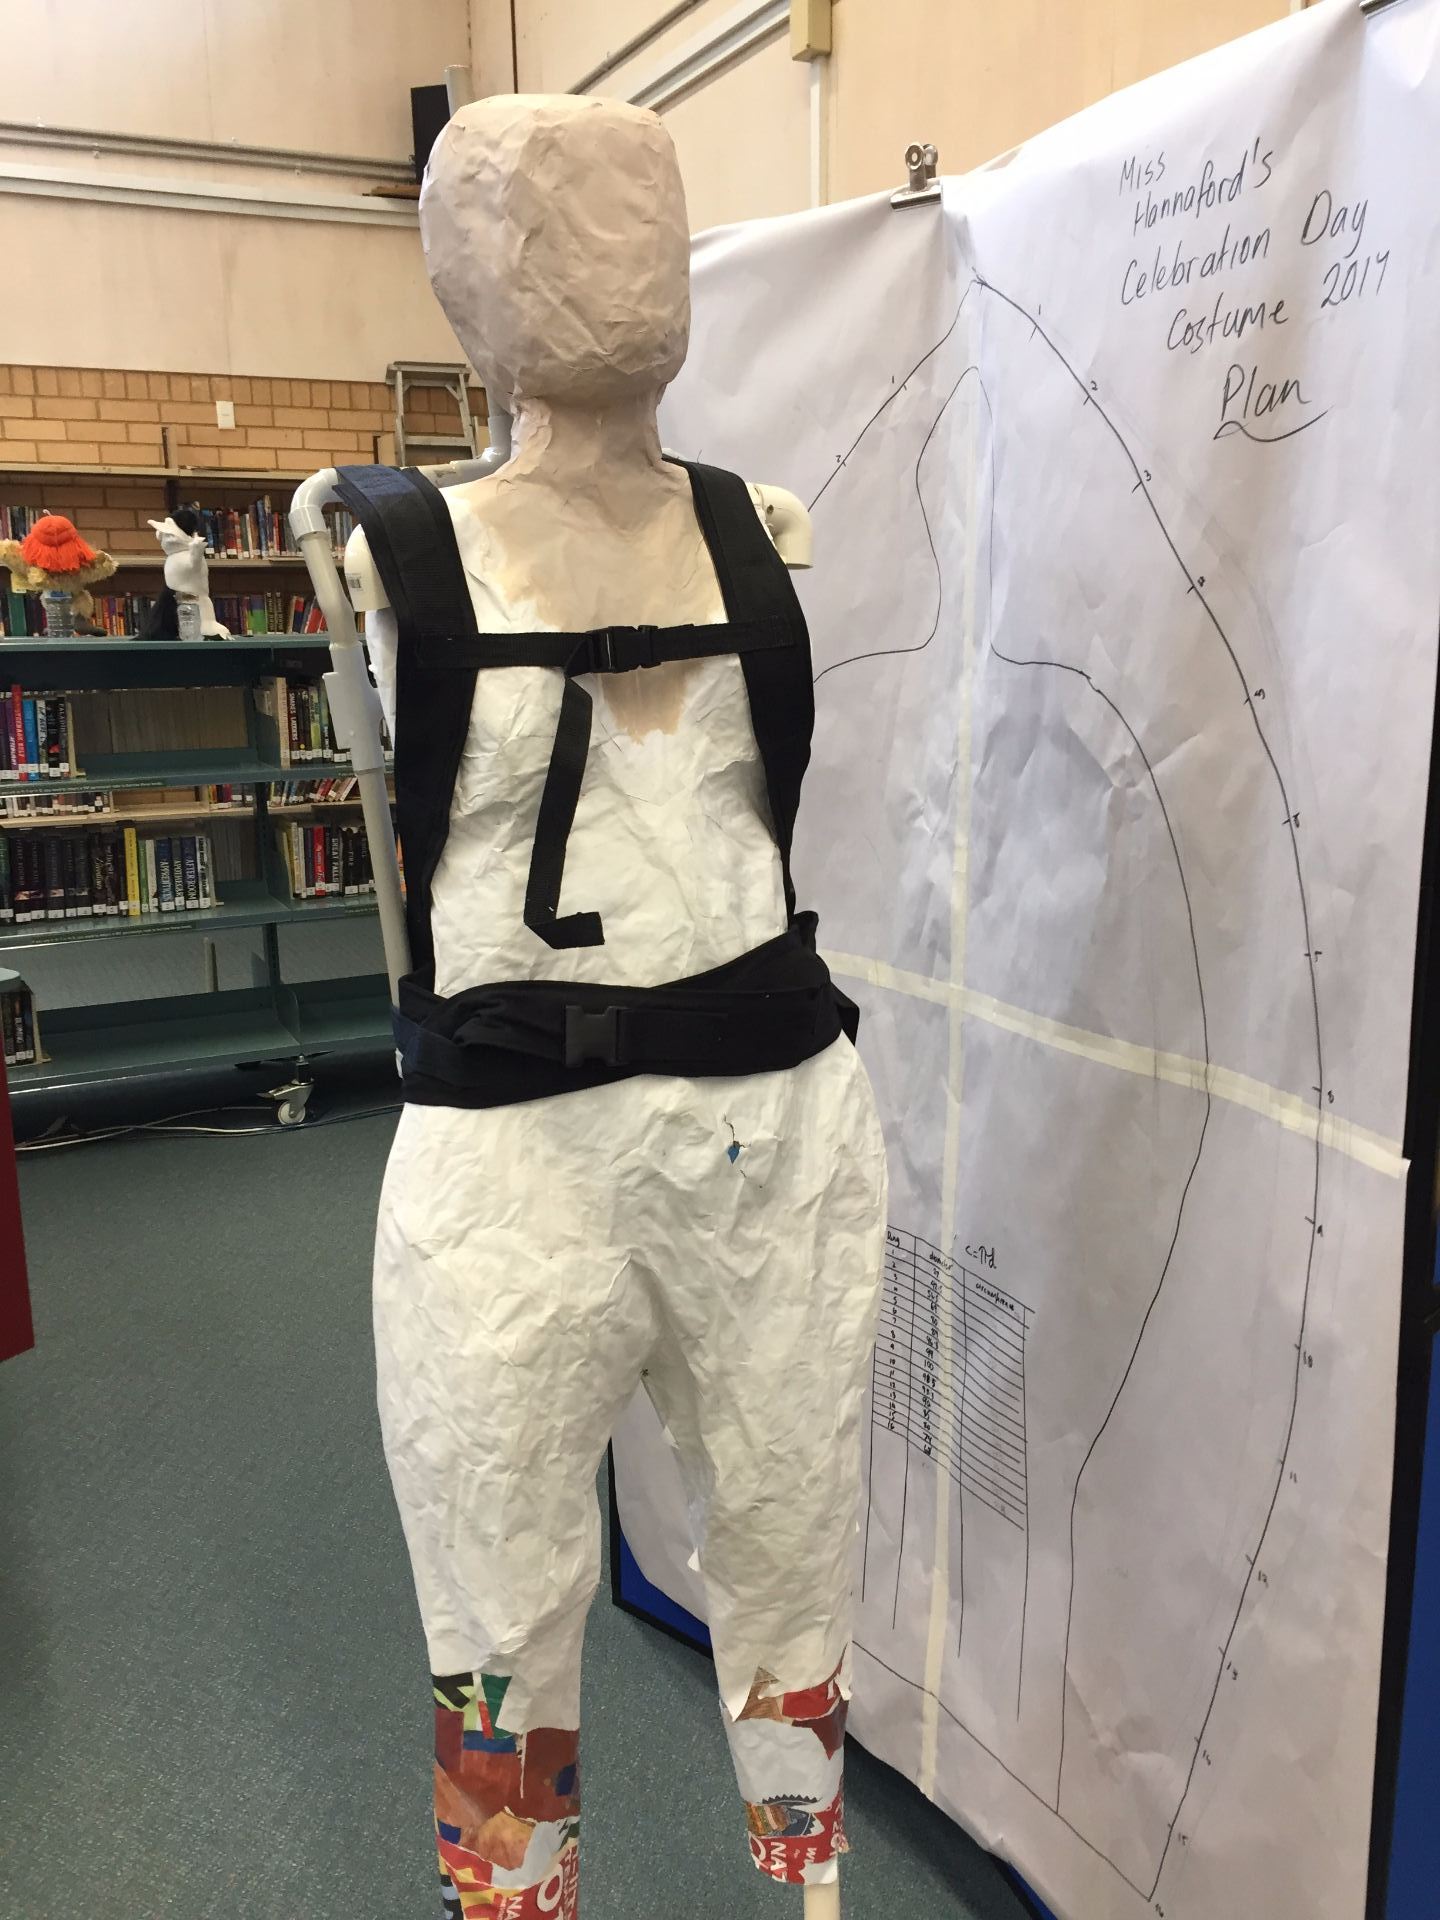
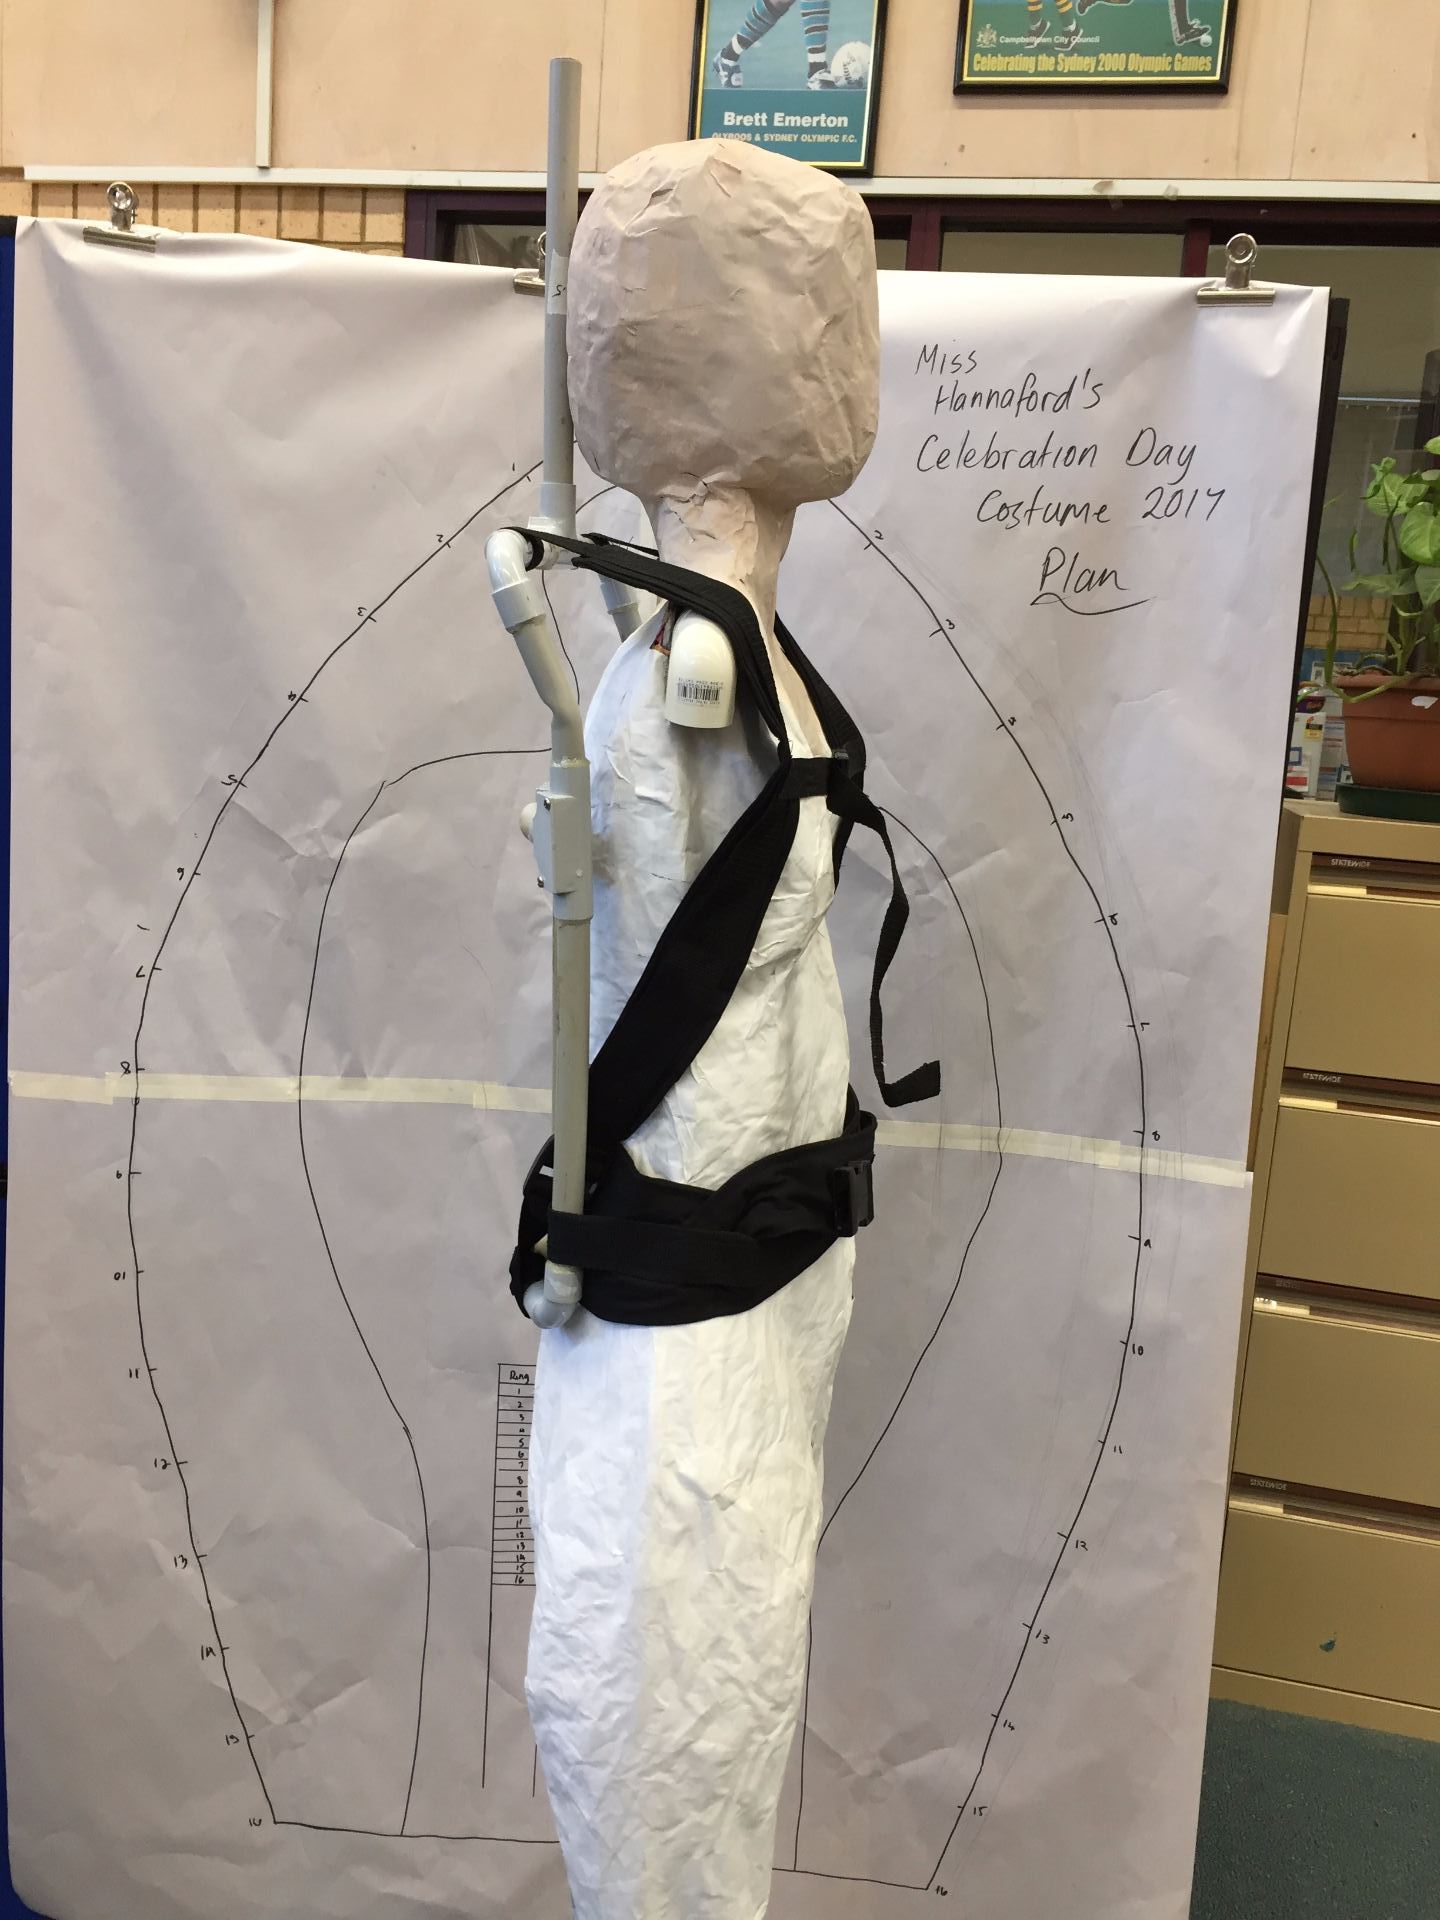
Making the backpack to support the puppet.

While watching Jim Henson’s Creature Shop Challenge, I saw how the contestants used backpack frames to support the creatures/ puppets they made. Most of the time, they used Alice pack frames to which they bolted aluminium flat bar or pvc. Alice pack frames are available on Amazon to buy, but they do not ship to Australia.

Alice pack frame demonstrated on Jim Henson’s Creature Shop Challenge.

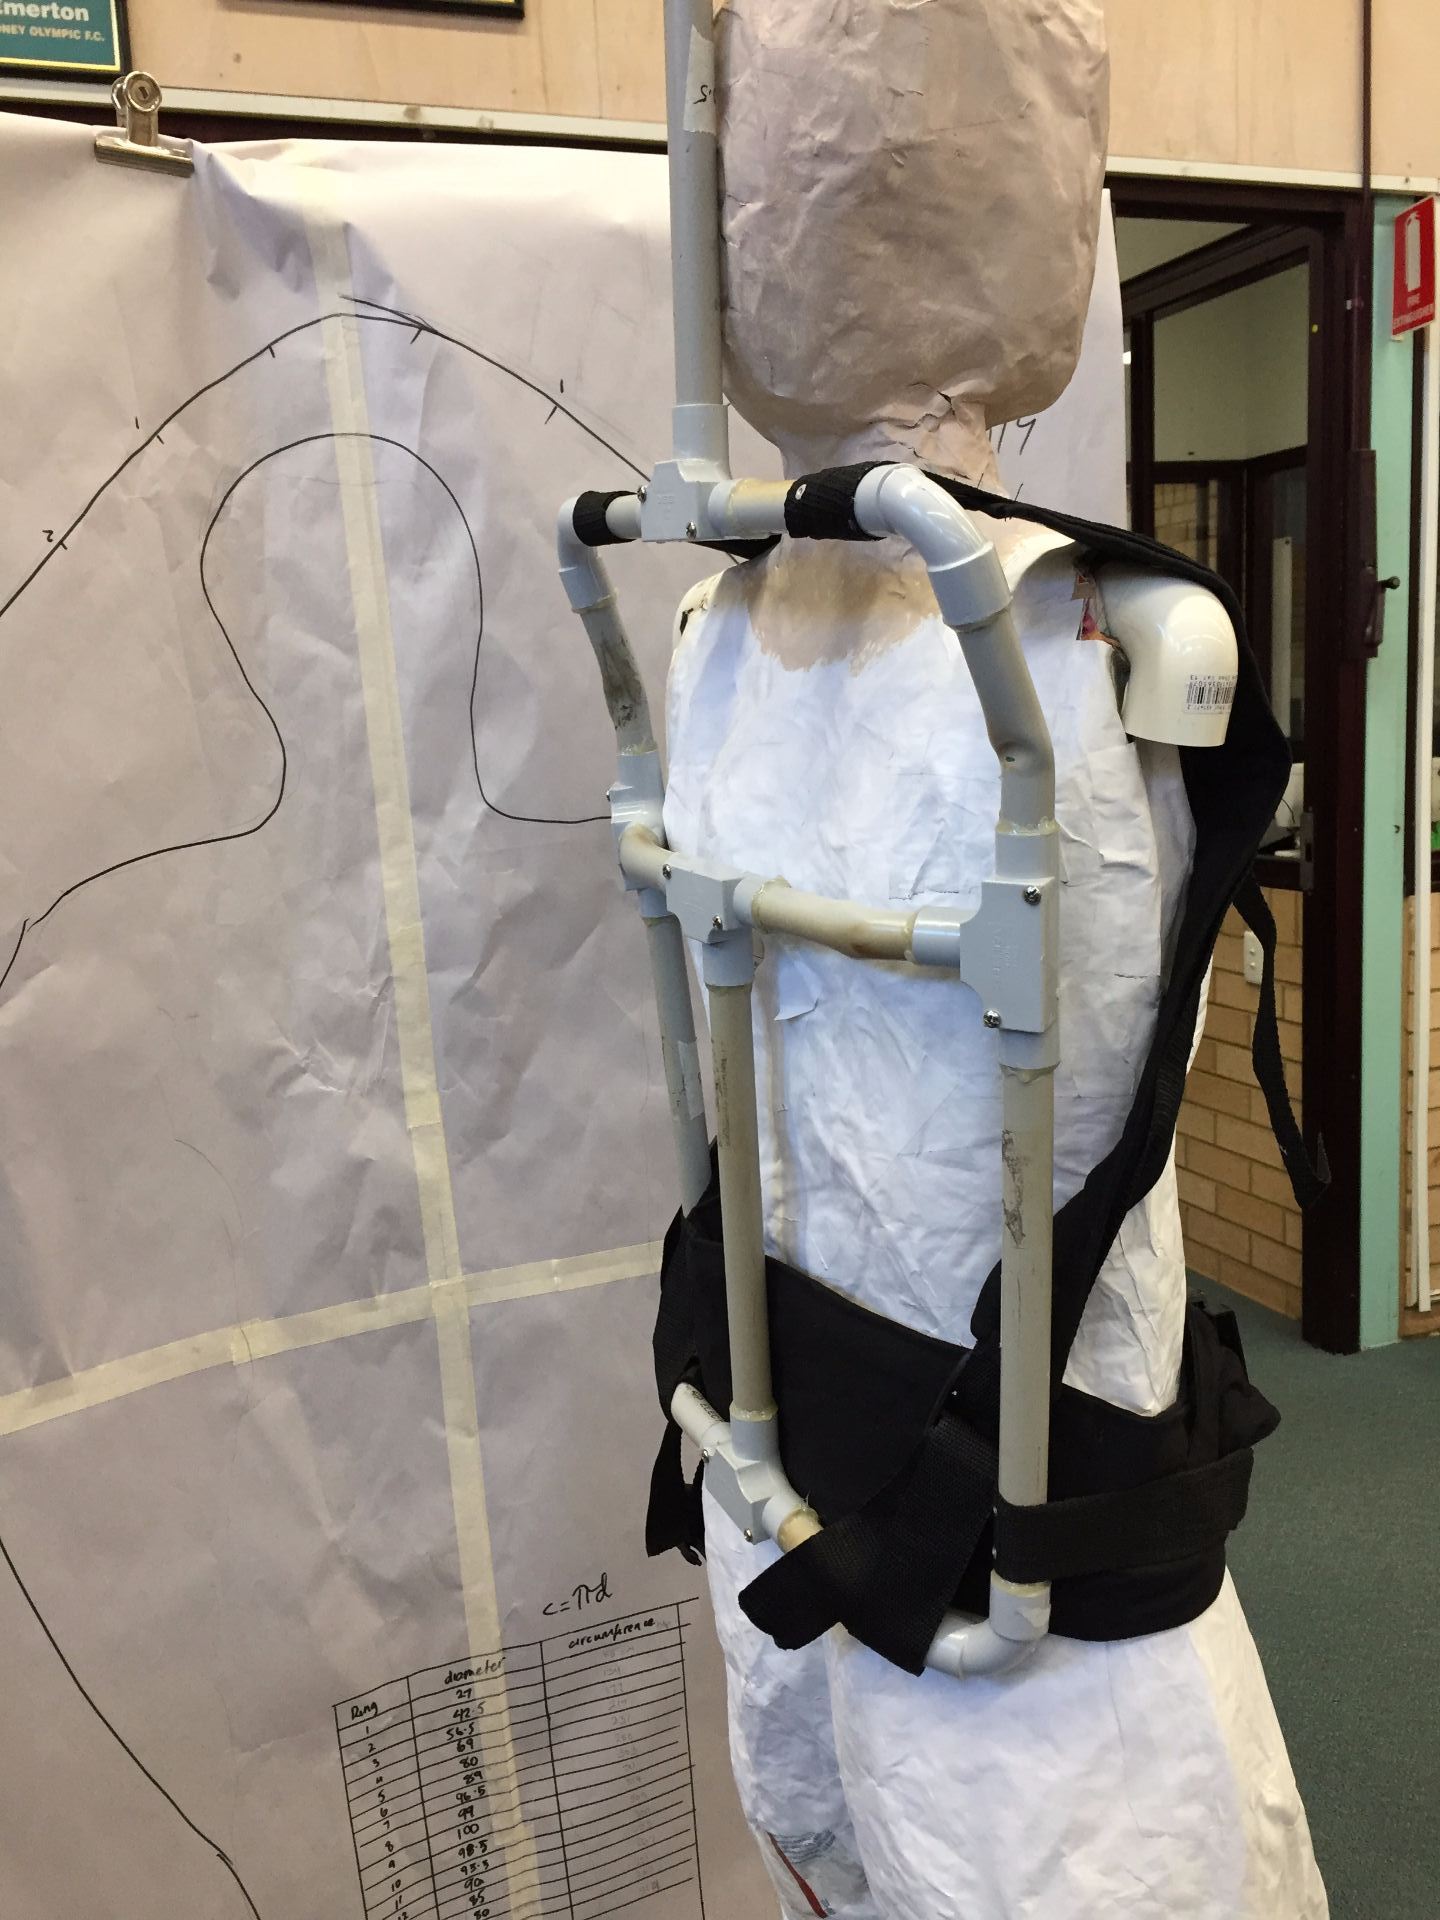
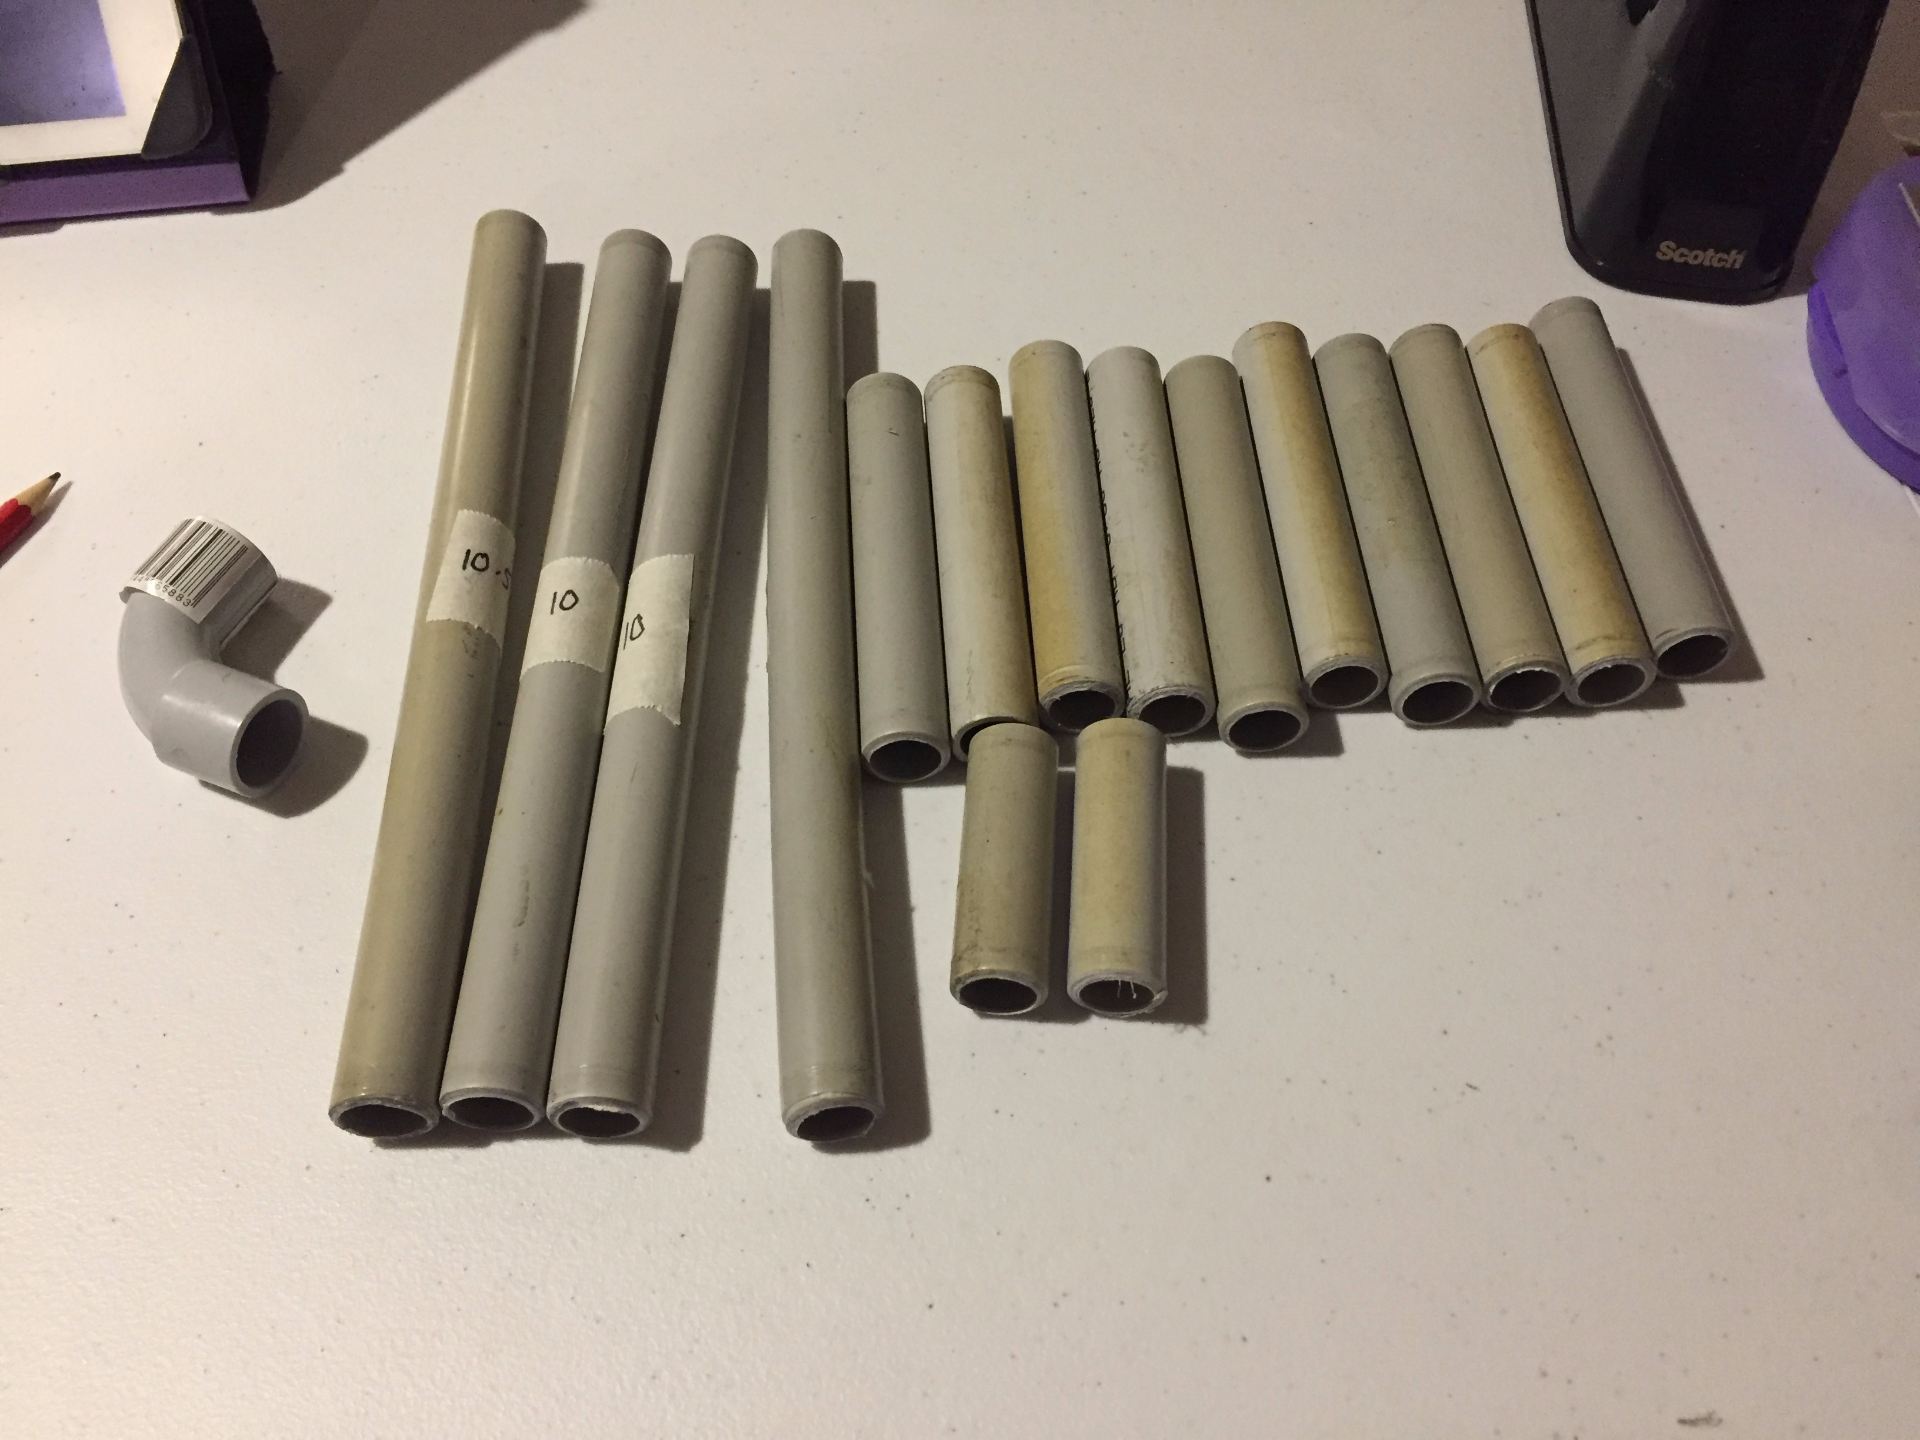
After watching various youtube clips on how to make a backpack frame, I decided to use PVC electrical conduit. When the Library computer area was renovated in 2014, I claimed all of the old electrical conduit so that I could use it for building puppet skeletons, so I have lots of conduit for making the backpack.

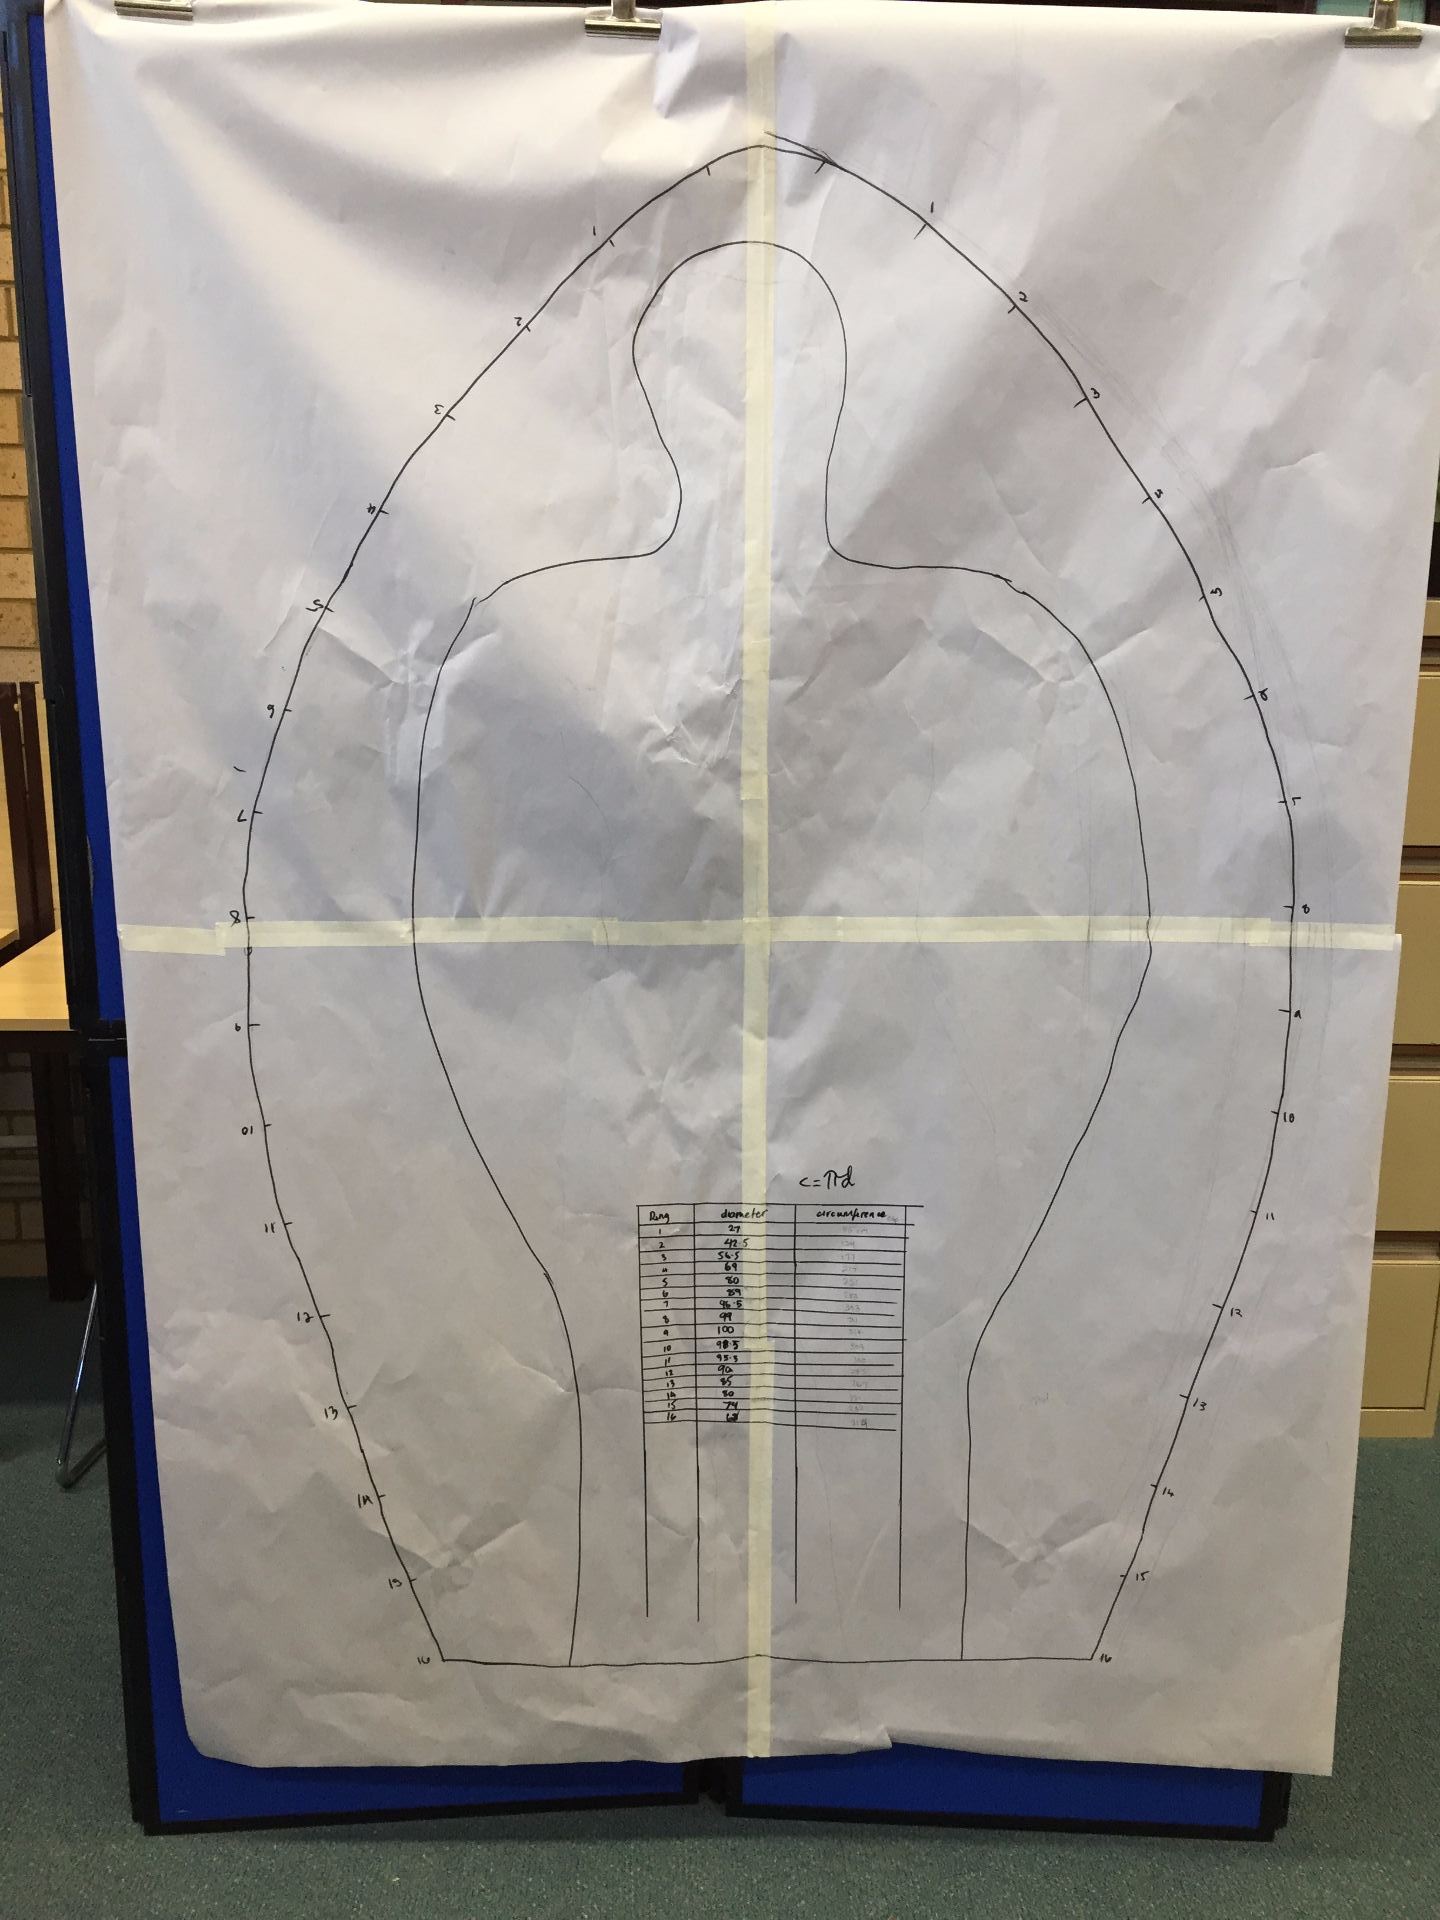
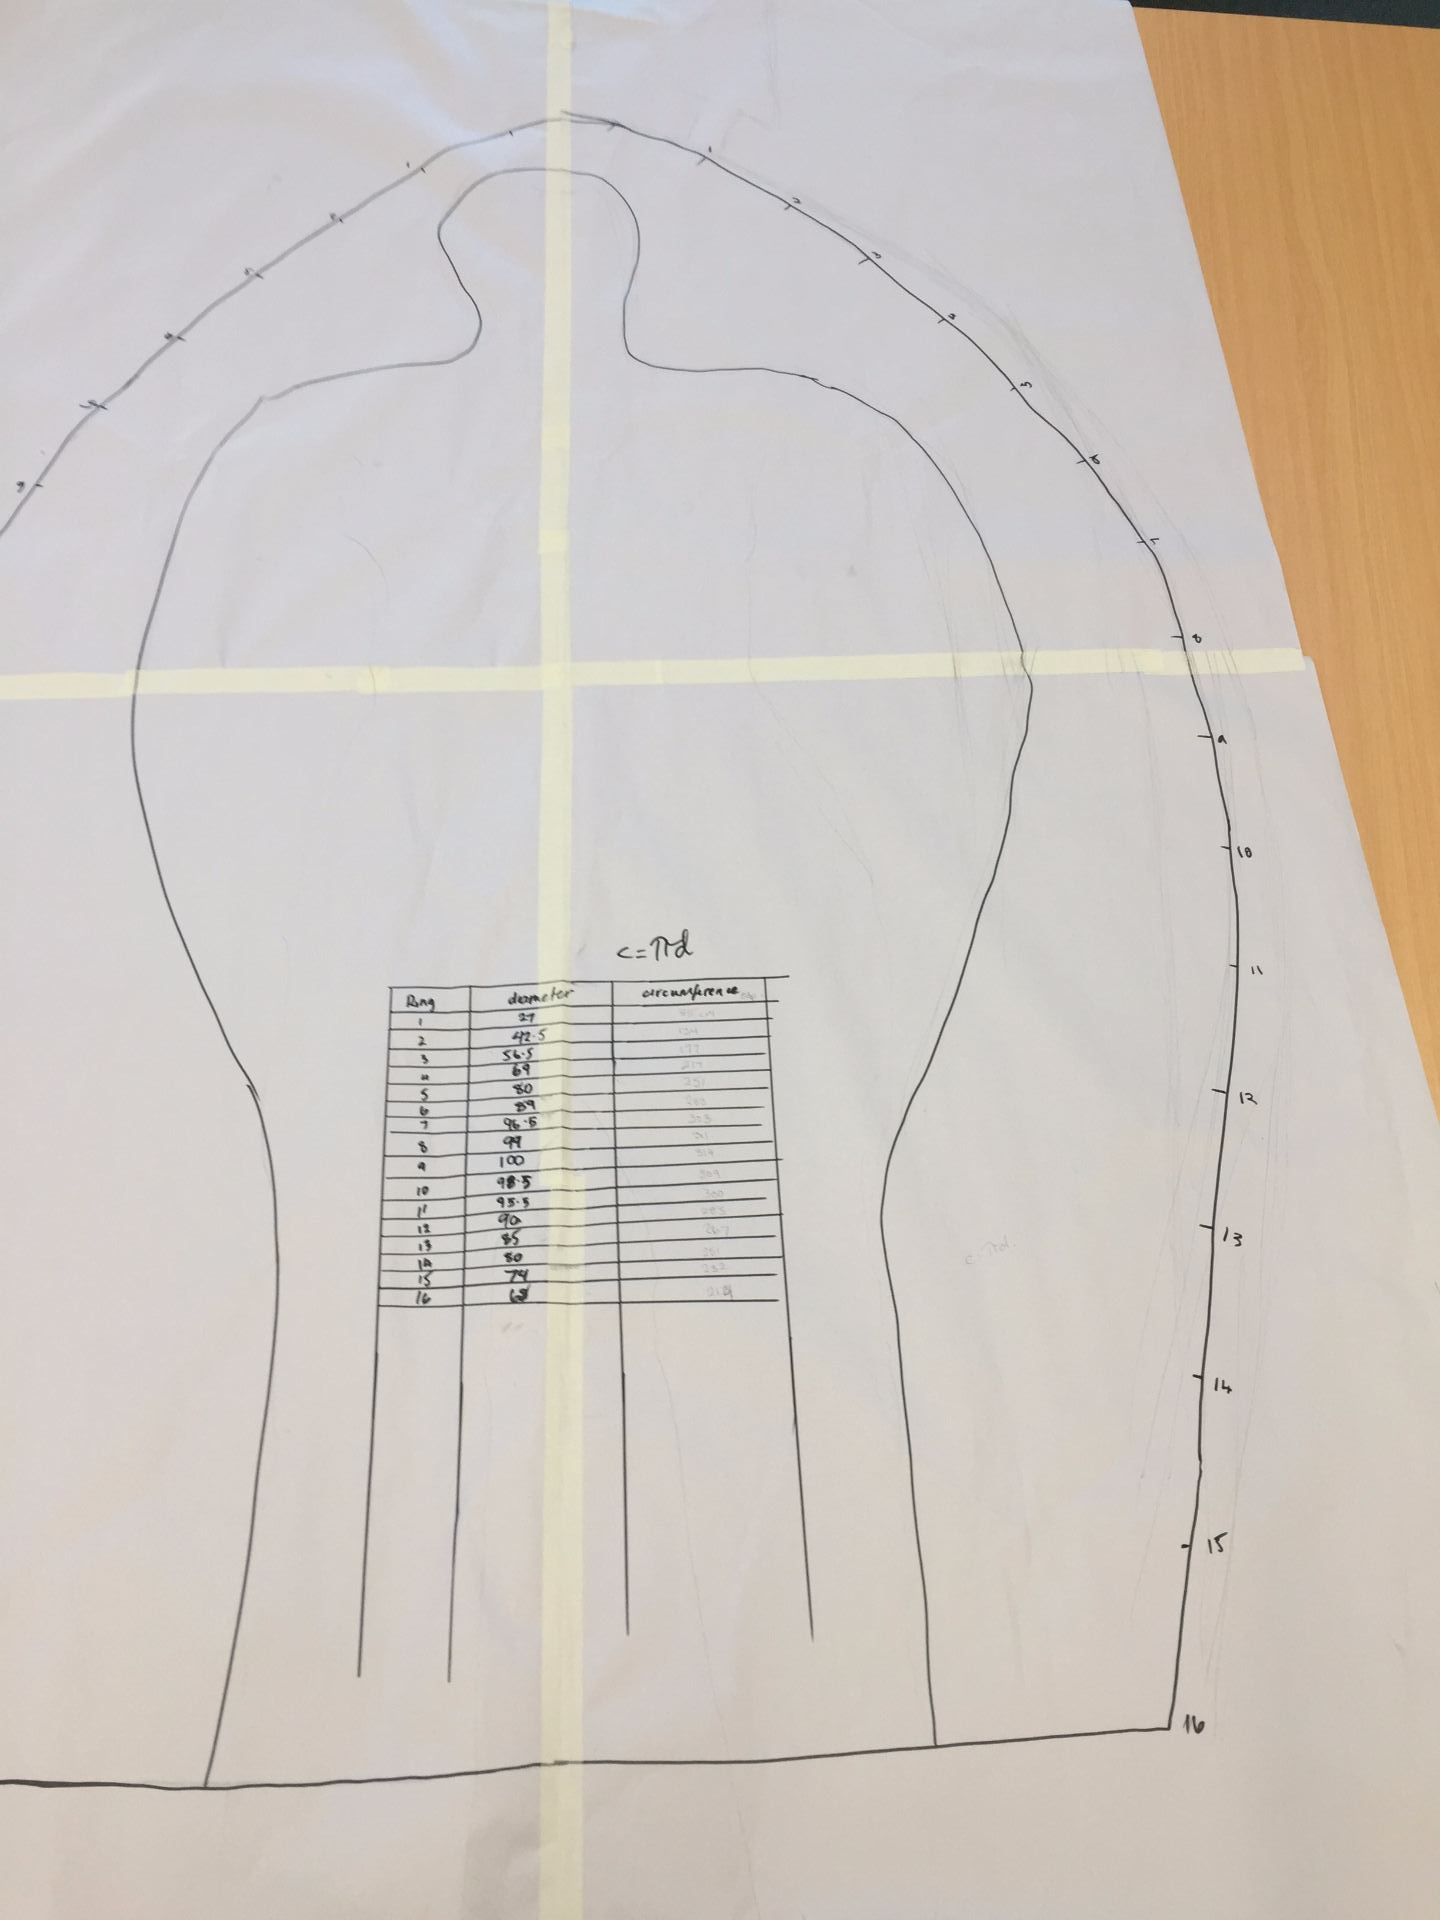
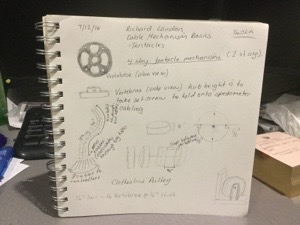
I started with a sketch using the dimensions and shapes described back in the first post for this project.

Original sketch of the backpack frame dimensions.

Then I started cutting all the pvc parts I needed using a tube cutter that I have had in storage for more than 10 years. It certainly made cutting the pieces less messy.

PVC tubes for the backpack frame.

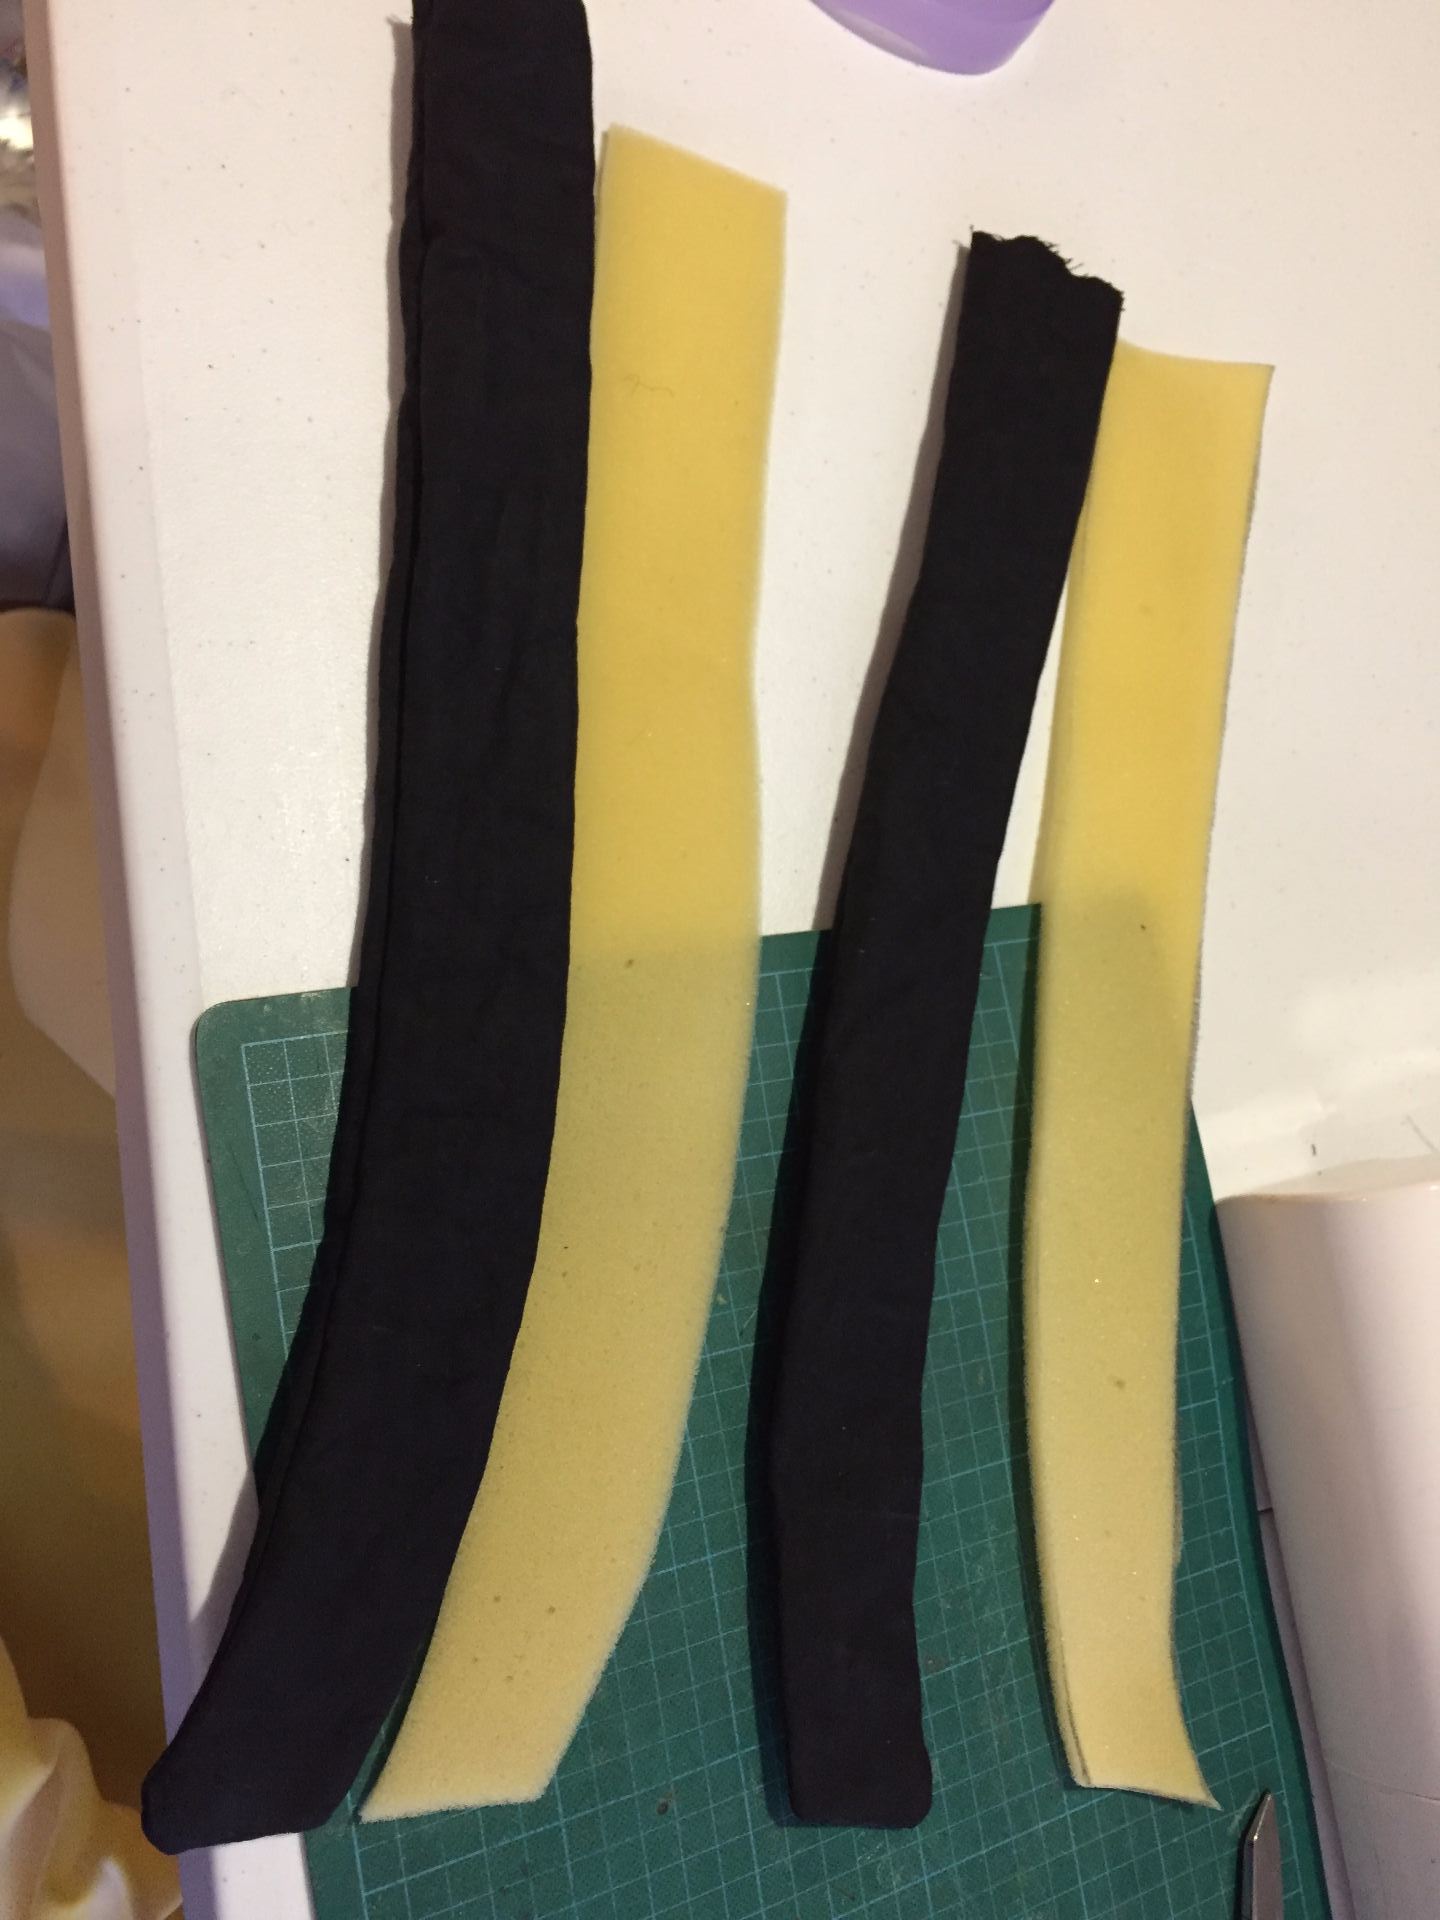
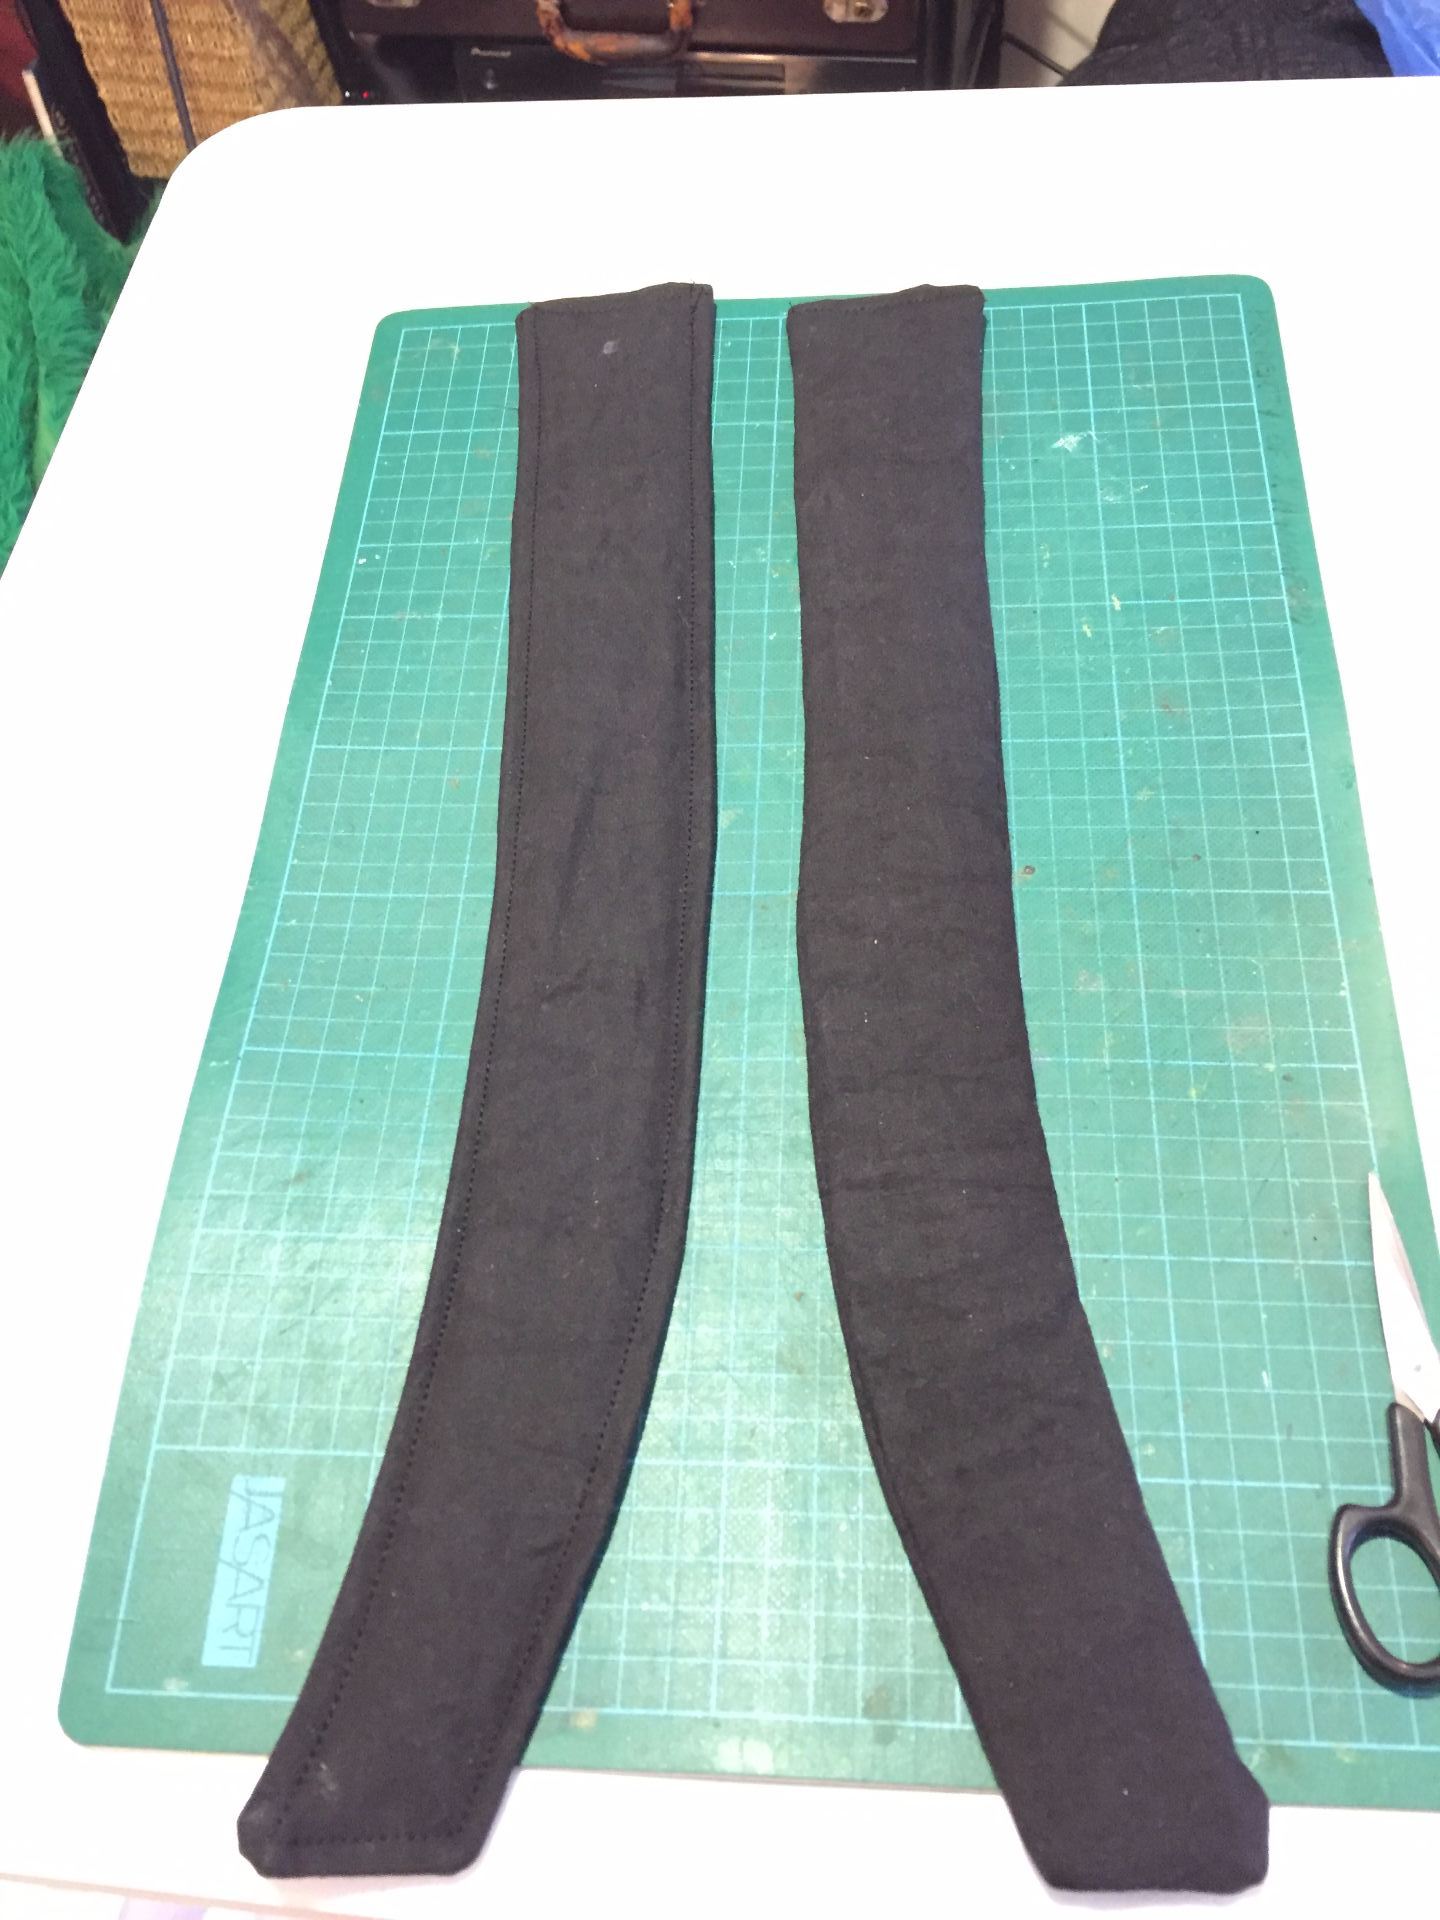
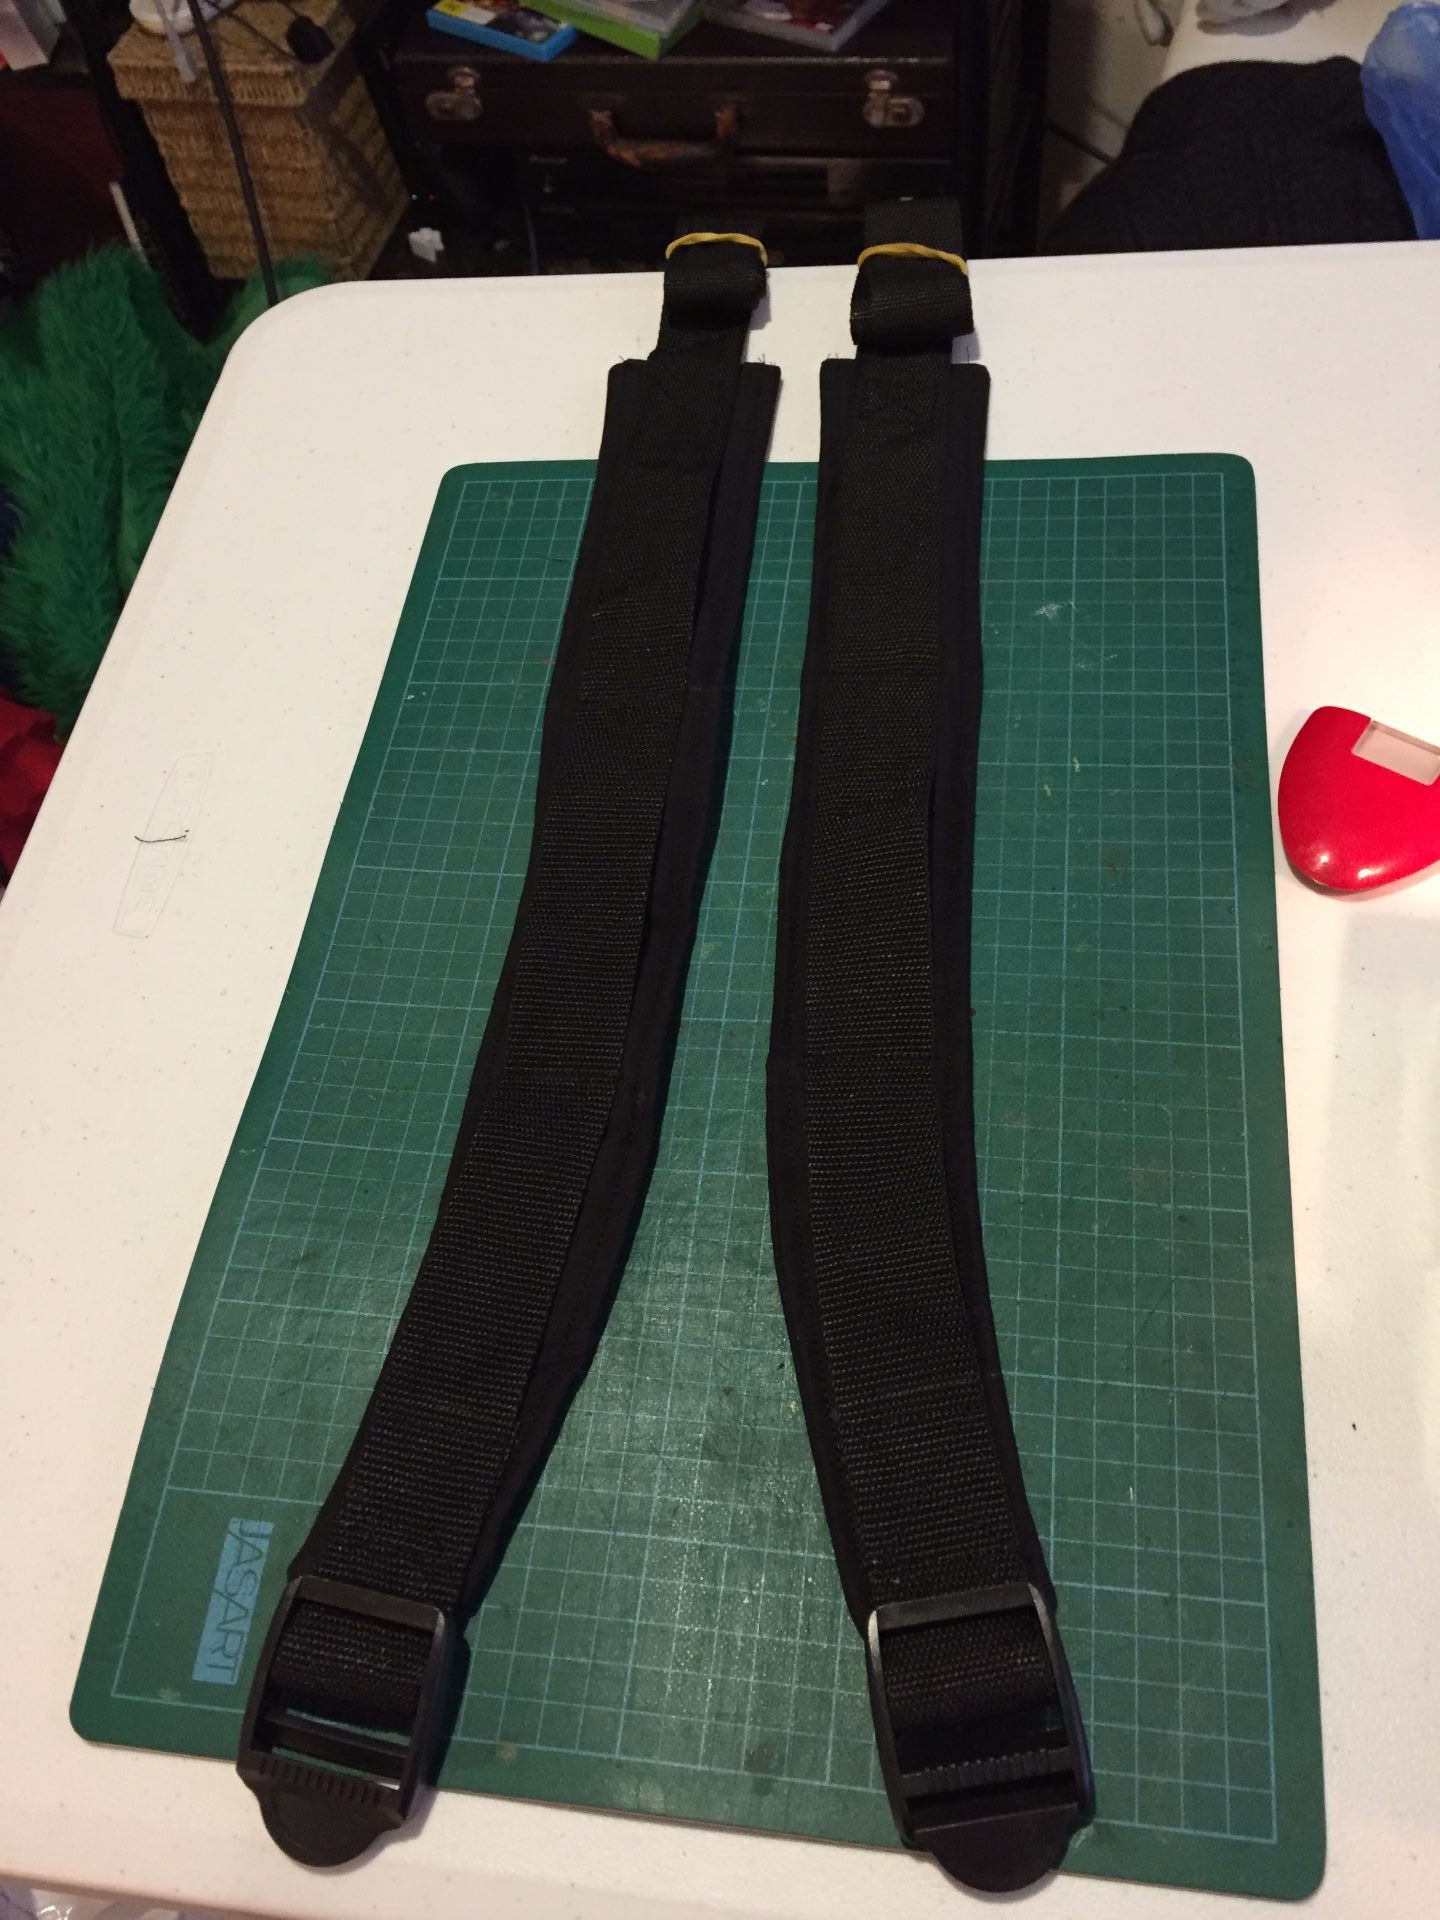
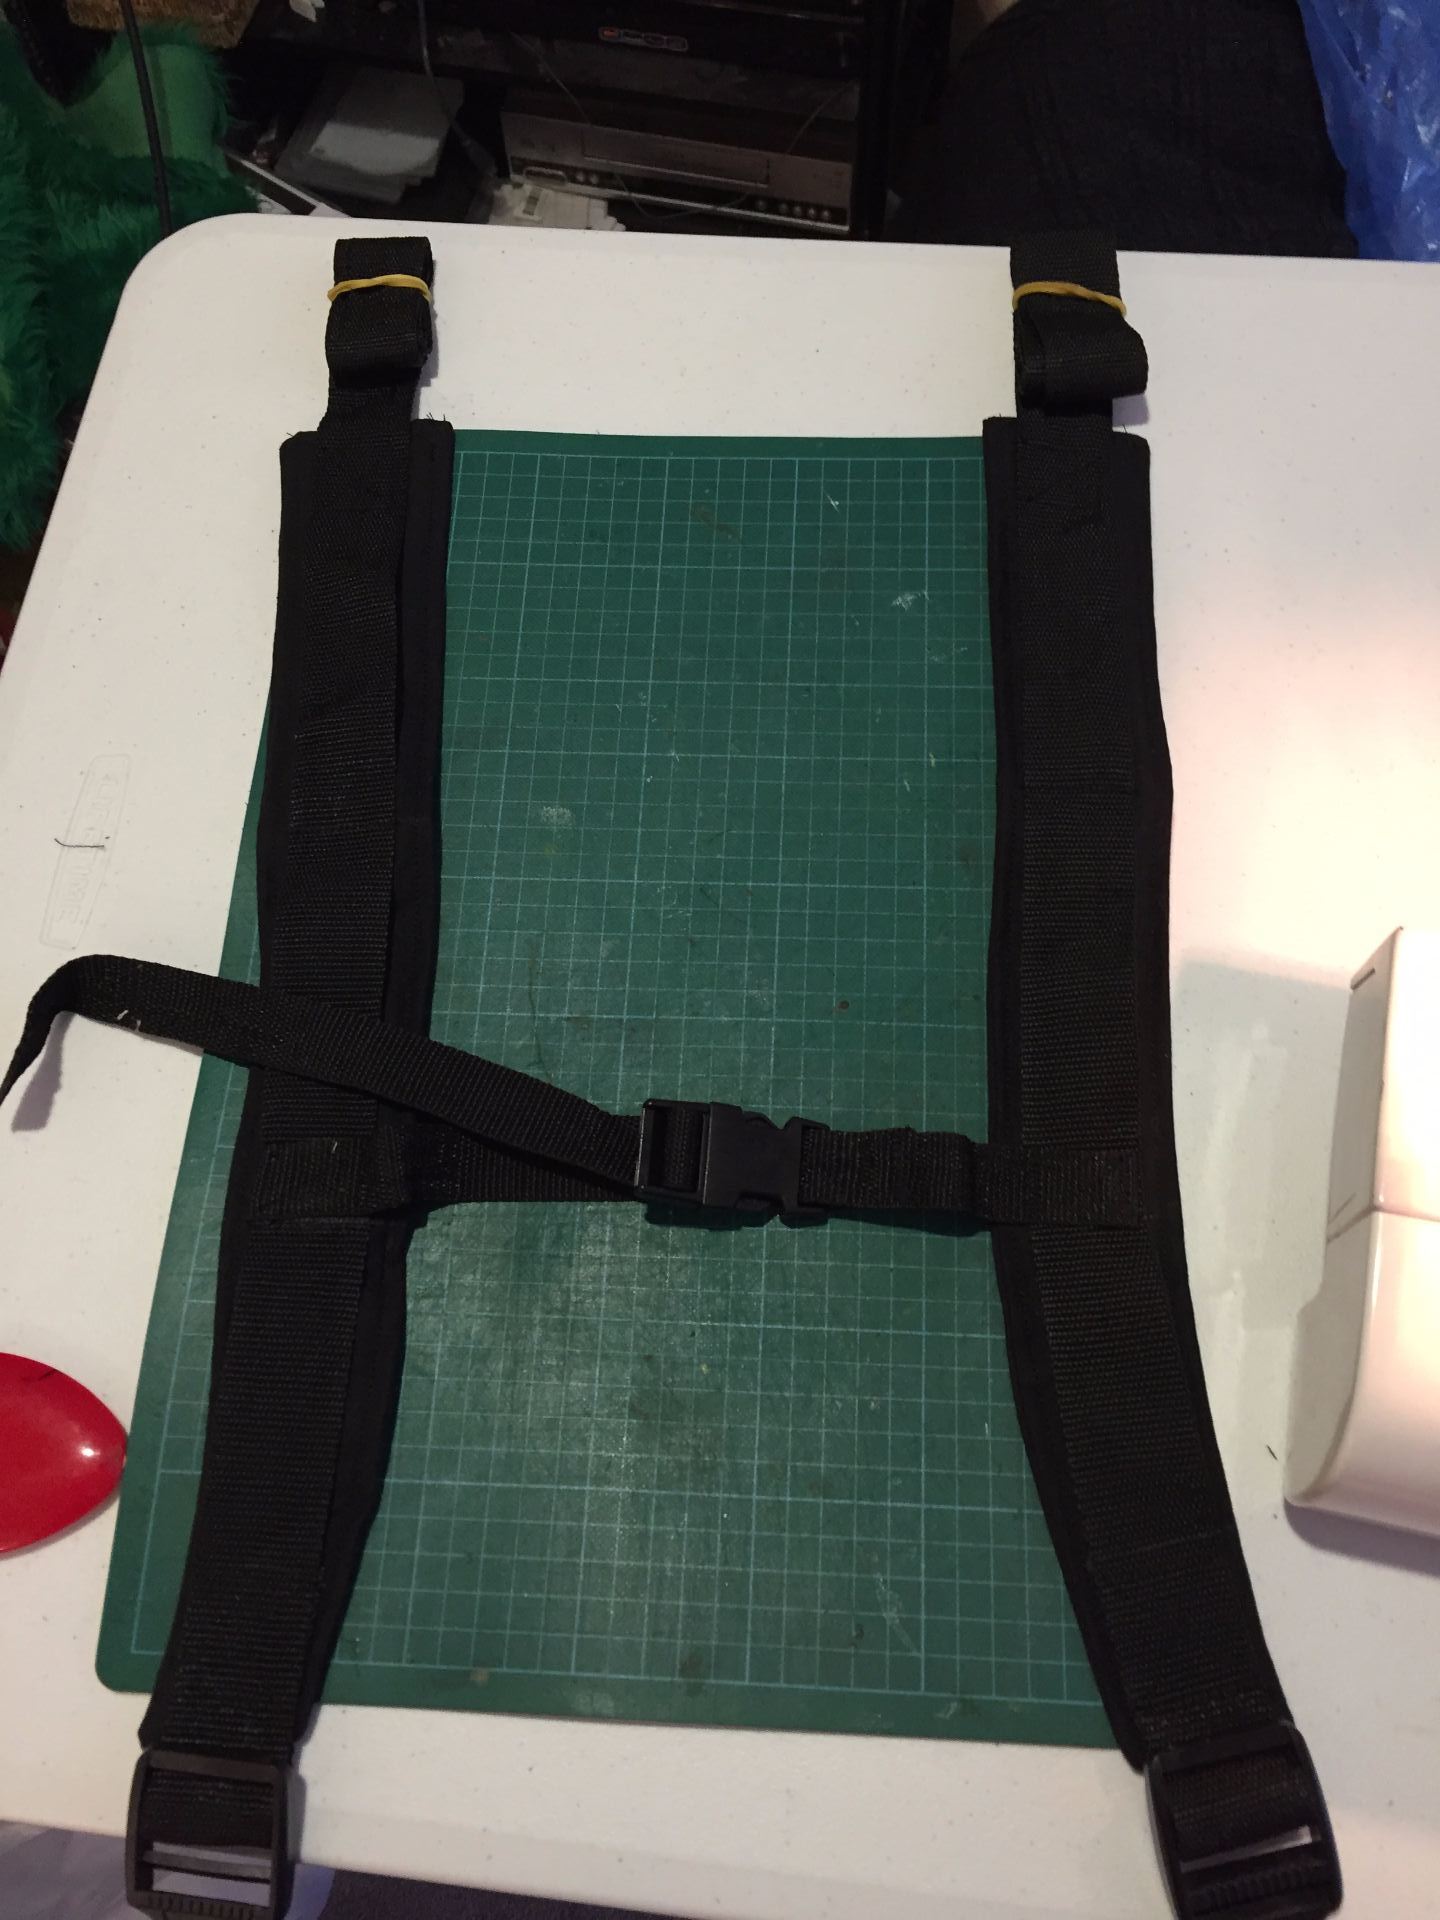
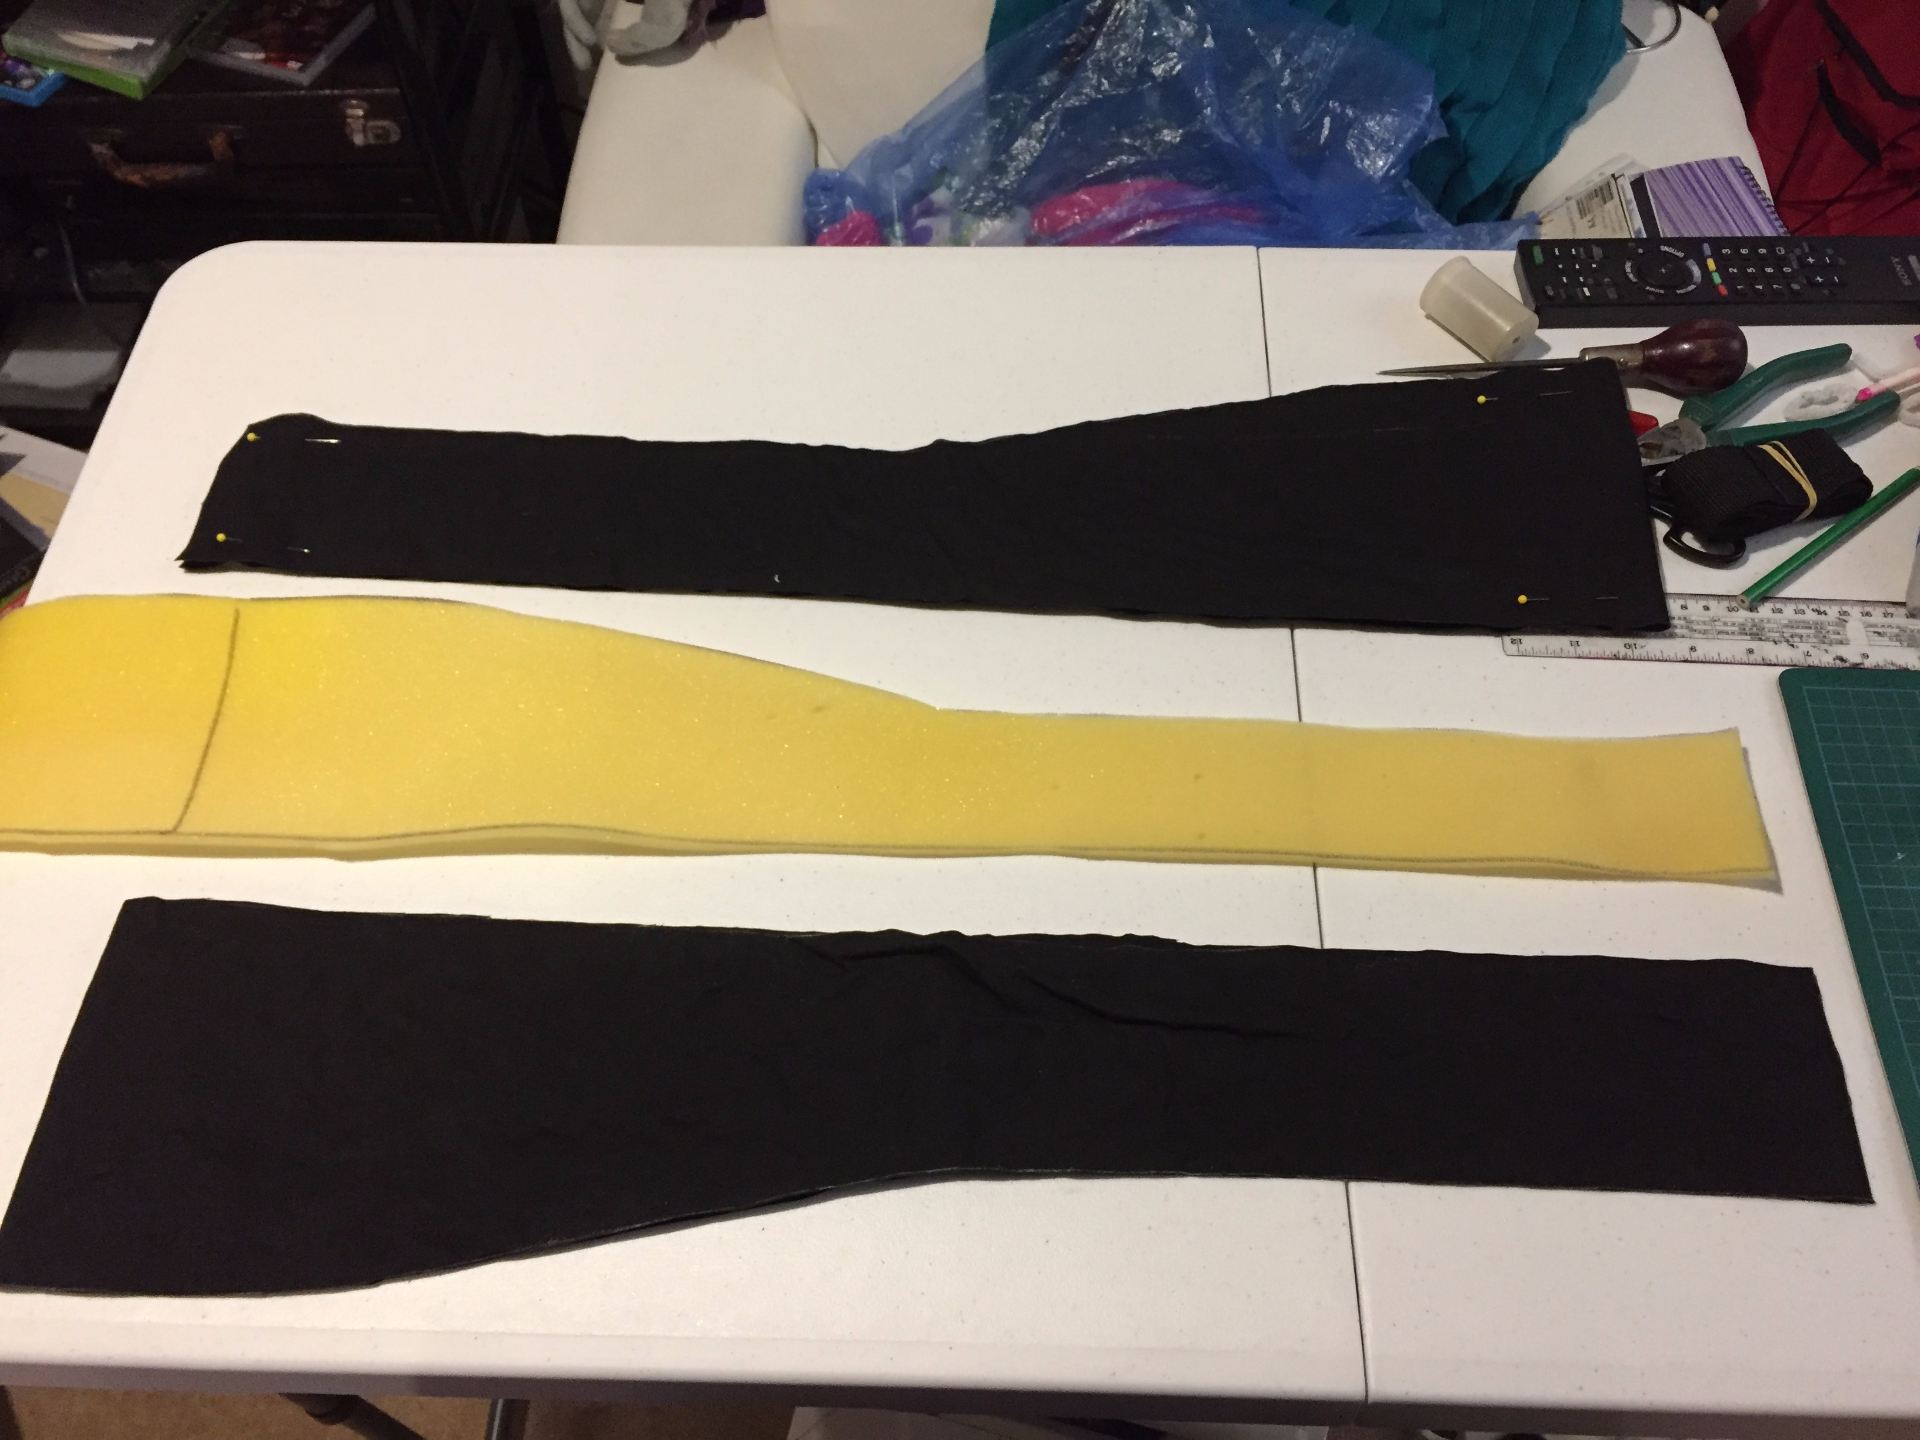
The part of the backpack that I am most proud of is that I made all the straps myself using a great tutorial I found on youtube.

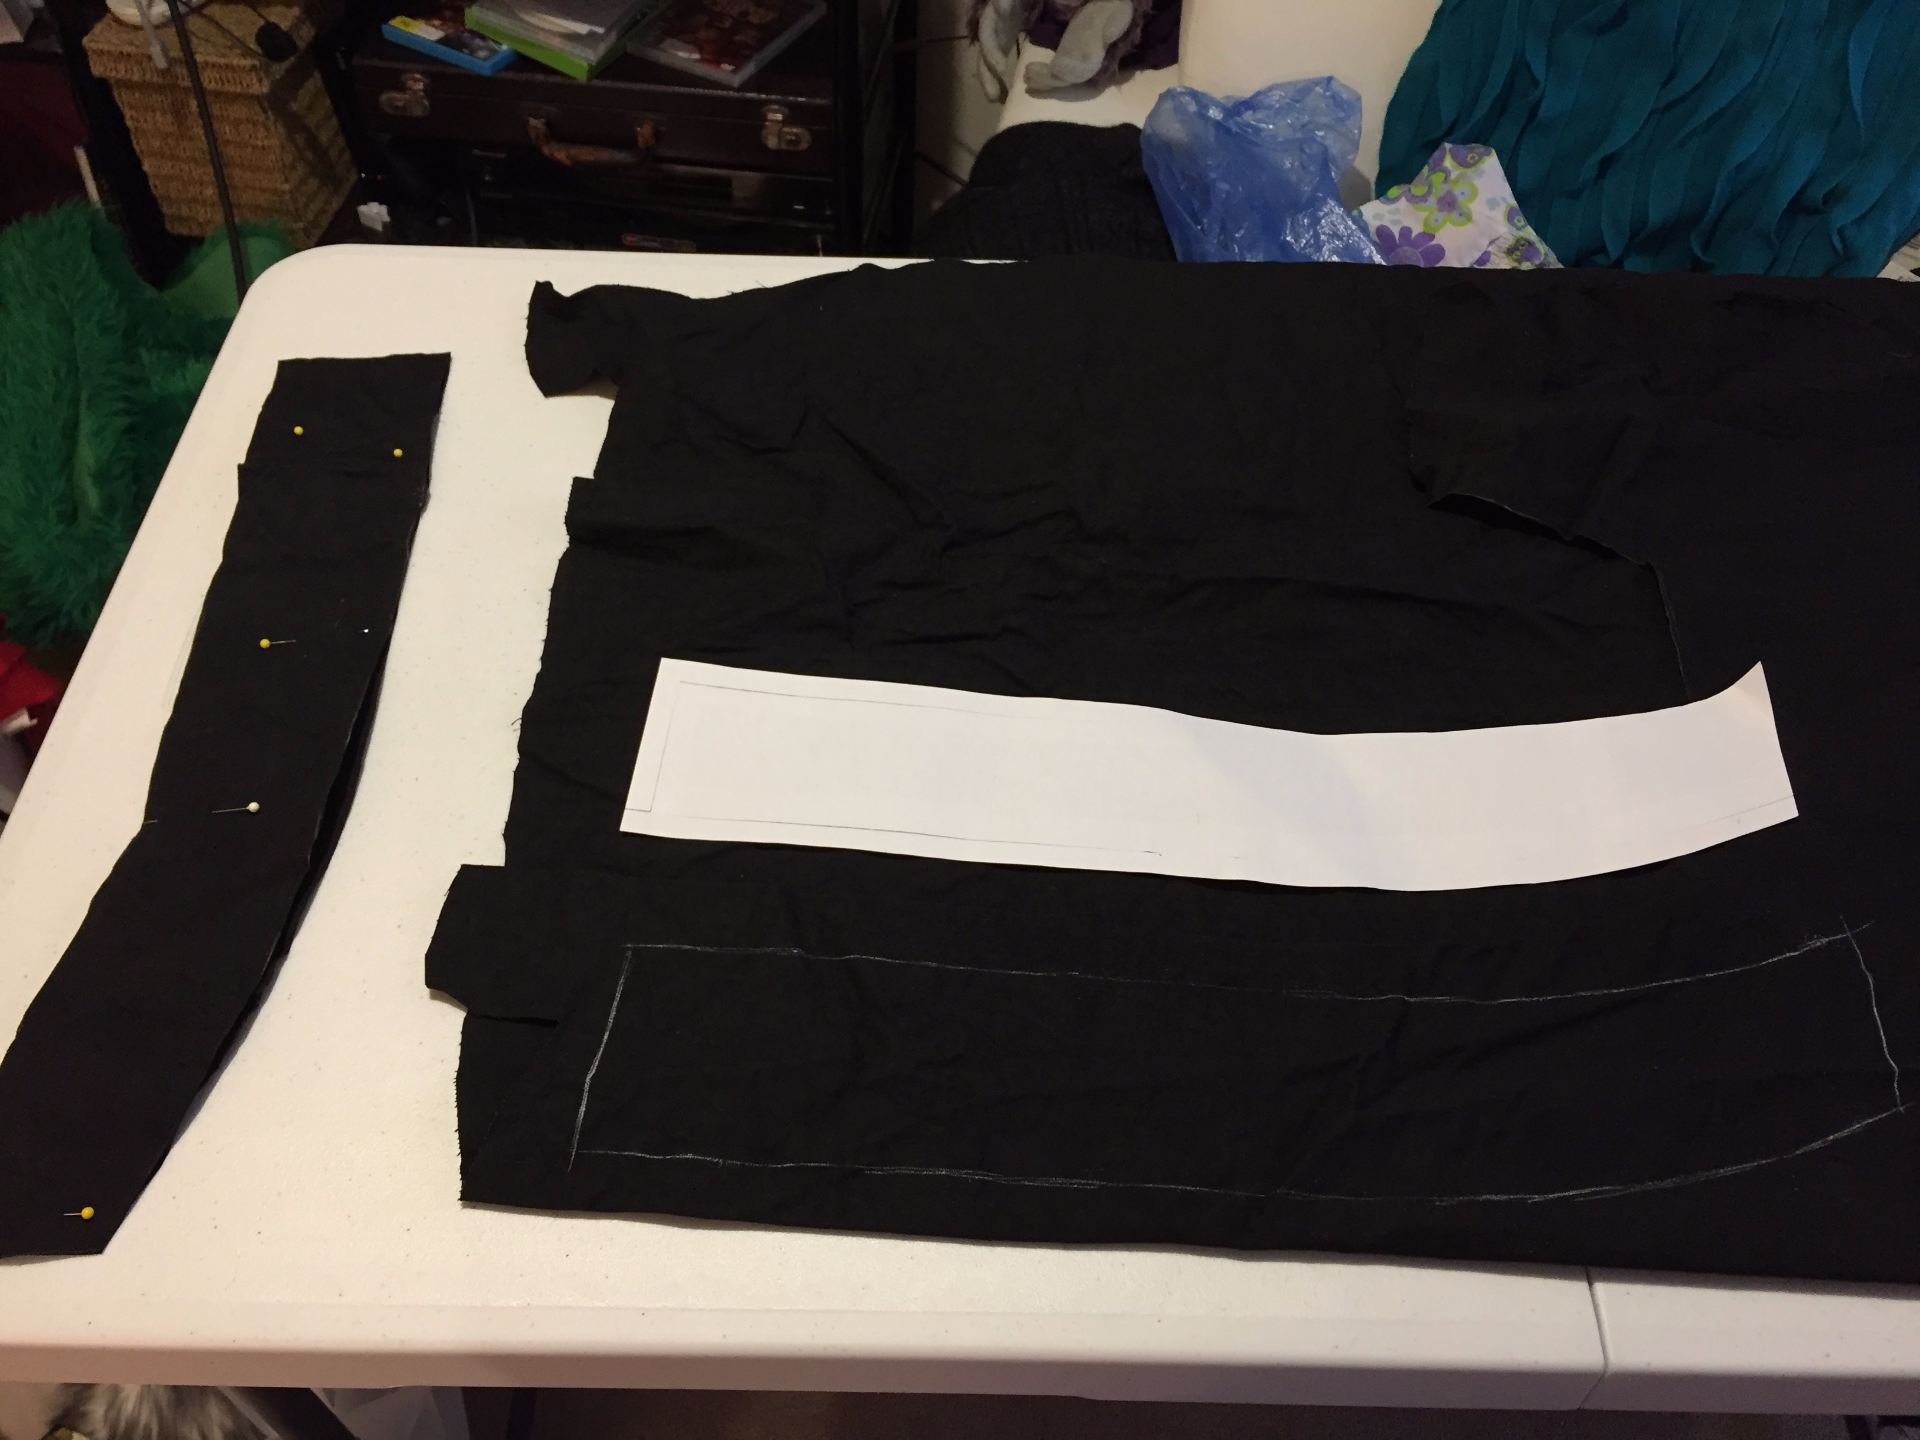
  • Drawing up the template onto black canvas fabric

Making my First Full Body Puppet: Part 2

After watching the video by Adam Savage, I used sheets of butchers paper to draw a template of a figure my size so that I could plan the size of the cane rings I would need for my Totoro.

Working out the size of the rings

This process took most of the afternoon to work through, but I ended up with 16 ring dimensions. The widest ring is 1m in diameter, which means that the circumference of cane is 3.2 m!

Table of ring dimensions.

Now that I have a plan, it is time to order the cane. I am ordering the cane from http://www.wickerworks.com.au/. I decided to order a 500 gram bundle of 5mm round core cane which will give me about 50 metres of cane to work with.


Making my First Full Body Puppet: Part 1

One form of puppetry that I have not yet explored in either building or performing is full body puppets. Basically, the definition of a full body puppet is a puppet which has the puppeteer inside. Famous examples of these puppets are Big Bird, Bear from Bear in the Big, Blue House, and Humphrey B Bear. This year, I have the opportunity to build my first and second full body puppet, but at the time of writing, I can only talk about the first one as the second is for a special event later this year.

Every year, the school I work at holds an event called Celebration Day. It is a day when we celebrate the diverse cultures that make up our school with food, costumes, activities, but we also celebrate the fun culture of our school. Each year, I make a costume based on that year’s theme. in 2012 we celebrated the National Year of Reading, so I went as Professor McGonagall wearing her famous green outfit from Harry Potter and the Philosopher’s Stone that I made myself. In 2013 we celebrated going to the movies, so I made Maleficent’s costume from Disney’s animated version of Sleeping Beauty. I was on leave in 2014 and dressed up as McGonagall again in 2015 but in 2016, I was Elizabeth Taylor’s Cleopatra.

Me as Cleopatra in 2016
Me as Professor McGonagall in 2012
Me as Maleficent in 2013

For 2017, the theme is Legends and I am planning to dress up as Totoro from the great Japanese animation, My neighbor Totoro (1988) directed by Hayao Miyazaki. I plan to build my costume in the school Library so that the students can see how things are made and maybe inspire them to create their own costume.

I have had the good fortune to be inspired by, and a head start on building my Totoro by watching Adam Savage build his own Totoro!

For me, the first step is working out how I am going to wear my Totoro as the frame Adam’s Totoro sits on, is beyond my skill set. My current thinking is to use a camping/ hiking backpack frame. Since the top of Totoro is above my head and I need a pole from the backpack frame to the top of Totoro, I am currently thinking of building the backpack frame from PVC pipe like this:

https://youtu.be/mJiXSL1X2D0

Now to order the pipe, the cane, and the fur…

A Mechanical Summer: Part 7- It’s Alive!!!!

A Mechanical Summer: Part 7- It’s Alive!!!!

All I can say is wow! It works- it’s alive!!!!! I have 16 vertebrae and 8 are moving precisely like they are supposed to! Stage 1 of the tentacle- from the tip to vertebrae 9 is moving and curling. However, for some reason, stage 2 is barely moving. Current working theory is that the brake cable housing I am using is too stiff to allow the stage 2 mechanism to move at all. I may have to make another base plate that has no large passage holes and screw all the brake cable housings into that so that the bare cable is running through the passage holes of the actual tentacle.


I am still waiting for more set screws to arrive so I can finish attaching all the vertebrae and the tail tip. While I am waiting, I have started designing the next mechanism!!!

A Mechanical Summer: Part 6

A Mechanical Summer: Part 6

I have started assembling the tentacle! After printing one of the vertebrae, I held it up to a puppet that it could be used for, and I found that the diameter of the vertebrae was too wide. So I reduced the diameter on the original model to 1.5 inches, reconverted it to metric and printed 12 vertebrae. For the tip, base and vertebrae 8 & 9, where the cable housing had to be inserted or the cables terminated, I had to adjust the design so that the holes were 4mm in diameter.

Each vertebrae holds onto the central speedometer cable using a 10/32 by 0.25″ set screw. I had the drill and tap each hole to be able to thread the set screws. I am now waiting for more set screws to arrive, then, I will be able to thread through the outer cables and hopefully this tentacle will start moving!

A Mechanical Summer: Part 5

A Mechanical Summer: Part 5

Today I tried to print the first of the vertebrae. When I imported the design into the UP Studio software, the vertebrae appeared incredibly small. I designed the vertebrae to be 1.75 inches in diameter and the main ring is 0.25 inches high, but in the UP Studio software, the design was 1.75mm wide!

I consulted with a more experienced colleague of mine and together, we discovered the problem. UP Studio software cannot distinguish between imperial and metric measurements. It can only read in metric, so when I imported my design in imperial measurement of 1.75 inches, it read it as 1.75mm. I had to convert the design parameters to millimetres in the software I use to design 3D objects and then re-import the file into UP Studio. Finally the design could be printed!

A Mechanical Summer- Part 4

A Mechanical Summer- Part 4

I had a much more successful day today, finding the brake cable I need. I ended up going to Clarence Street Cyclery in Sydney where they had both the brake cable and the cable housing! I was really impressed with their service and amused at when they asked me what kind of bike I needed the cable for, and when I said it’s not for a bike, they were very confused.

Now that I have all the cables, I am almost ready to start construction. All that I need to do now is order the set screws for each of the vertebrae and 3D print the first test vertebrae so I can test my concepts.

A Mechanical Summer- Part 3

A Mechanical Summer- Part 3

I have had mixed success finding the necessary hardware for the tentacle mechanism. I was able to get the speedometer cable for the tentacle core at a car parts and accessories store in my area, but finding the bicycle break cable has proven to be impossible as there are no bike repair shops in my neighbourhood. I have one break cable in my collection of puppet parts that I can use, but to make the whole tentacle I need seven more. I have found a bicycle repair shop in Sydney CBD that I will try, otherwise I might have to look online.

20161211-102702.jpg

20161211-102716.jpg

Now that I have the speedometer cable and one of the bicycle break cables, I have started 3D designing the vertebrae. I started by designing a disc that had the holes for the cables marked. Next, I designed the oval passage holes to pull the first stage of cables through the second stage. At the moment, I have two concerns. Firstly, the vertebrae feels too thick dimensionally. The pieces need to be 1/4 inch thick maximum. My second concern is making the passage hole for the set screw that will hold the vertebrae on the core cable. At the moment, the hole is not passing through the stem properly. It could be because the size of the hole is wrong, or the stem is the wrong size.

20161213-164458.jpg

20161213-164506.jpg

I won’t know how to solve these issues until I 3D print at least 2 of the vertebrae and test fit them into a tentacle.

A Mechanical Summer- Part 2

While I was watching the full tutorial on designing and making tentacles from Stan Winston School of Character Arts, I took some notes on how I might proceed to make my cat’s tail tentacle mechanism.

20161209-194544.jpg

So now I begin the process of sourcing all the hardware required to make the tentacle mechanism. I have to get the hardware first, before I can start modelling and 3D printing the vertebrae. Fortunately, a colleague of mine, made a fantastic suggestion about using bicycle brake cables for the main cables as the cables come with their own housings.

So it is off to Autobarn tomorrow to get the speedometer cable I need for the central shaft of the tail, then I need to find a bike repair shop to get the brake cables I need. I still have to source a few parts like the 16 set screws online but if I can find all the cables on the weekend, I can start 3D designing the vertebrae!

A Mechanical Summer- Part 1

A Mechanical Summer- Part 1

I am about to start my summer school vacation. It has been a challenging year for me teaching and puppetry wise, but now that the year is almost over, I have some time to persue a few of my goals in learning more about mechanical design in puppets.

I have three goals in mind; 1. Design and make a cat’s tail using a cable mechanism, 2. Design and make a rotating eye mechanism, 3. Design and make a sliding control mechanism for blinking eyes. All of these mechanisms already exist in the world but, for me, making them myself will give me an opportunity to explore these shapes and movements and challenge my 3D printing and design experience.

Here are the videos that have inspired me

But, this book has been my chief inspiration-

20161208-193513.jpg

Figures in the Fourth dimension- Mechanical Movement for Puppets and Automata by Ellen S. Rixford

Here is a preview link of this incredible book

This is going to be an interesting summer!

Skip to toolbar