Making my First Full Body Puppet: Part 8

Making the facial features of Totoro.

To make Totoro’s ears/ horns, I modeled the ears using 3 modelling and printing. Due to the scale of the piece, I had to try to cut the horn into 3 pieces. I had a great deal of difficulty in splitting the shape in that I am still not familiar with breaking a model up in Creo Parametric 3.0. I was able to make the bottom two pieces quite easily, but making the top pointed part fit proved to be very difficult to make the right size. I ended up achieving a satisfactory result after lots of failed attempts. I definitely need to learn an alternative approach to making a 3D model that breaks up into interlocking pieces.

To cover the ear with fur, I put the ear into a freezer bag, and covered the bag with small pieces of tape. I then used a small pair of embroidery scissors to cut the tape and plastic off and cut lots of small darts to create a flat shape. The flat shape then became the pattern for cutting the fur. I did add a 3mm seam allowance while cutting the fur so I could hand sew the fur together and turn it over the 3D printed form. The ears/ horns were then sewn around the base onto the fur.
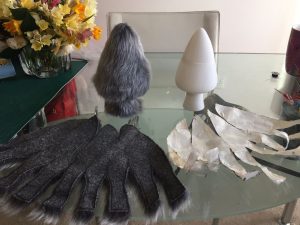
Fur covered, 3D printed ear forms with pattern.

I used more butcher’s paper to create the shapes of the eyes, nose and mouth so that I could experiment with sizes and placement.
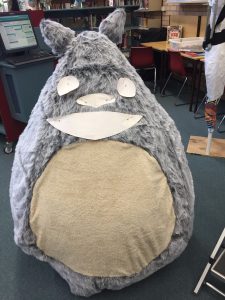
Planning the facial features of Totoro

To make the nose, I used the butcher’s paper template as a guide to the overall size of the nose and built plasticine up on it. I then used four layers of my own hand made paper to cover the nose form.
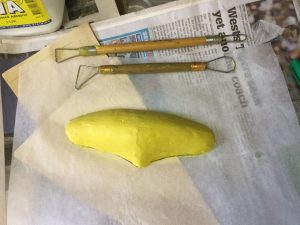
Sculpting the nose form from Plasticine.

I created the eye forms by modeling them on the computer and printing them out using the 3D printer. I then used black acrylic paint to create the pupils.
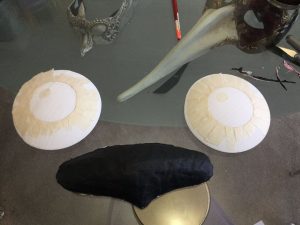
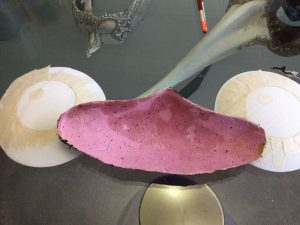
3D printed eyes ready for painting with the painted papier mache nose
Inside of the papier mache nose with the 3D printed eyes.

The mouth of Totoro is how I see out of the puppet. I originally used three layers of curtain netting, but it was too hard to see out of, so I removed one layer.

Totoro’s teeth were drawn onto the mesh using a black Sharpie.
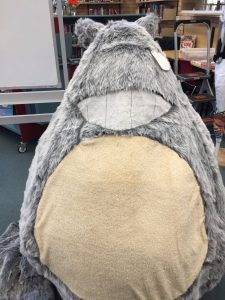
Mouth opening covered with white mesh curtain fabric.

To make Totoro’s whiskers, I used long, black zip ties. To attach them to the face, I cut a small slit into the fur using embroidery scissors. Then, I inserted the square end of the zip tie and glued it in place using hot glue.

Making my First Full Body Puppet: Part 7

Now that the body is starting to come together, my next challenge was to make the feet. I have never made mascot sized feet before, so I went looking for tutorials to help me.

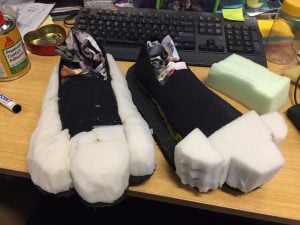
I found a pair of shoes at Kmart for $3, a floor mat from Clark Rubber to make the soles of the feet, and I ended up recycling bits of block foam I had in storage, leftover from previous puppet carving projects.

Using blocks of foam and carving techniques to make Totoro’s feet.

I wore the in-progress feet at school while walking around the school library so I could test how well the glue was holding as well as how it felt to walk in oversized shoes. During the test, the school’s Community Liaison Officer filmed my test for the school’s Facebook page!

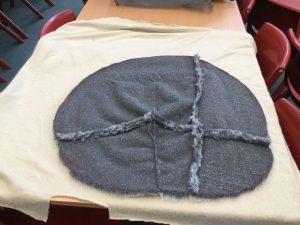
Once the feet were finished, I had time to make the tummy of Totoro. I turned the fur covering of the body inside out, drew a circle shape for the tummy, cut it out and used the circle I had cut as the template for cutting the cream tummy fur.

Cutting out the tummy fur of Totoro

https://www.facebook.com/MacquarieFieldsHS/videos/1789369294451725/


Making my First Full Body Puppet: Part 6

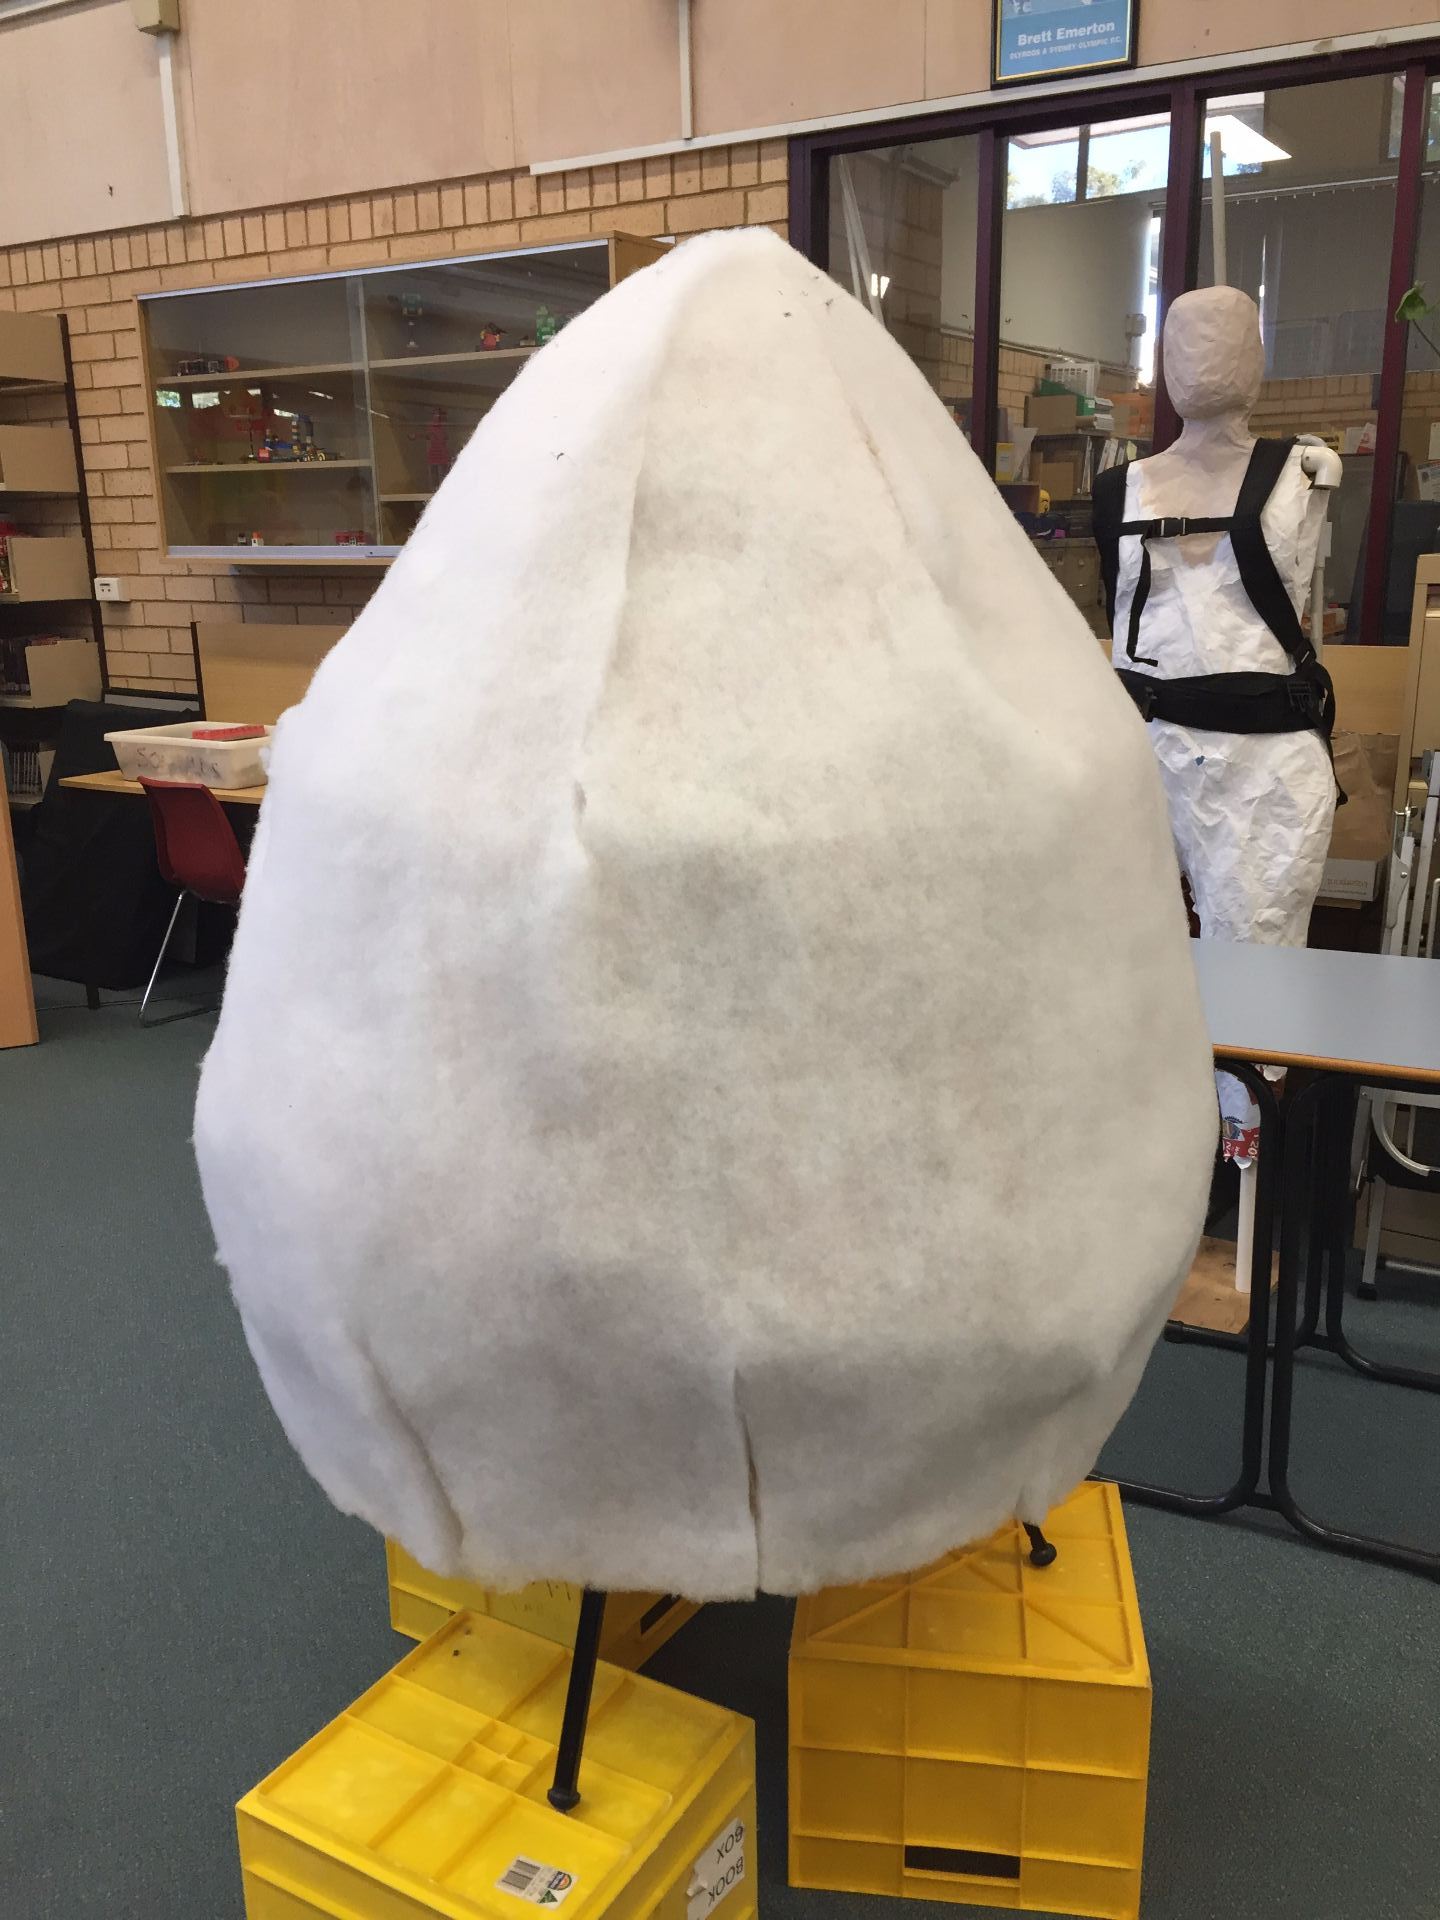
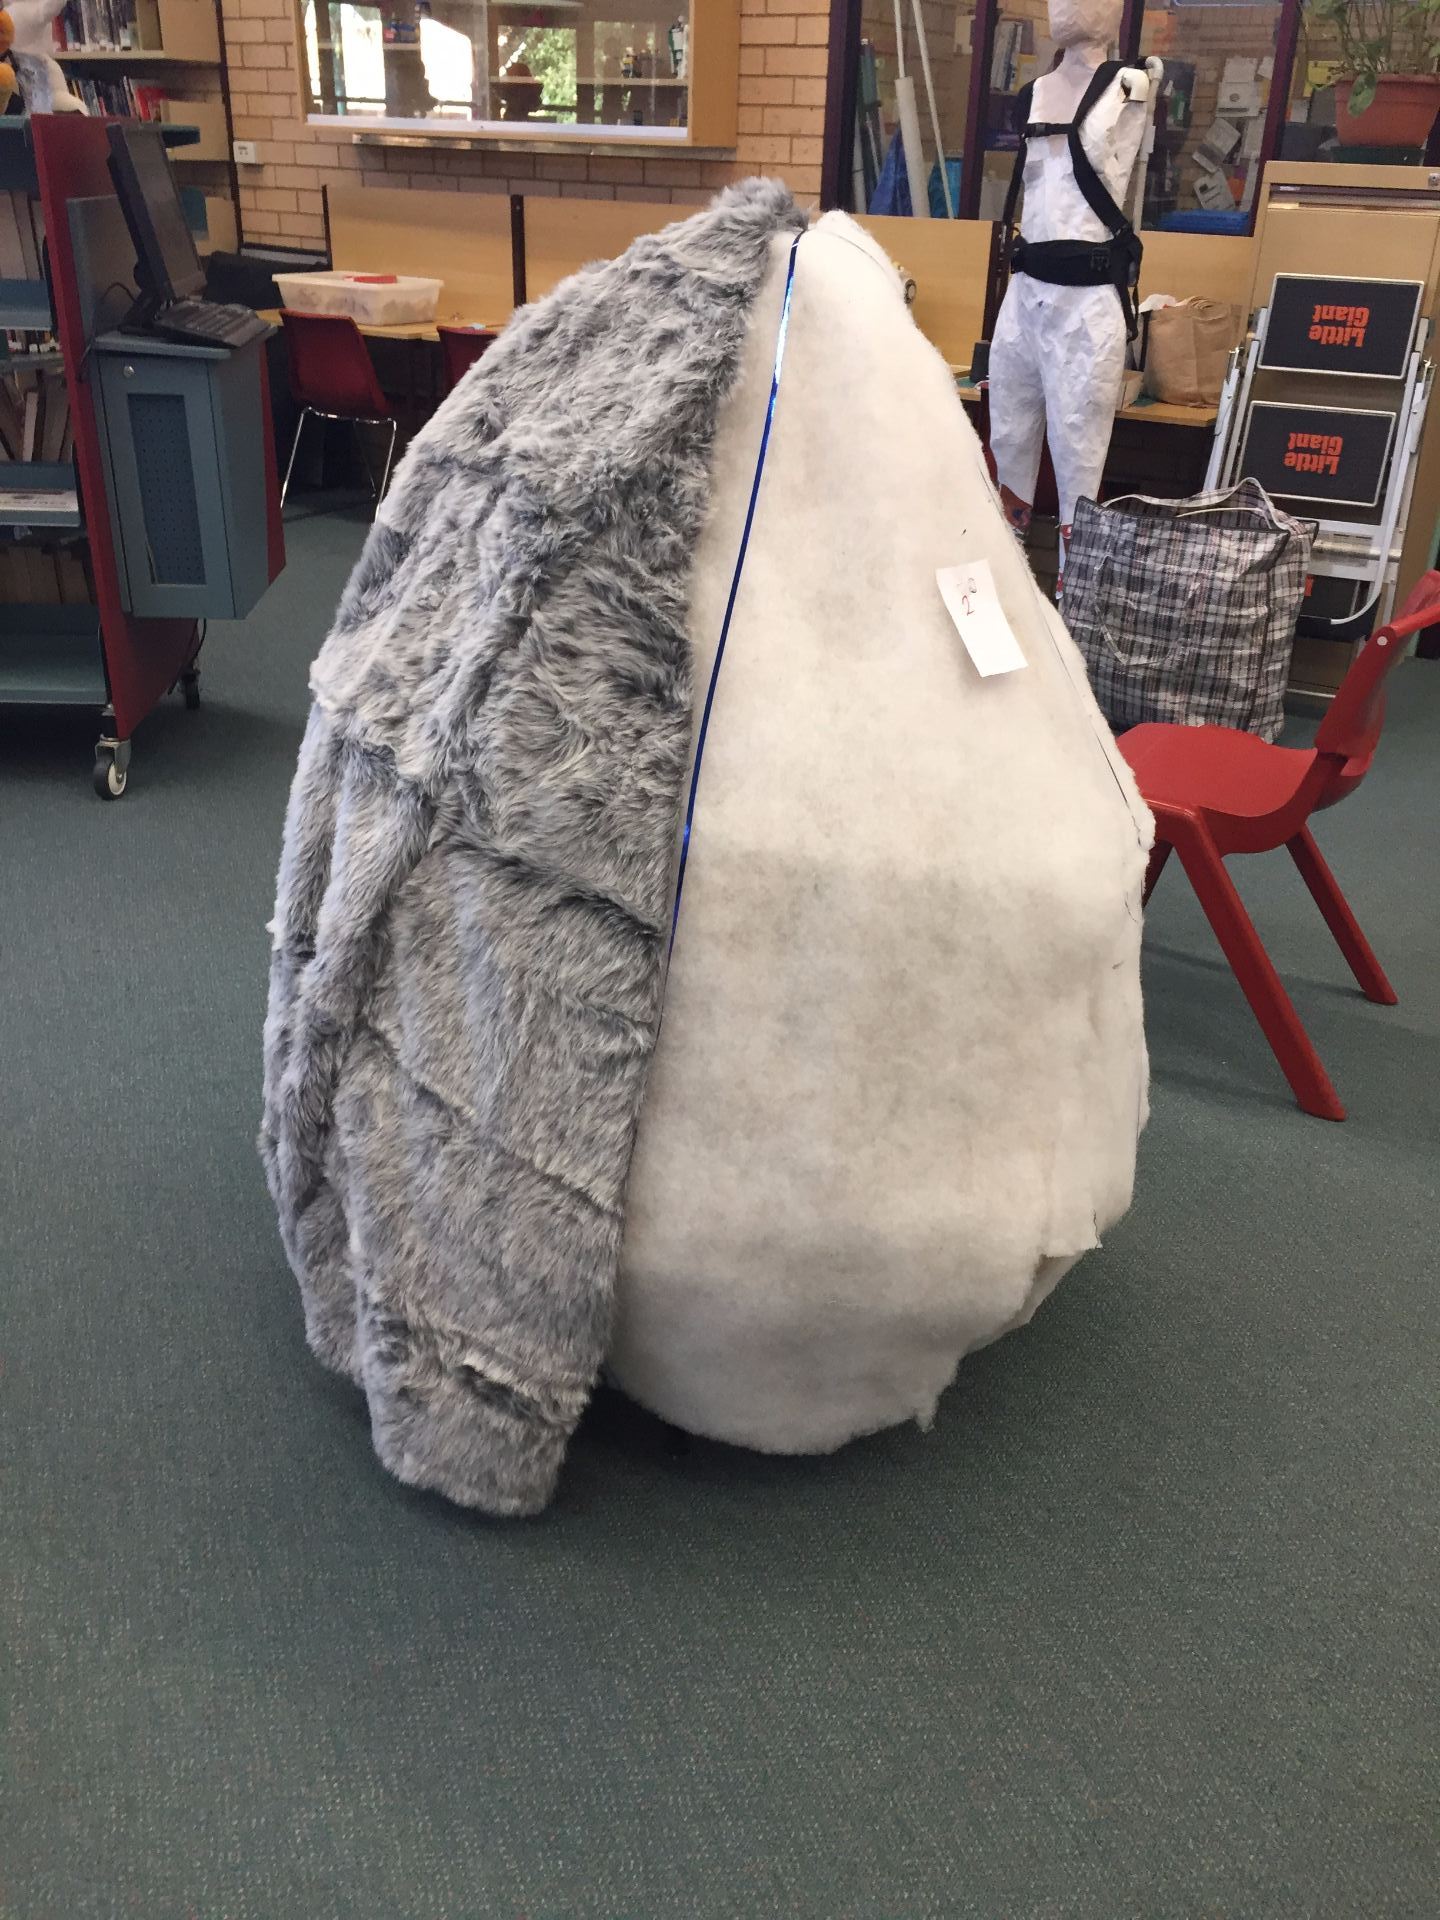
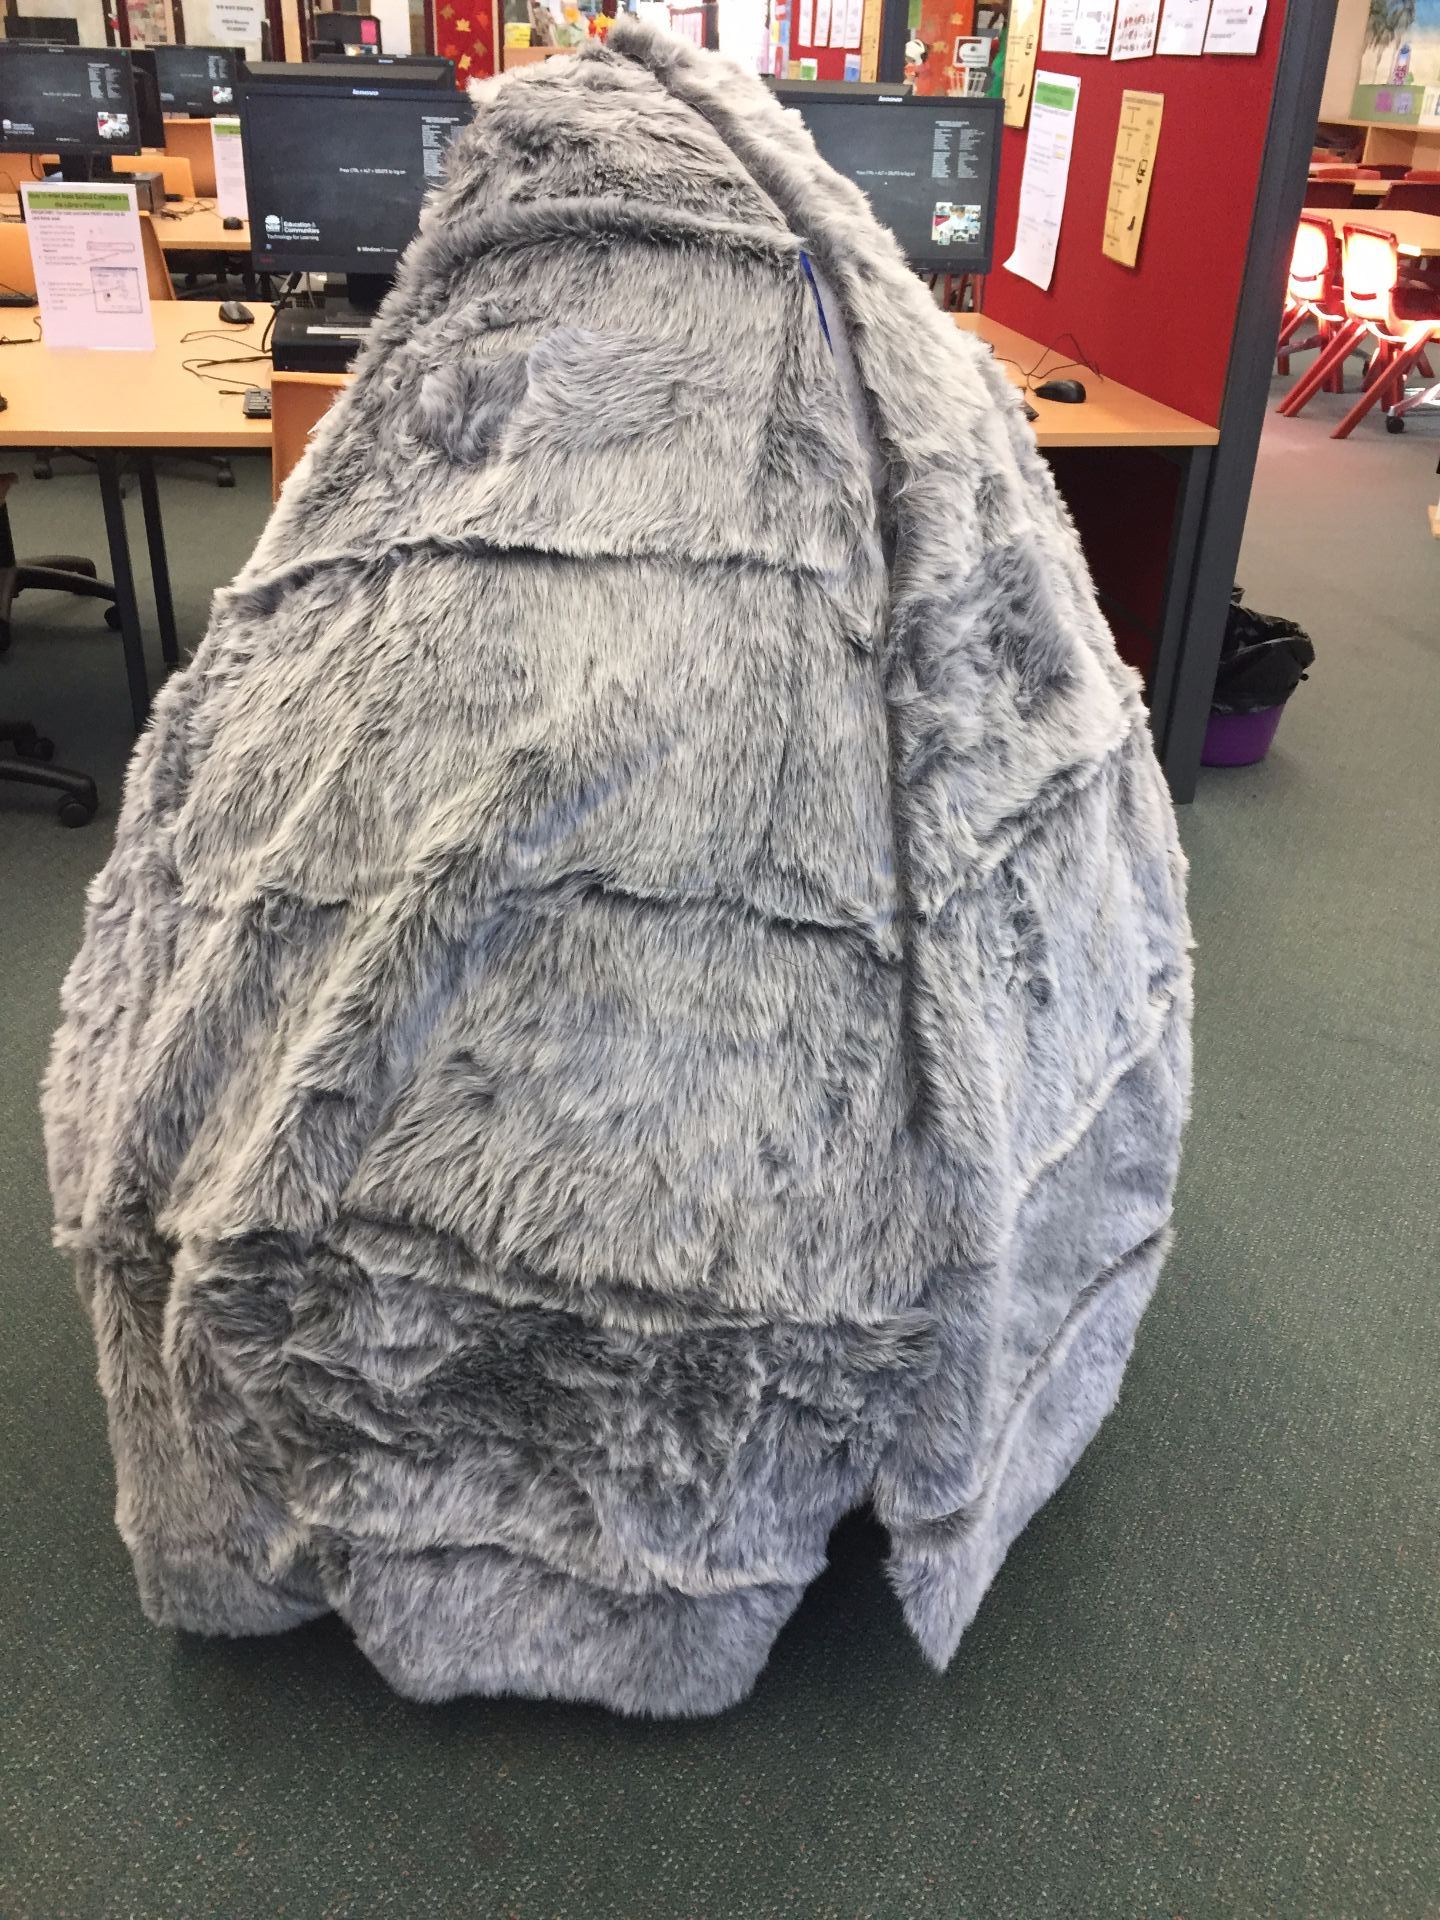
Now that the skeleton is covered with fabric, I used spray adhesive to attach a layer of cotton batting. The purpose of the batting is to disguise the ribs of the skeleton. I then started to cover the batting with the very reasonably priced fur I got from Kmart!

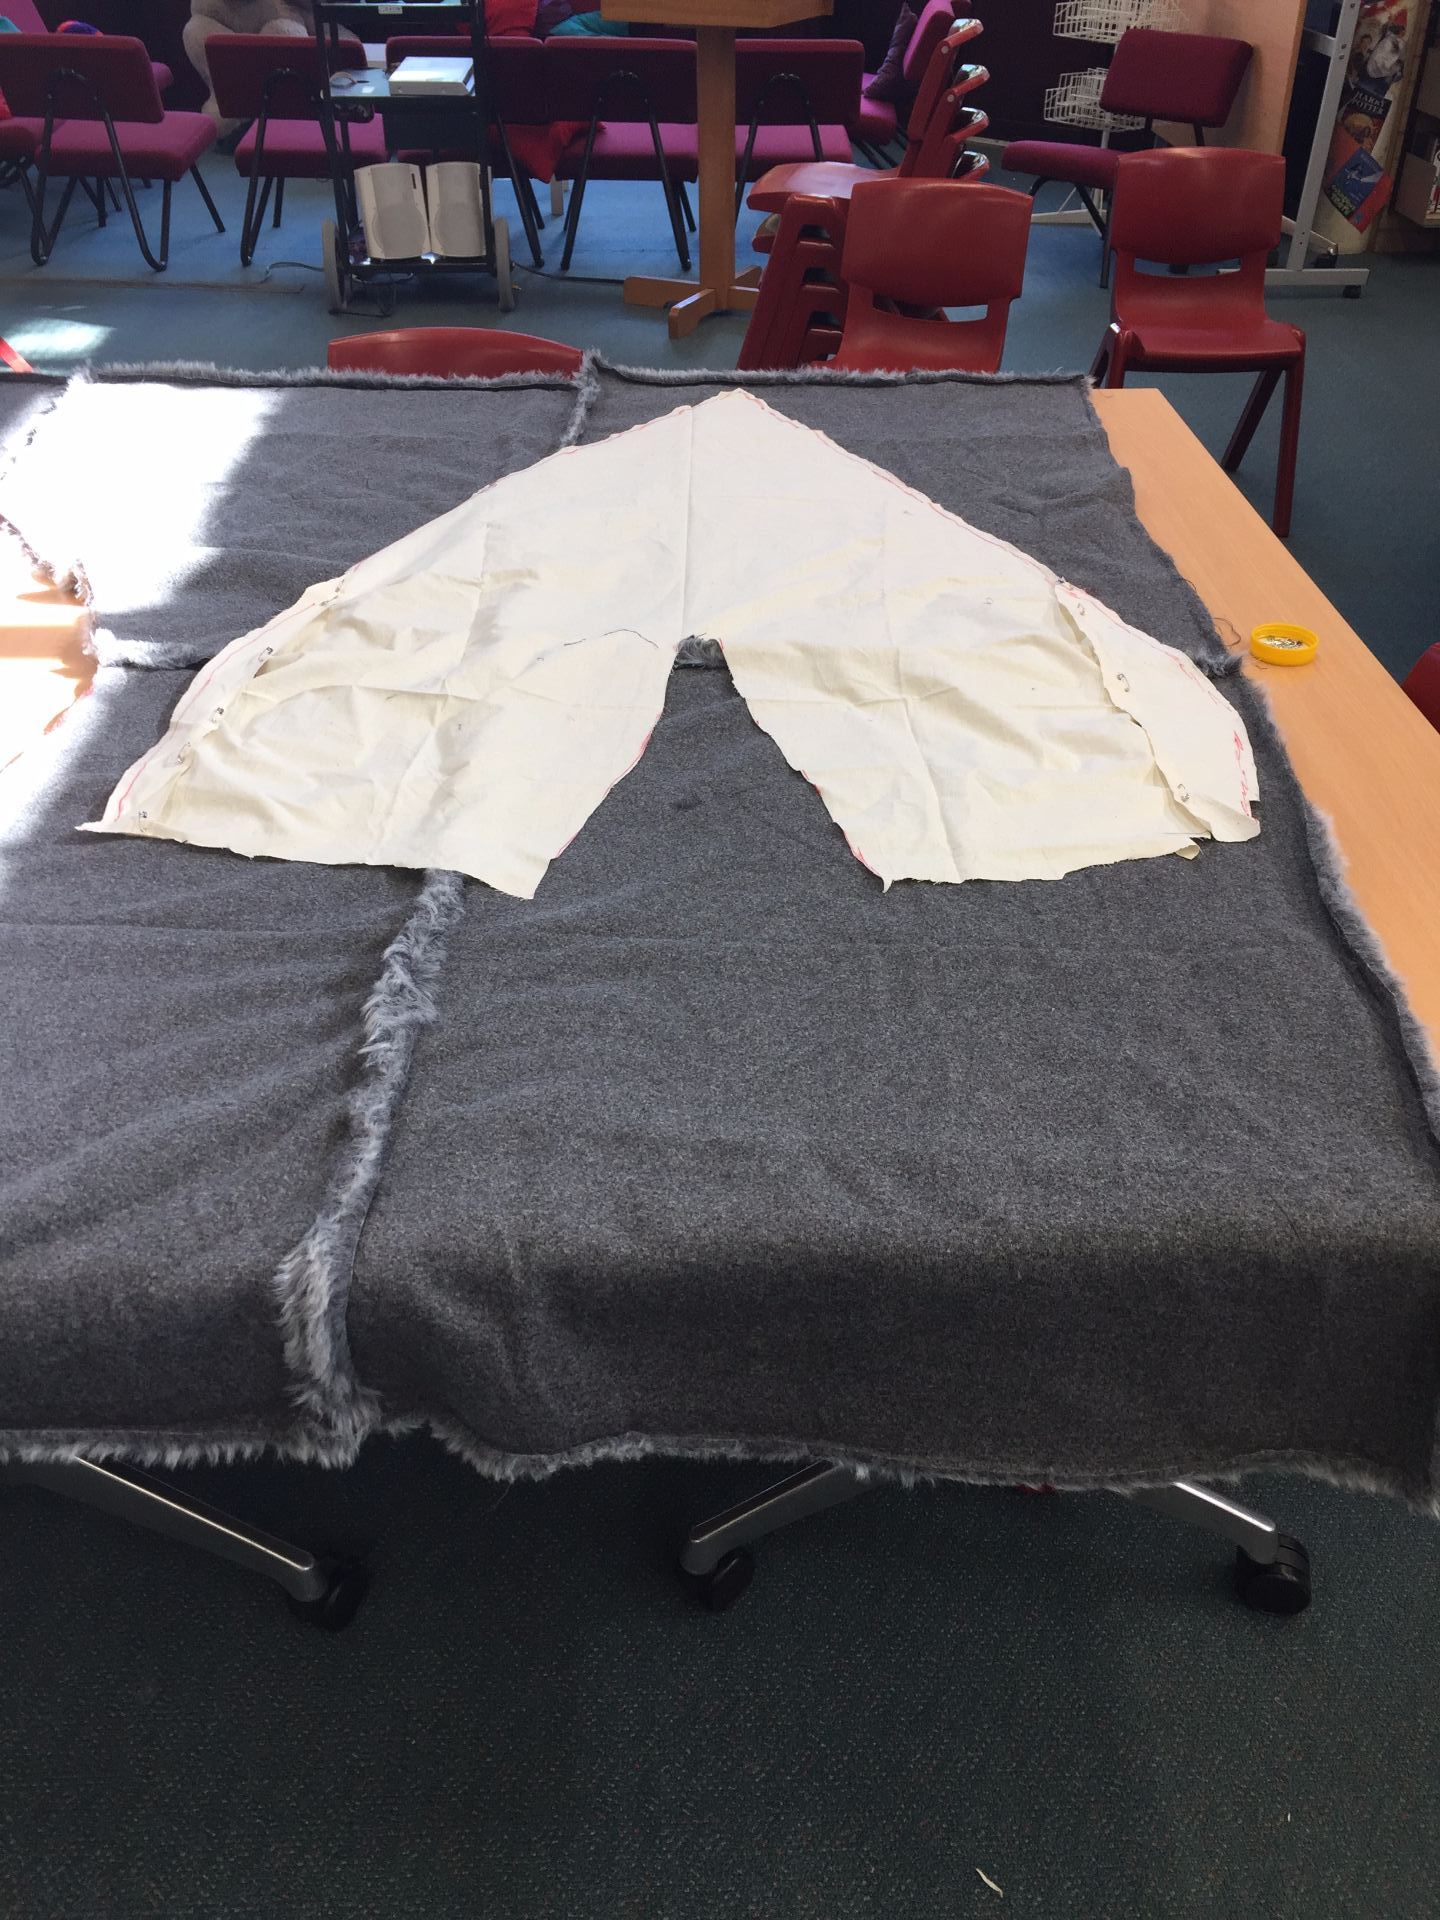
I purchased 14 rolls of fur and had to remove the faux suede backing on each one. Each one was then sewn together using the sewing machine. 4 Blankets sewn together gave me enough fur to make two of the four panels required to make the outer skin of Totoro.

  • Cotton batting glued onto the fabric underskin.


Making my First Full Body Puppet: Part 5

Covering the Structure

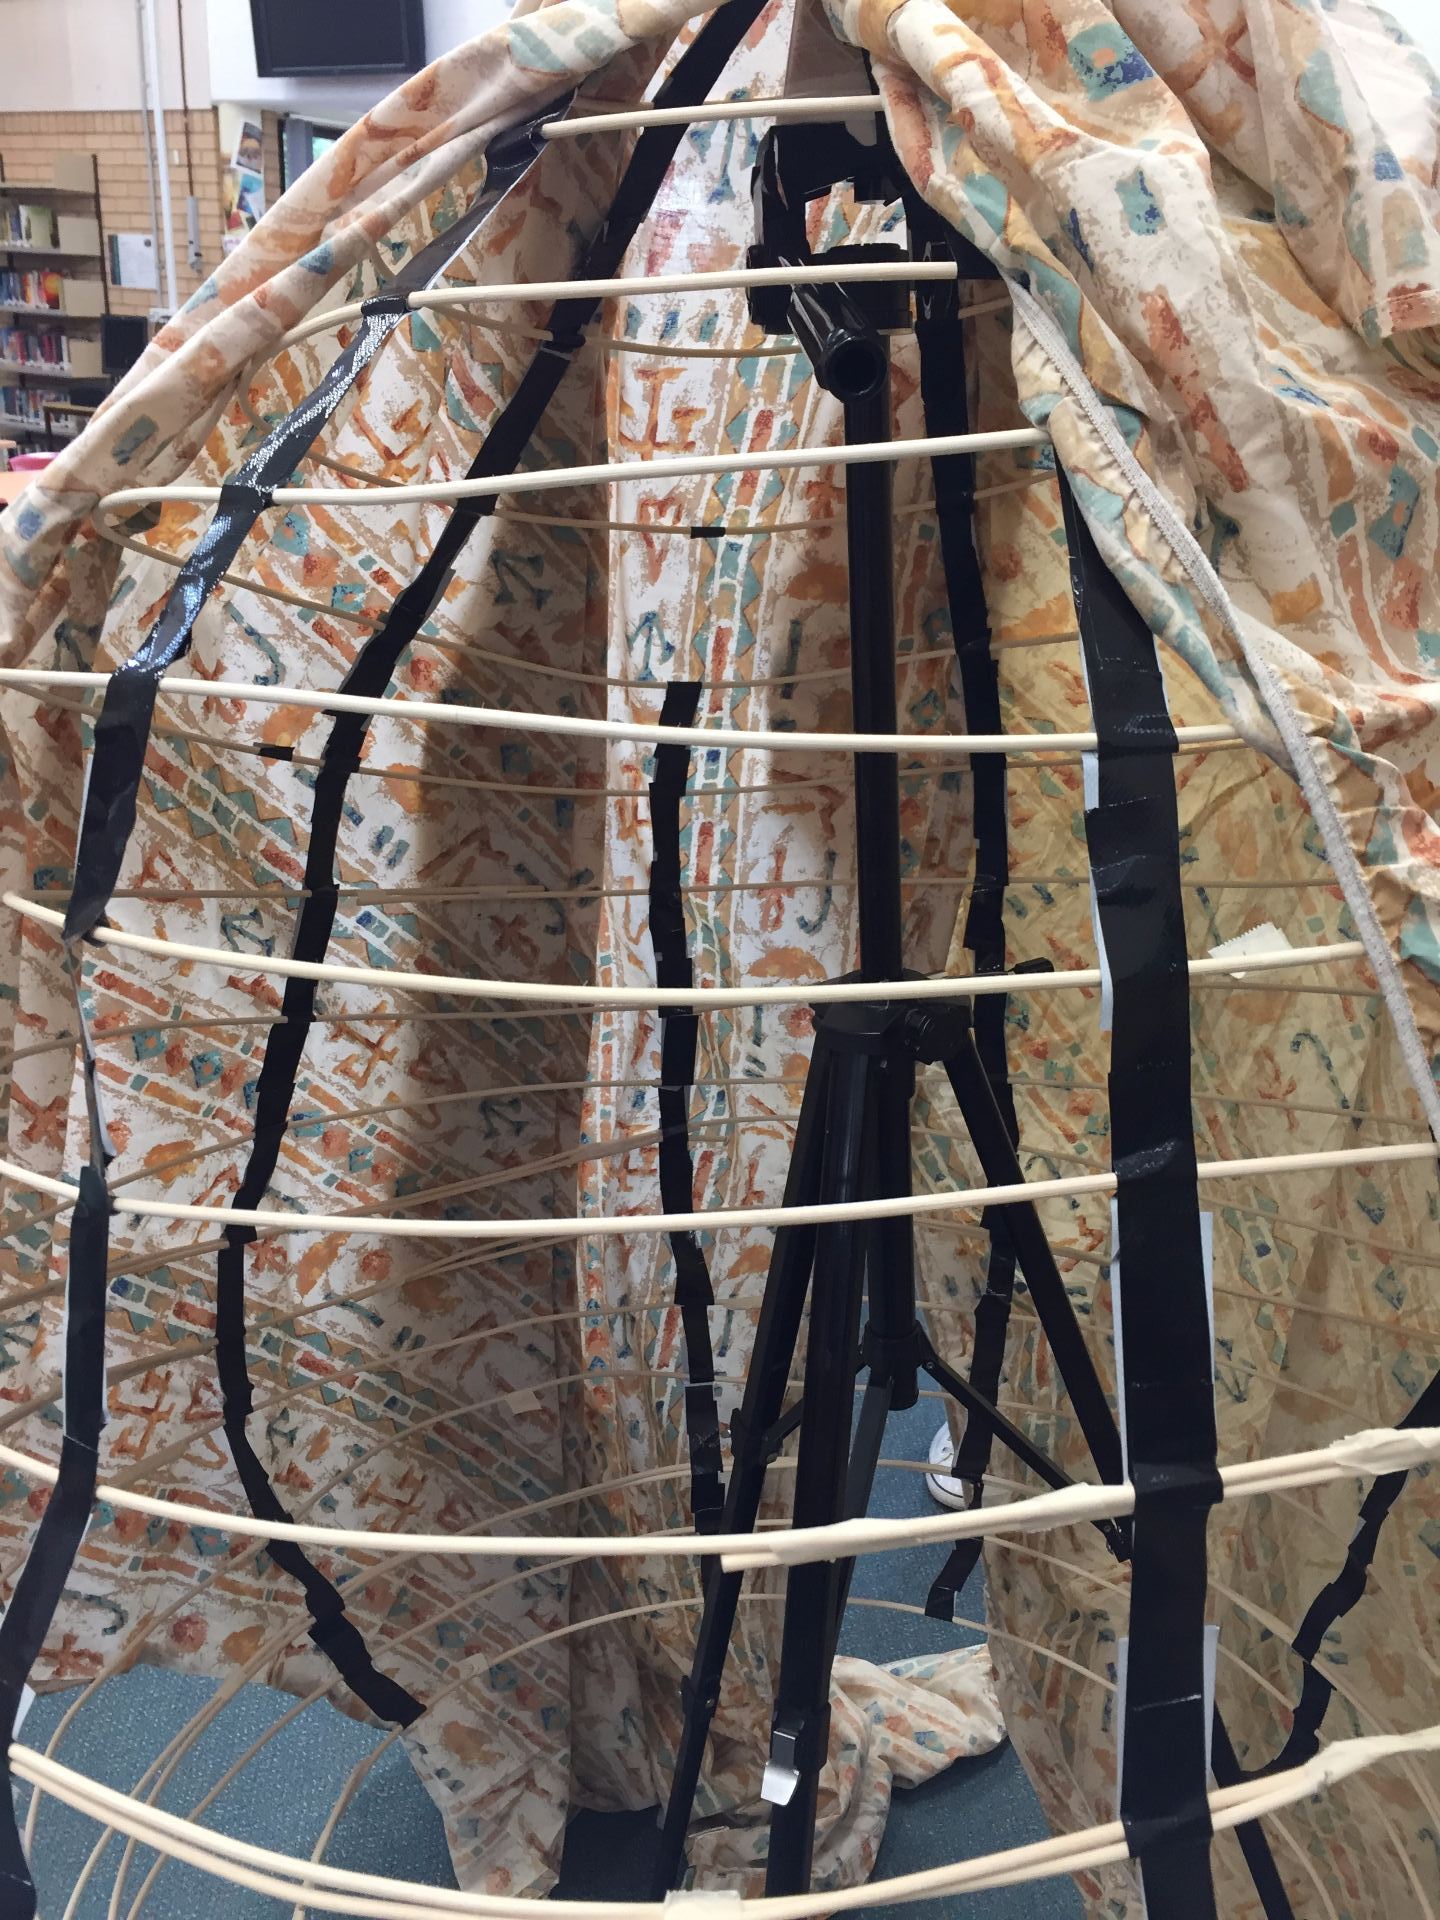
Once the skeleton of Totoro was complete, I noticed that his shape was not symmetrical, and some of the rings were far too large. Fortunately, I had secured the rings with masking tape, which was very easy to remove. It was then a simple matter of pulling each of the problem rings in and wrapping with fresh tape. I also had issues with the gaffer tape supports between the rings giving way, causing the rings to drop and become lopsided. Where tape had given way, I ended up applying a new piece of tape that wrapped around the ring onto itself at both ends.

I did work out a very efficient way to cut the gaffer tape in half to make thin strips. I would tear off the required length and place it sticky side down on a self healing cutting mat. I then used an X-Acto blade to cut down the middle of the tape. It was then very easy to remove the tape from the mat and use the sections of tape on Totoro’s skeleton.

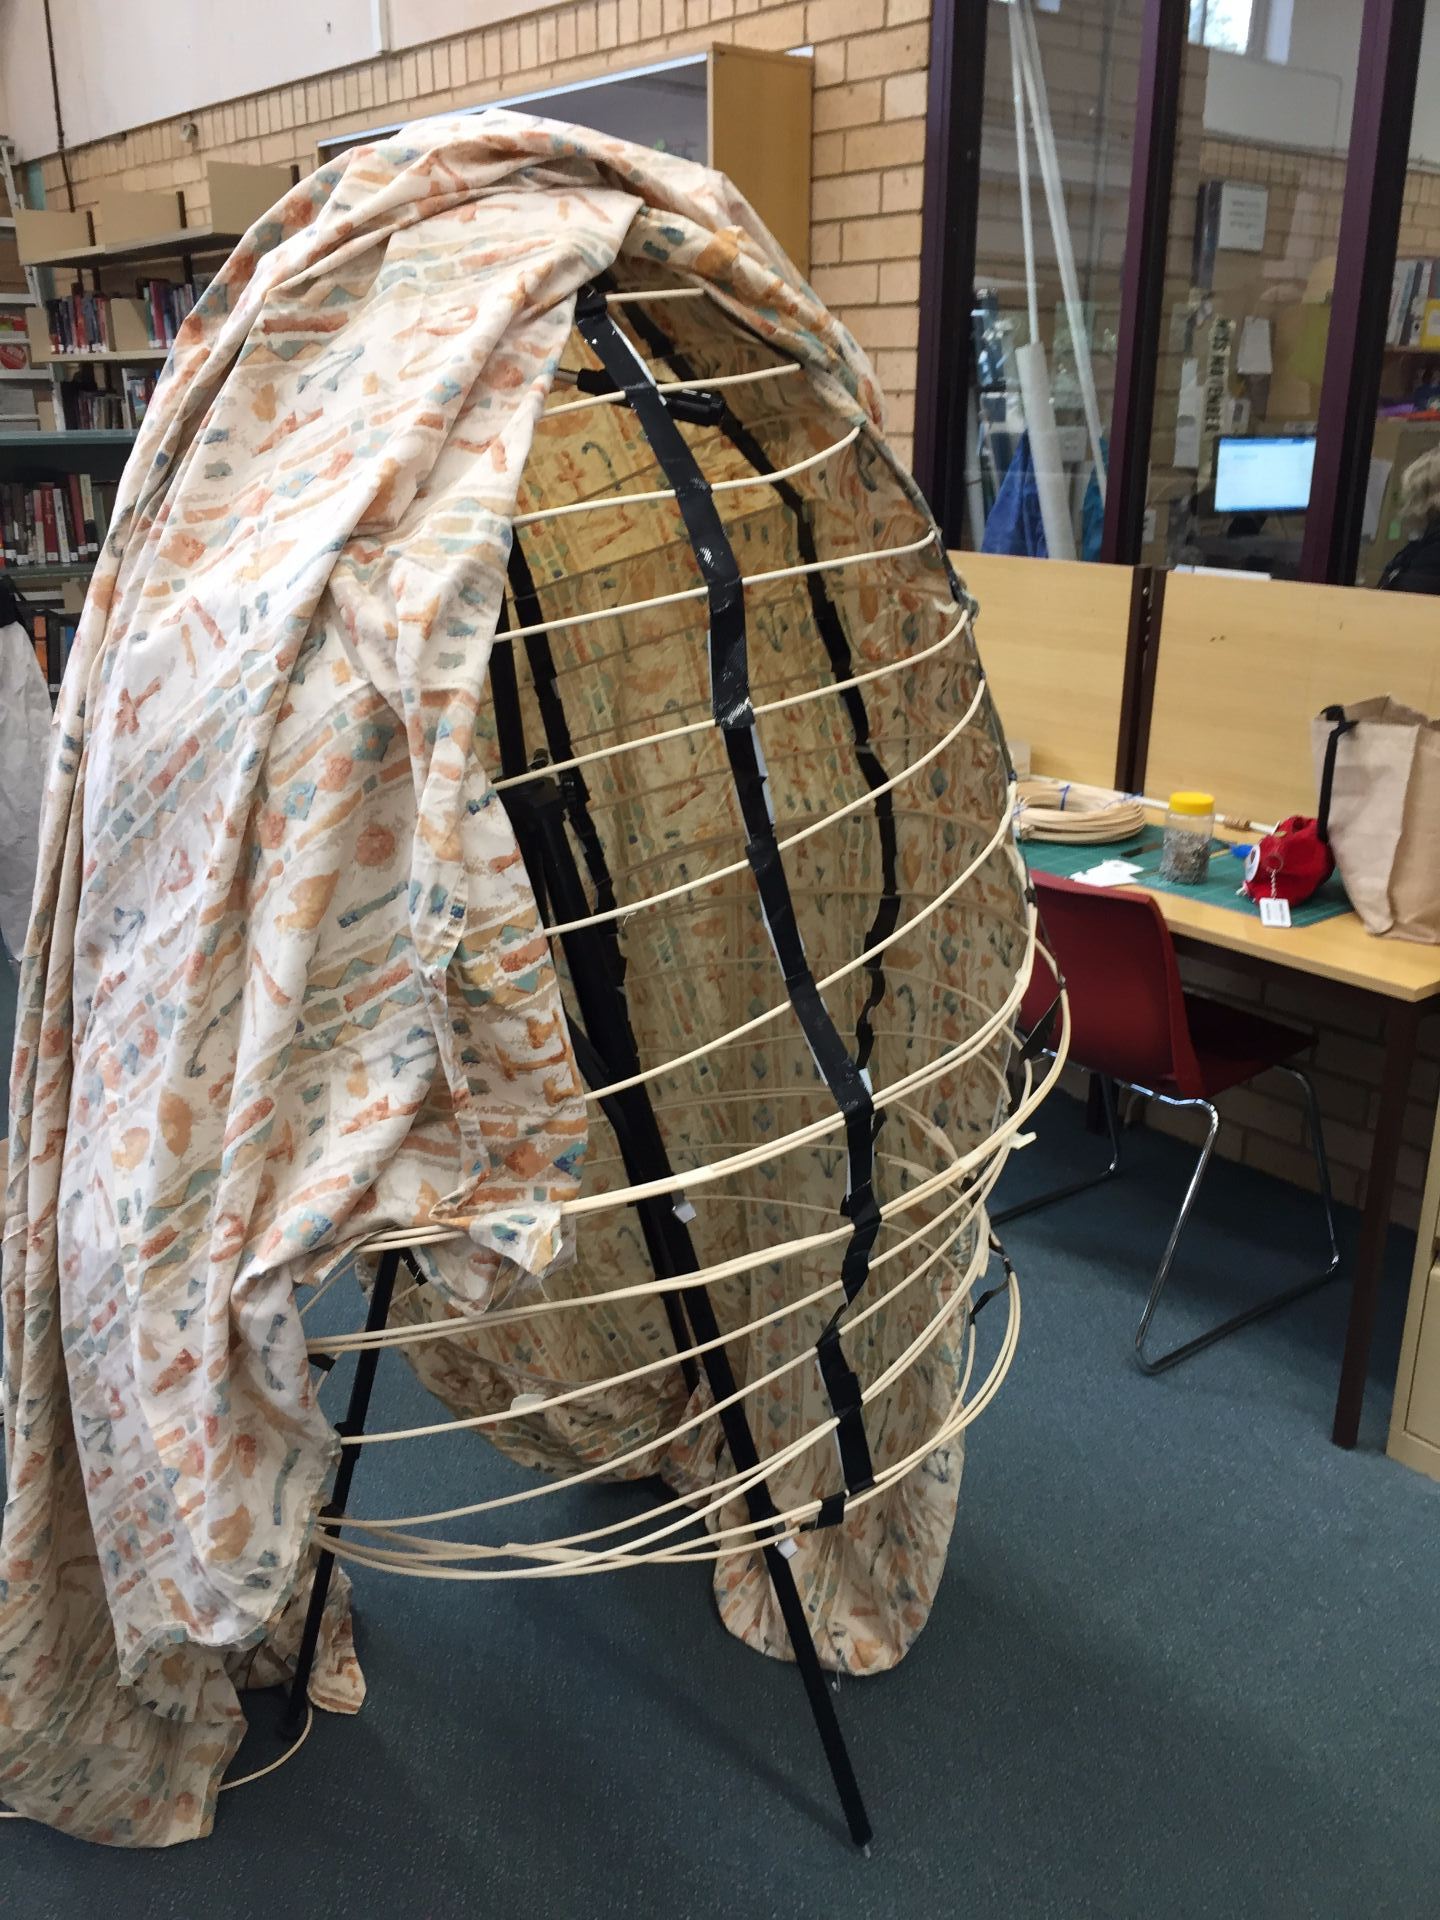
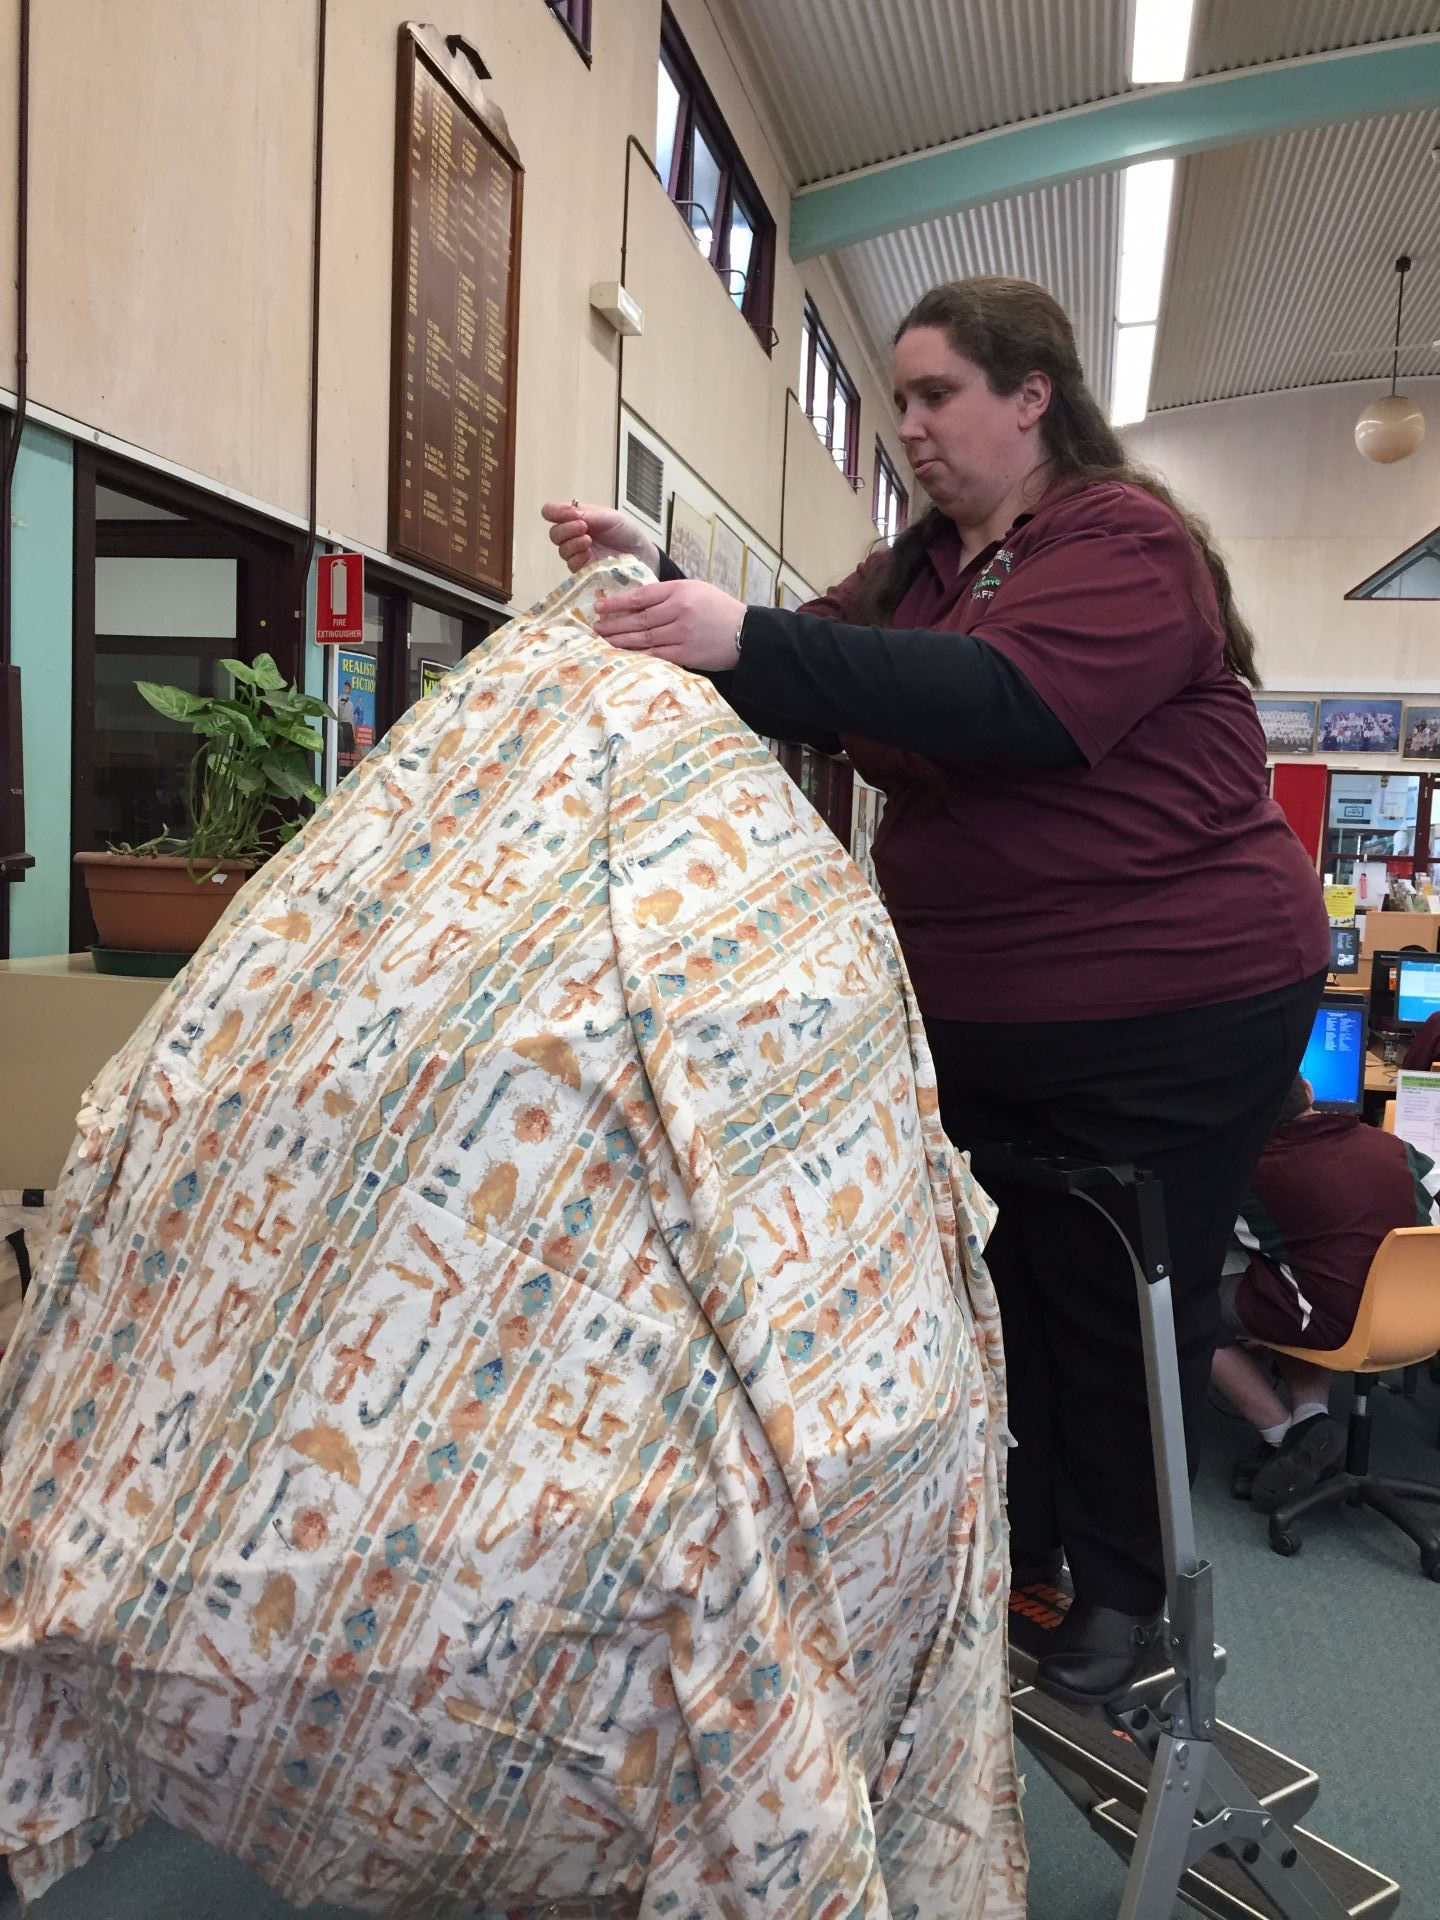
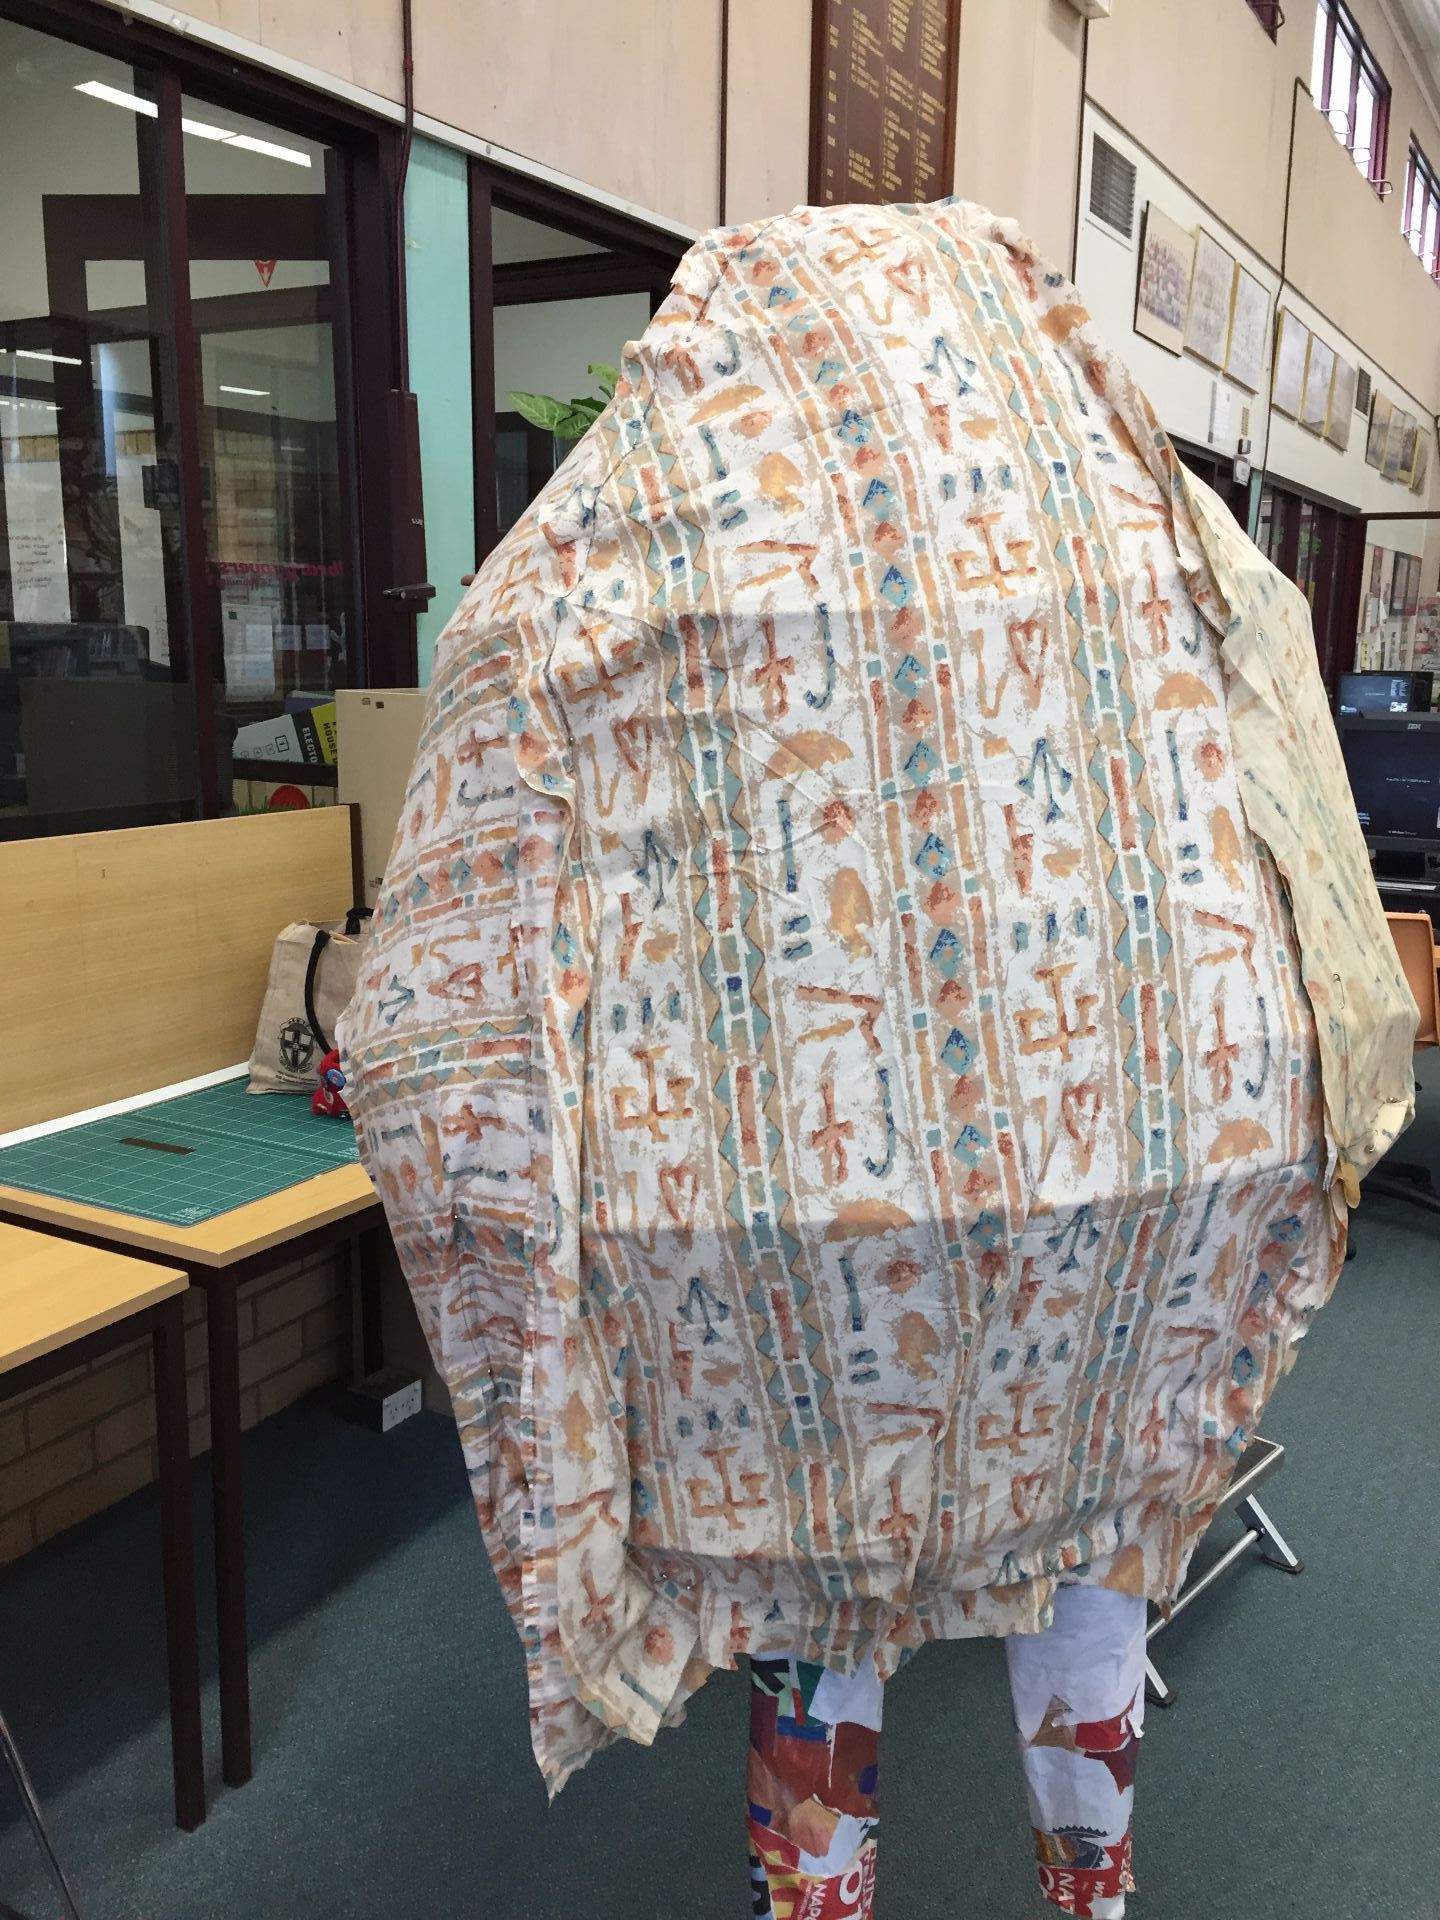
The next step was to start covering the skeleton with thin fabric. I used an old sheet since I am trying to keep costs down, and recycle materials that I already have. All of the darts were sewn using sewing machine, and I hand stitched the final opening closed. So my Totoro has a interior of Ancient Egyptian patterned sheets!

  • Laying the sheet over the frame.

Making my First Full Body Puppet: Part 2

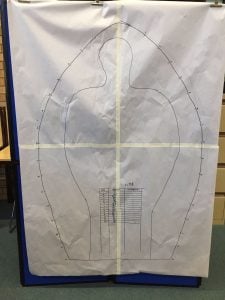
After watching the video by Adam Savage, I used sheets of butchers paper to draw a template of a figure my size so that I could plan the size of the cane rings I would need for my Totoro.

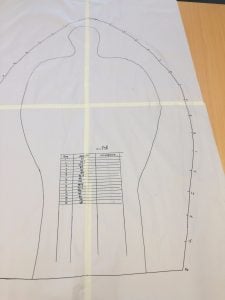
Working out the size of the rings

This process took most of the afternoon to work through, but I ended up with 16 ring dimensions. The widest ring is 1m in diameter, which means that the circumference of cane is 3.2 m!

Table of ring dimensions.

Now that I have a plan, it is time to order the cane. I am ordering the cane fromĀ http://www.wickerworks.com.au/. I decided to order a 500 gram bundle of 5mm round core cane which will give me about 50 metres of cane to work with.


Skip to toolbar