In learning about how Blender works where the user manipulates individual polygons, I have been looking for examples of artists who work with organic 3D modelling and 3D printing to create works of art.
The first reference I came across since learning about Blender was the Big Blue Bear in Denver Colorado USA. The formal name of the artwork is I see what you mean (2005) by Lawrence Argent. The statue is over 12 metres tall (40 feet). It’s surface is covered in triangular polygons and it is blue because the scuptures maquette was 3D printed in blue plastic instead of the original earth tones to represent Colorado.
Big Blue Bear Statue
I have also been watching how Herschel Shapiro creates wall sculptures using 3D printed parts
I have been 3D modelling and 3D printing for many years, but the main program I use, Autodesk Inventor cannot model organic shapes. Inventor is a parametric modelling software so every shape is very precise which makes it fantastic for mechanical puppet parts. However, for the past three years I have wanted to learn how to digitally sculpt more organic, natural shapes such as horns, eyes, noses that are not perfectly symmetrical.
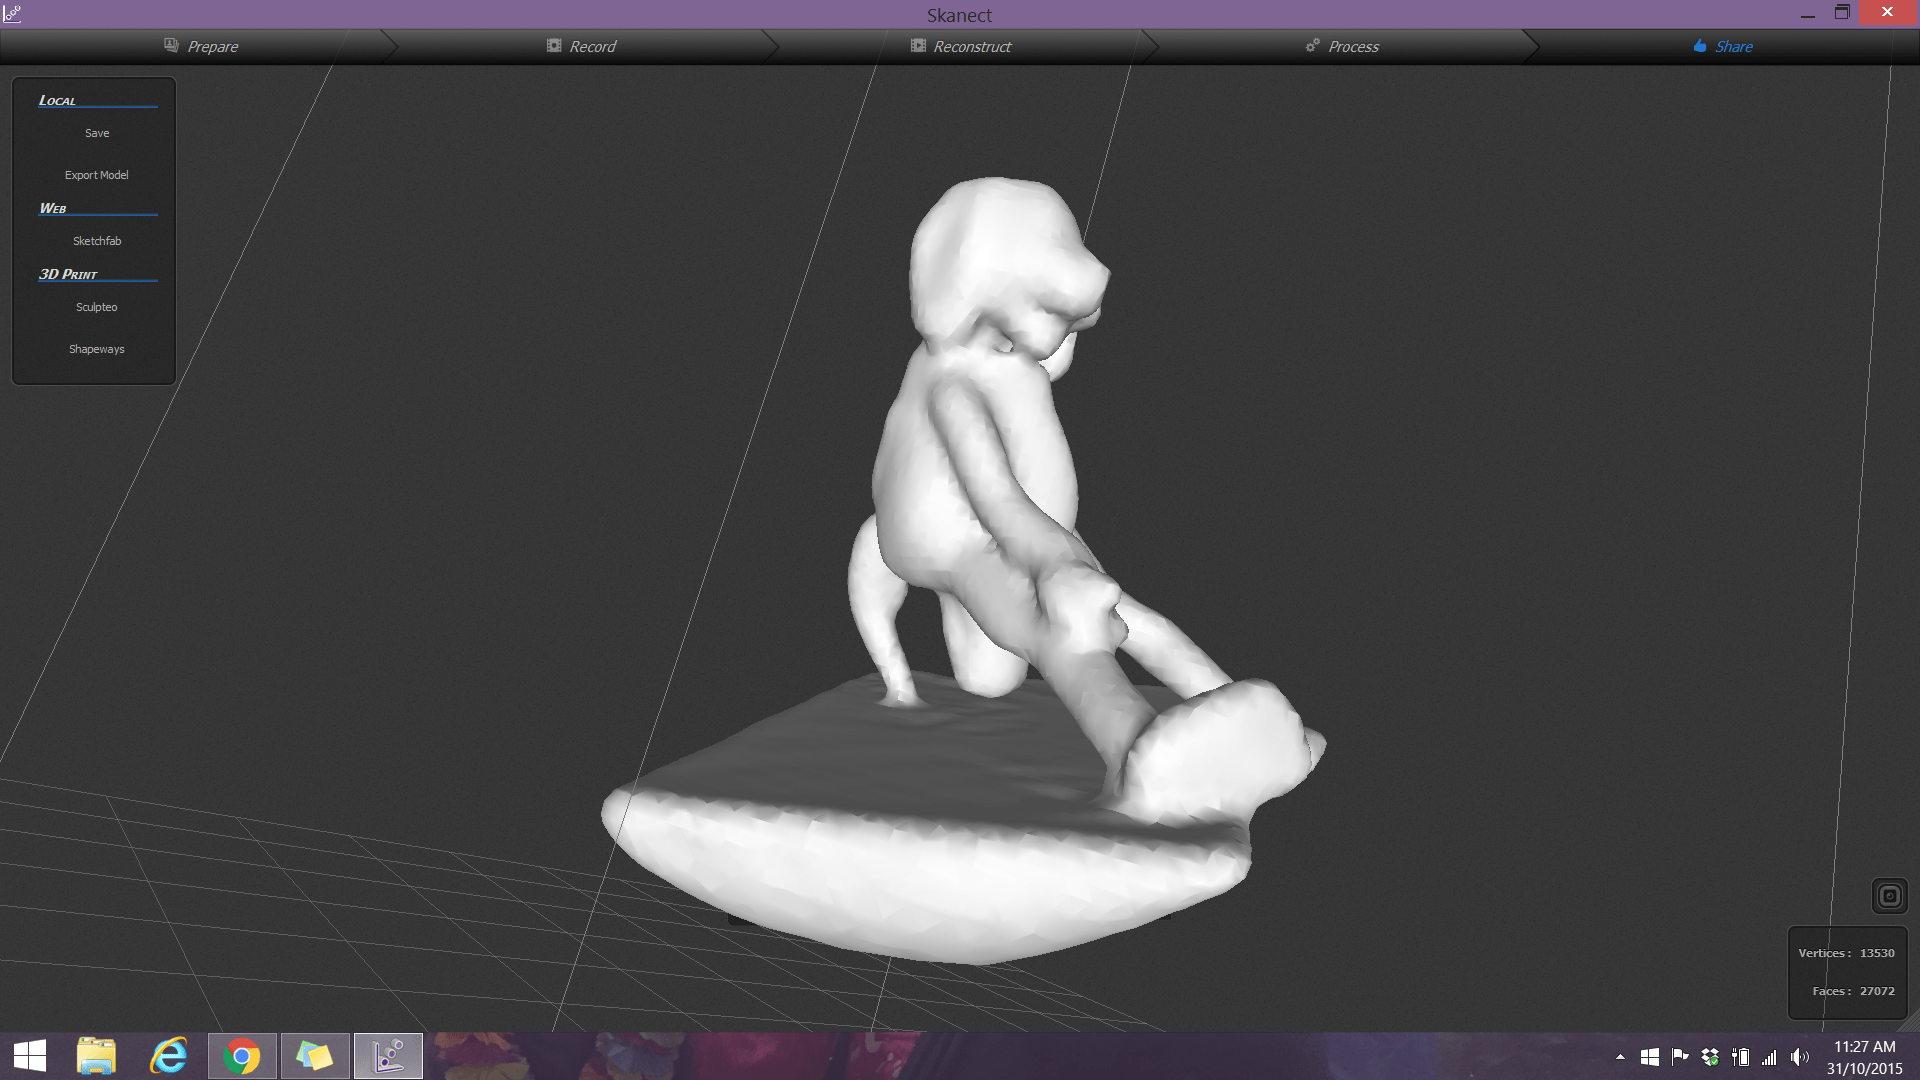
Part of my research has led me to 3D scanning and photogrammetry. Initally, back in 2015 I got to try a handheld 3D scanner that was connected to my laptop by cords called Skanect. The challenge was that there was limited software to edit the scan, and the software that came with the scanner was very difficult to manage.
First attempt at 3D scanning of one of my puppets using a handheld 3D scanner.
In early 2023, I was again exploring new tools for photogrammetry which is a form of 3D scanning using lots of individual photos, and a prop making channel I follow, gave a demonstration of a mobile app they used to make a space helmet. The demonstration they gave led me to trying the Polycam app for iPhone.
I tried the app and the paid version worked great for a small puppet part that I needed. The trick with this app is that you need to walk around the object, so it is important to place the item being scanned on a stool or stand that you can walk around.
My next step was to find a software package that I could edit the scan in. In 2021, I tried Z Brush, but I found that software package was very expensive and difficult to navigate as a first time user. It is also a software package that was not available at school- so if I learned the software, I could not share it with students. Since I have access to the Autodesk suite of products, fast forward to 2022, I started to explore Autodesk 3DS Max. Working through the training from Linkedin Learning, my experience was this software was more focused on building environments rather than characters.
Now in 2023, I have just attended a workshop called Digtal Tools for Analogue Makers taught by Philip Millar (@puppetryschool) at the Melbourne Festival of Puppetry on July 1, 2023. In the pre-workshop reading, Philip not only recommended Polycam as one of many 3D scanning tools, but also Blender as the modeling software. Blender is a free, open source program that is very similar to ZBrush in it’s capabilities, and it is available for the computers at school! I found an incredible YouTube video on how to use Blender with a drawing tablet to help me learn the program very quickly.
Early stage sculpting of a UV sphere in Blender
Late stage sculpting of a head following the YouTube tutorial
Polycam scan result
Importing the Polycam scan into Blender.
Final sculpt in Blender side by side with the original sample.
3D printed version from Blender next to the original puppet nose
One of the most challenging steps was removing the background surface from the scan result without damaging the scanned part I required. Each polygon had to be individually deleted.
The resulting mesh was only the surface of the puppet nose- there was no thickness that would support a 3D print. I had to learn how to add the back by closing the mesh, then began a process of refining the mesh and smoothing the polygons. I completed the process by adding a rectangular prism to the mesh and aligning it to flatten the back. It meant I had to install an add on called Booltools.
I have curated a playlist of YouTube videos and websites I found helpful in the past week as I have been trying ideas to achieve my goals.
I really struggled with orienting the mesh so that I could use the grab and smooth tools symmetrically. It is something I still have to learn more about. In all, I am really excited by what I can now do with Blender.
Over the last few weeks, I have been involved in many video conferencing calls for both my teaching world and my puppetry world. When I have used Zoom, I have used their virtual background feature, and it works really well to a point. The tricky part is if I want to show the other people in the call an object, or even play with a puppet, the virtual background without the green screen option cannot include the object beside me such as a puppet on my arm.
My first thought was, can I use a substitute fabric as a green screen/ chroma key background? I wanted to focus on using the materials I had at home that are a solid colour. I started out exploring bed sheets since they are light to hang up. I had one that is a blue grey colour, and the other was a pale green. While setting up for filming, my new woven polyproplene green screen that I had purchased on Amazon arrived, so now I could compare the effects.
Phone filming setup with zoom running on the computer in the background
Blue bed sheet covering my book case
Green bed sheet covering the book case
Stylus tipped pen to control my watch
Apple Watch app controlling the phone camera
Results from the experiment
In Zoom, I got best results from using the green bed sheet and the commercial green screen without any additional lighting apart from the ceiling downlights.
In editing using Adobe Premiere Pro- I got the cleanest background removal results from the professional green screen.
If I was to do the experiment again, I want to see what would happen if I added lights to the sheet/ screen only to even out the colour difference across the surface. I would also iron or smooth out the surface to see if the background removal was more successful.
Arduino is not only a fabulous circuit board, but it is also it’s own language with its own grammar and syntax rules. Using the Arduino basics course from Stan Winston School of Character Arts, I was able to program my Arduino Uno board to do some very simple functions.
Such as:
Programming a buzzer to make sound,
https://www.instagram.com/p/Bc2wpS1DkmI/
Programming a servo to move,
https://www.instagram.com/p/Bc2zdigDI8r/
Making my first code!
https://www.instagram.com/p/Bc5f4qmjA_9/
Which has all lead towards me assembling my first actual robot!
I am calling my robot Rosie after the robot in the Jetsons. There are not enough female robots in popular culture and my long term goal is to eventually have Rosie talking like Rosie from the Jetsons! My Rosie is a 2 wheel drive platform from Jaycar, with an ultra-sonic sensor on the front so that she avoids obstacles. Assembling just the platform was tricky as the instructions were hard to find and not linked in the assembly instructions for the whole robot!
The first modification I want to make to the robot is to add a switch so I can turn her on or off. At the moment, I can only turn her off my removing a battery from the battery holder. I also want to experiment with the robot on different surfaces. I was noticing during the first drive that, the wheels got stuck on the thick nylon carpet in my house. I want to compare how Rosie runs on low pile carpet, tiles, and concrete.
What I haven’t been able to achieve yet is to take the Uno board and several other components and write custom code for it yet. So far, I am relying on code that is available in the Arduino Library or on project sheets. My next experiment for Rosie is to add a line trace module to Rosie’s base chassis and see if she can follow a line. My next experiment in coding is to see if I can combine a button press input to a potentiometer and make a joystick work.
In 2018, I will be teaching stand alone STEM classes instead of puppetry. First thing I want to say is I don’t like the acronym STEM which stands for Science Technology Engineering and Mathematics. I prefer STEAM with the A standing for the Arts. Creativity is a very important component when solving real world problems, and in STEAM, creativity is included under A for Arts. For the purposes of this blog, I will refer to the new course as STEAM. So, if you prefer to leave the A out, that’s fine, but I will be all inclusive and call it STEAM.
I have never taught STEAM as a subject before. I have taught many students and colleagues a great deal about using technology to solve problems in teaching and learning but not within the framework of STEAM. I have also used a great many principals of STEAM within my puppet building, through project based learning, iterations and 3D printing. I will be teaching stage 4, which so far, has no program or resources that I am aware of, that can guide my preparation over summer. My school does have access to the amazing iSTEM Syllabus and online resources but the course I am teaching cannot overlap that sensational course.
So what am I doing to prepare myself for an unknown course?
I am creating a STEAM pinterest board of activities and classroom organisation which might help me in the year ahead.
I bought an Arduino starter kit from Jaycar Electronics to start learning how to code my own robots. The best part is I can apply this learning to my puppetry to make my first animatronics move using coding!!!!!!
My Arduino Learning kit with everything to create my first robots!
I am using the Stan Winston School of Character Arts course on Arduino Programming Basics to help me understand the potential that is within this kit.
I have completed my first little project of making an on-board LED light turn on and off by pressing a button! Here are the instructions from Arduino’s website!
All I can say is wow! It works- it’s alive!!!!! I have 16 vertebrae and 8 are moving precisely like they are supposed to! Stage 1 of the tentacle- from the tip to vertebrae 9 is moving and curling. However, for some reason, stage 2 is barely moving. Current working theory is that the brake cable housing I am using is too stiff to allow the stage 2 mechanism to move at all. I may have to make another base plate that has no large passage holes and screw all the brake cable housings into that so that the bare cable is running through the passage holes of the actual tentacle.
I am still waiting for more set screws to arrive so I can finish attaching all the vertebrae and the tail tip. While I am waiting, I have started designing the next mechanism!!!
I am about to start my summer school vacation. It has been a challenging year for me teaching and puppetry wise, but now that the year is almost over, I have some time to persue a few of my goals in learning more about mechanical design in puppets.
I have three goals in mind; 1. Design and make a cat’s tail using a cable mechanism, 2. Design and make a rotating eye mechanism, 3. Design and make a sliding control mechanism for blinking eyes. All of these mechanisms already exist in the world but, for me, making them myself will give me an opportunity to explore these shapes and movements and challenge my 3D printing and design experience.
Here are the videos that have inspired me
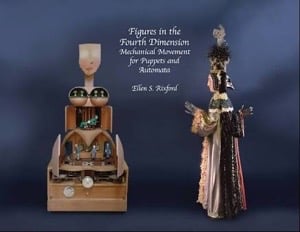
But, this book has been my chief inspiration-
Figures in the Fourth dimension- Mechanical Movement for Puppets and Automata by Ellen S. Rixford
I know it has been a while since I posted- sorry! I decided to have a little break to recharge my online batteries.
I was asked by another teacher to show her how Voki works as she wanted her languages class to create Voki’s. The process is really easy and here is a Youtube video from Teacher tube to show you how it works
and here is my first experimental voki using a Japanese voice