Going beyond parametric 3D modelling

I have been 3D modelling and 3D printing for many years, but the main program I use, Autodesk Inventor cannot model organic shapes. Inventor is a parametric modelling software so every shape is very precise which makes it fantastic for mechanical puppet parts. However, for the past three years I have wanted to learn how to digitally sculpt more organic, natural shapes such as horns, eyes, noses that are not perfectly symmetrical.

Part of my research has led me to 3D scanning and photogrammetry. Initally, back in 2015 I got to try a handheld 3D scanner that was connected to my laptop by cords called Skanect. The challenge was that there was limited software to edit the scan, and the software that came with the scanner was very difficult to manage.
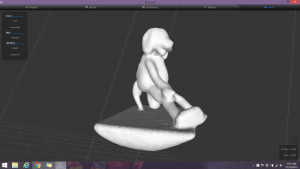
First attempt at 3D scanning of one of my puppets using a handheld 3D scanner.

In early 2023, I was again exploring new tools for photogrammetry which is a form of 3D scanning using lots of individual photos, and a prop making channel I follow, gave a demonstration of a mobile app they used to make a space helmet. The demonstration they gave led me to trying the Polycam app for iPhone.

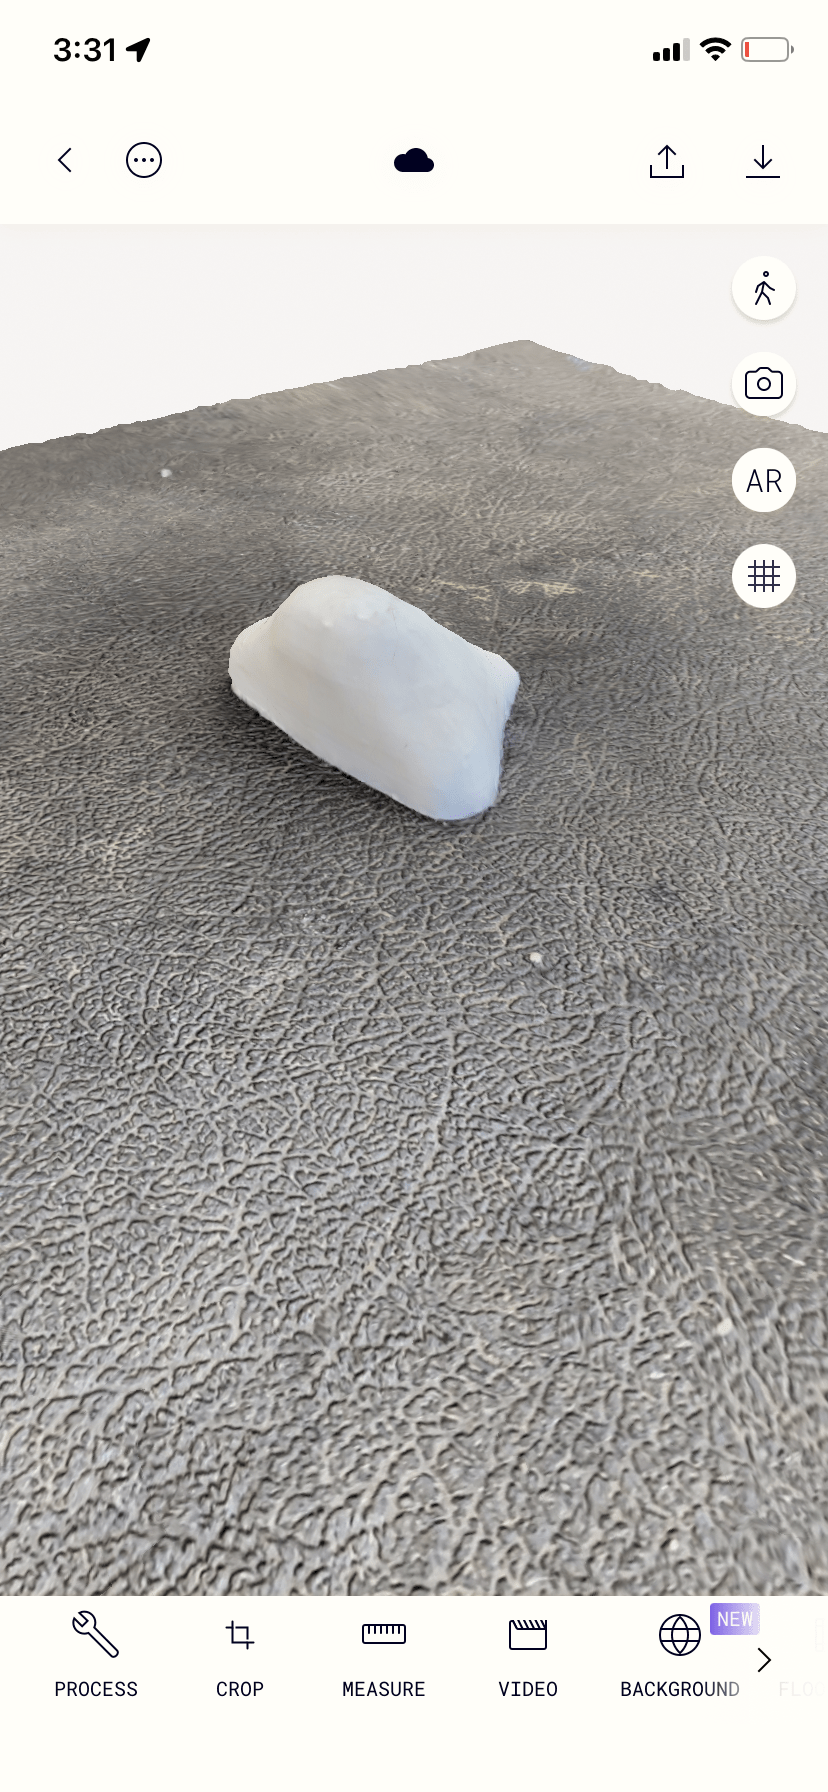
I tried the app and the paid version worked great for a small puppet part that I needed. The trick with this app is that you need to walk around the object, so it is important to place the item being scanned on a stool or stand that you can walk around.

My next step was to find a software package that I could edit the scan in. In 2021, I tried Z Brush, but I found that software package was very expensive and difficult to navigate as a first time user. It is also a software package that was not available at school- so if I learned the software, I could not share it with students. Since I have access to the Autodesk suite of products, fast forward to 2022, I started to explore Autodesk 3DS Max. Working through the training from Linkedin Learning, my experience was this software was more focused on building environments rather than characters.

Now in 2023, I have just attended a workshop called Digtal Tools for Analogue Makers taught by Philip Millar (@puppetryschool) at the Melbourne Festival of Puppetry on July 1, 2023. In the pre-workshop reading, Philip not only recommended Polycam as one of many 3D scanning tools, but also Blender as the modeling software. Blender is a free, open source program that is very similar to ZBrush in it’s capabilities, and it is available for the computers at school! I found an incredible YouTube video on how to use Blender with a drawing tablet to help me learn the program very quickly.

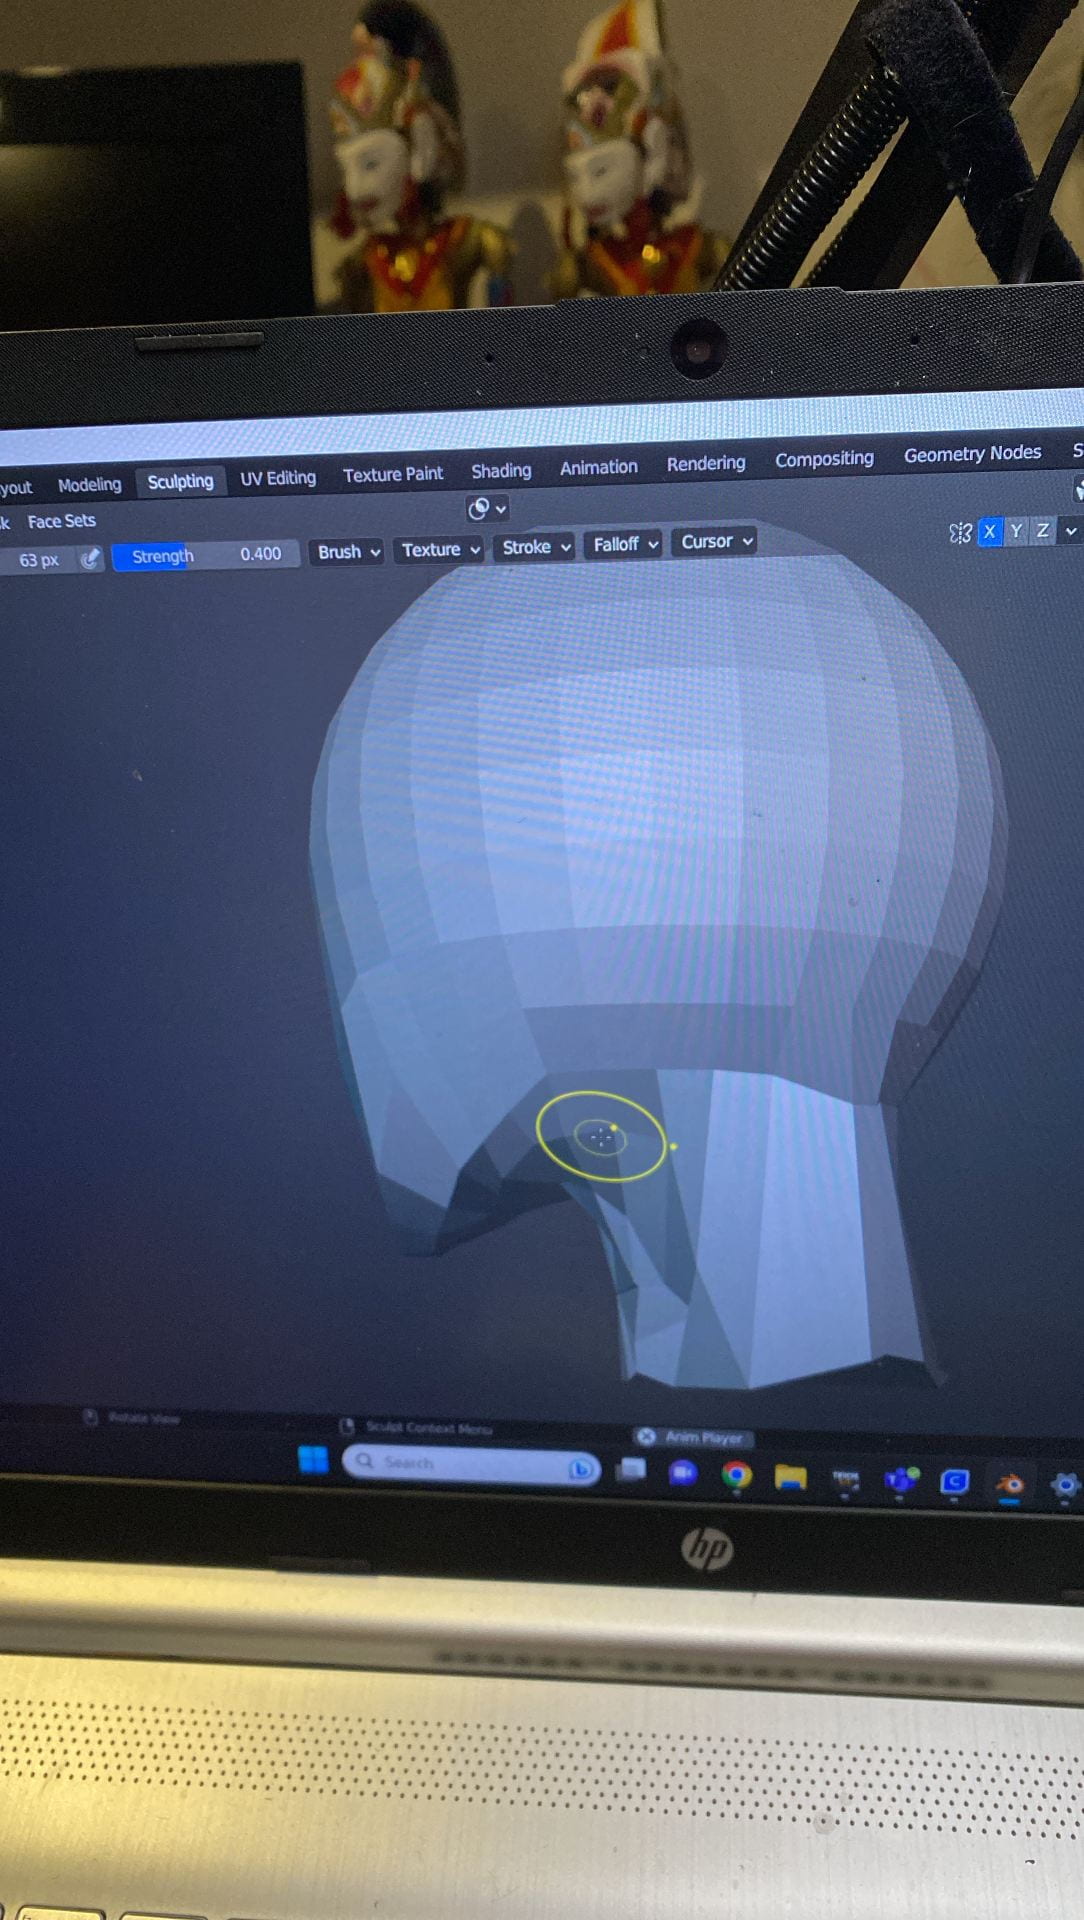
  • Early stage sculpting of a UV sphere in Blender

One of the most challenging steps was removing the background surface from the scan result without damaging the scanned part I required. Each polygon had to be individually deleted.

The resulting mesh was only the surface of the puppet nose- there was no thickness that would support a 3D print. I had to learn how to add the back by closing the mesh, then began a process of refining the mesh and smoothing the polygons. I completed the process by adding a rectangular prism to the mesh and aligning it to flatten the back. It meant I had to install an add on called Booltools.

I have curated a playlist of YouTube videos  and websites I found helpful in the past week as I have been trying ideas to achieve my goals.

I really struggled with orienting the mesh so that I could use the grab and smooth tools symmetrically. It is something I still have to learn more about.  In all, I am really excited by what I can now do with Blender.
Making the Alien Puppet- Time to start construction

Making the Alien Puppet- Time to start construction

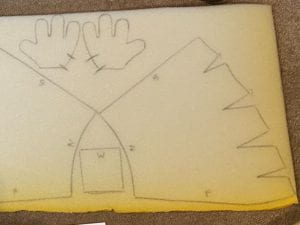
Now that the fleece is all marked out, it’s time to start construction of the foam understructure of the puppet. I tried to follow the recommended foam layout, but I discovered that the recommended layout omitted 2 of the 4 foam hands, and if I used the recommended layout, all the foam pieces wouldn’t fit. I changed the layout and managed to fit all the pattern pieces on the foam provided.

top view of a sheet of foam with pattern pieces traced on it.
Working out the pattern rearrangement to fit all the pattern pieces.

My next process was to make the rigid mouth plate that goes into the puppet. For some unknown reason, my bandsaw is not working, so instead of using the provided plywood, I decided to switch to Sintra plastic sheets which is what I normally use for puppet mouth plates as Sintra can be cut with a blade.

It was when I started reading the instruction booklet for making the mouth plate for this kit, that I came to the conclusion that this kit is not for first time puppet makers. The instructions were vague on the relationship between the size and shape of the velour pattern, and the gap between the mouth plate pieces. The size of the velour pattern must be the same as the length of the mouth plate, but these are not covered in detail in the instructions.

The process I followed was-

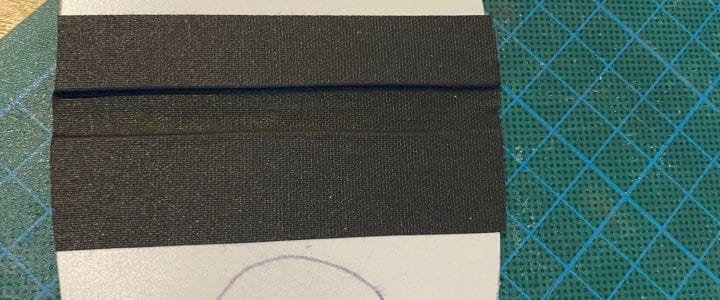
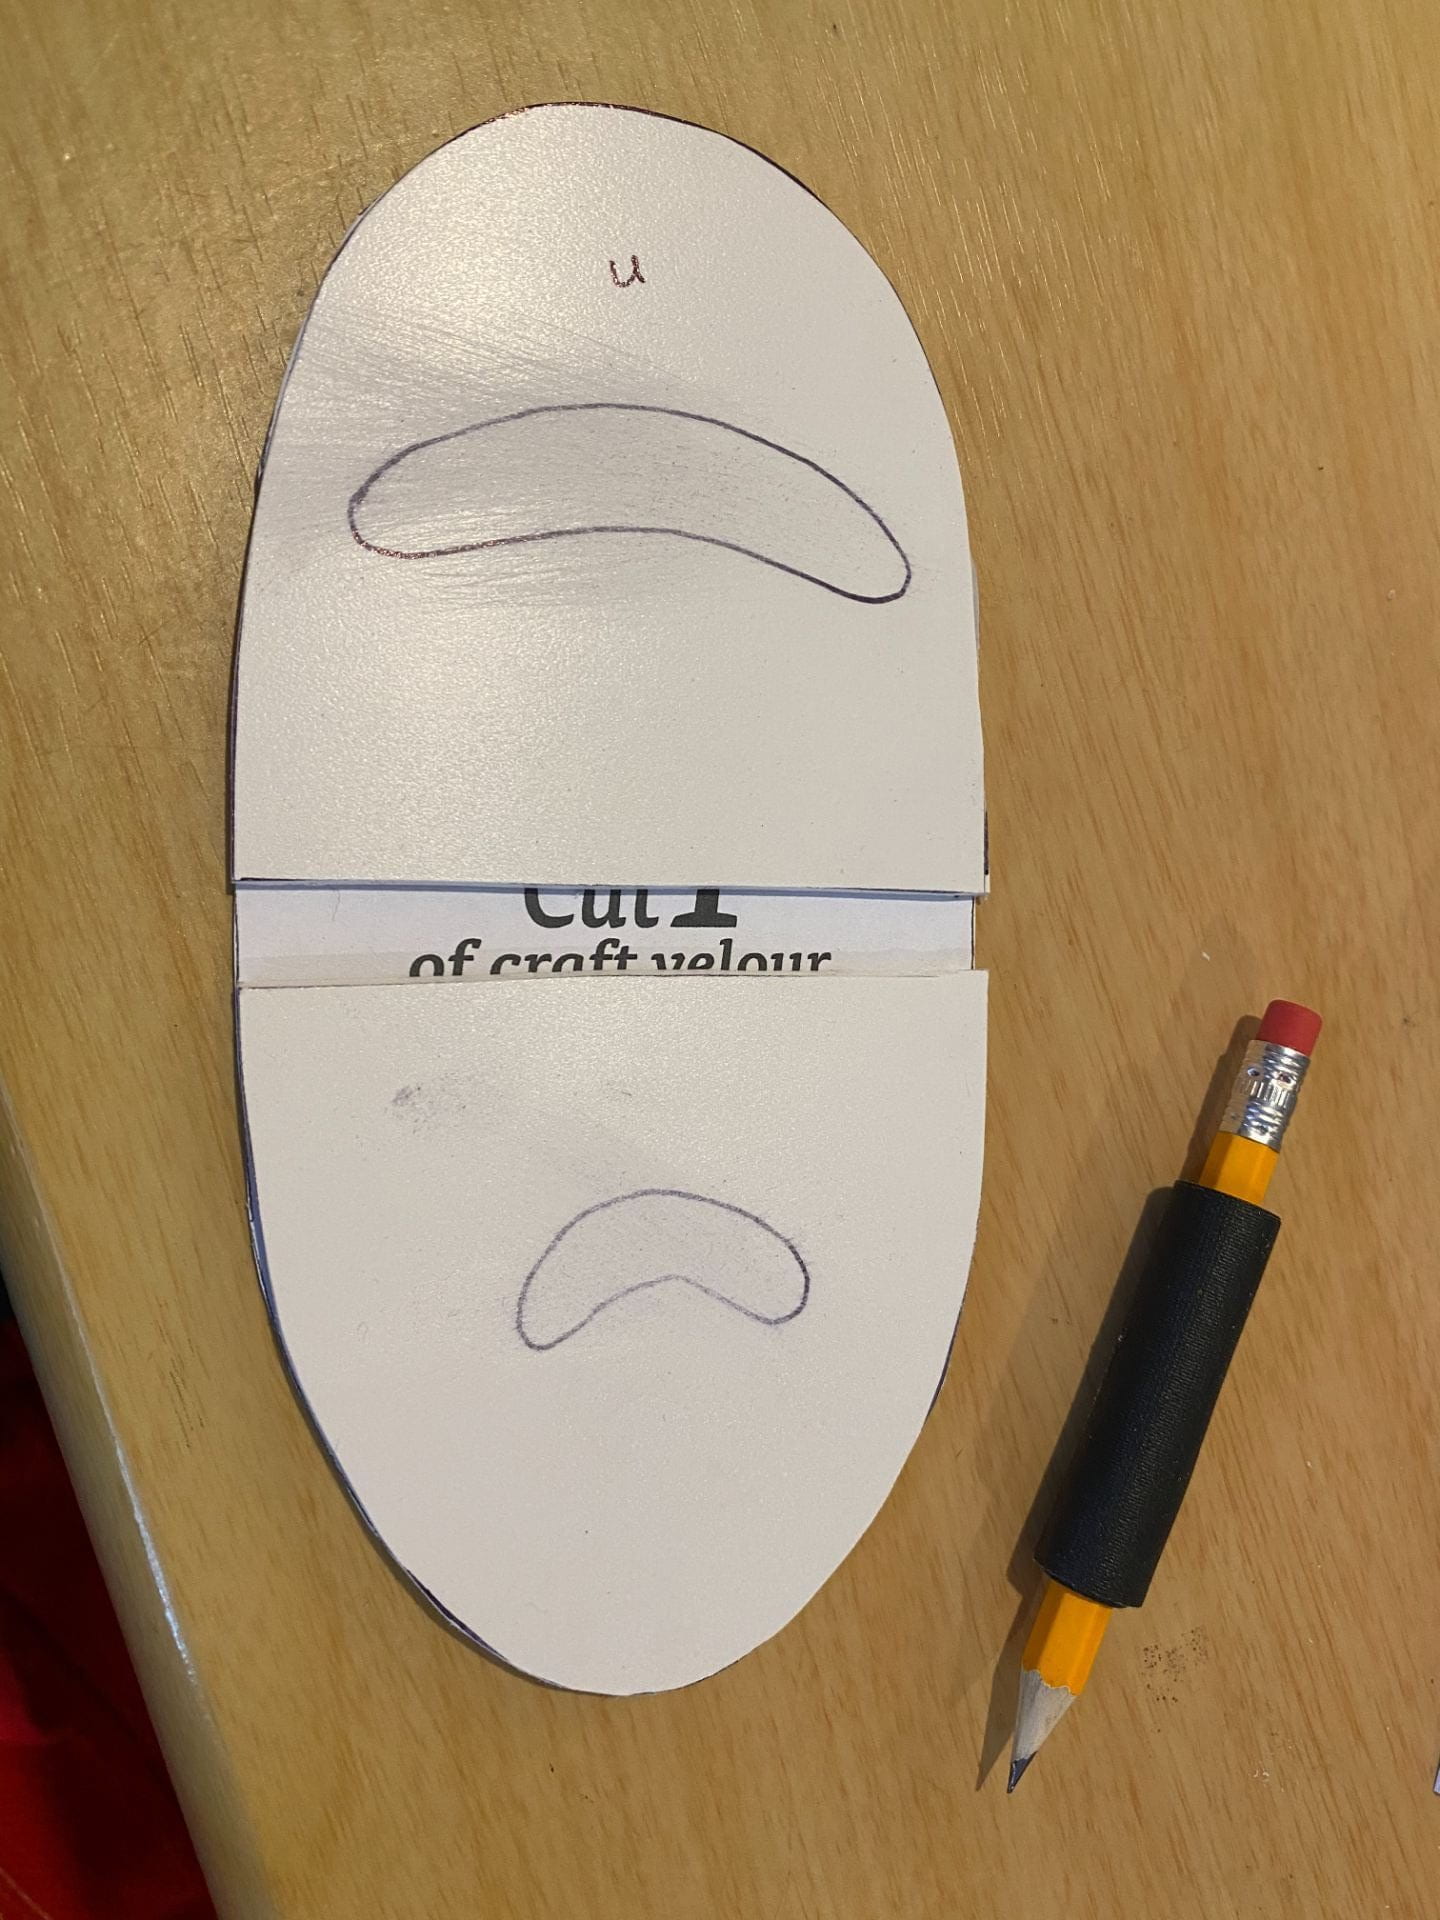
  1. Lay the plates on top of the velour pattern piece to find where the gap is.
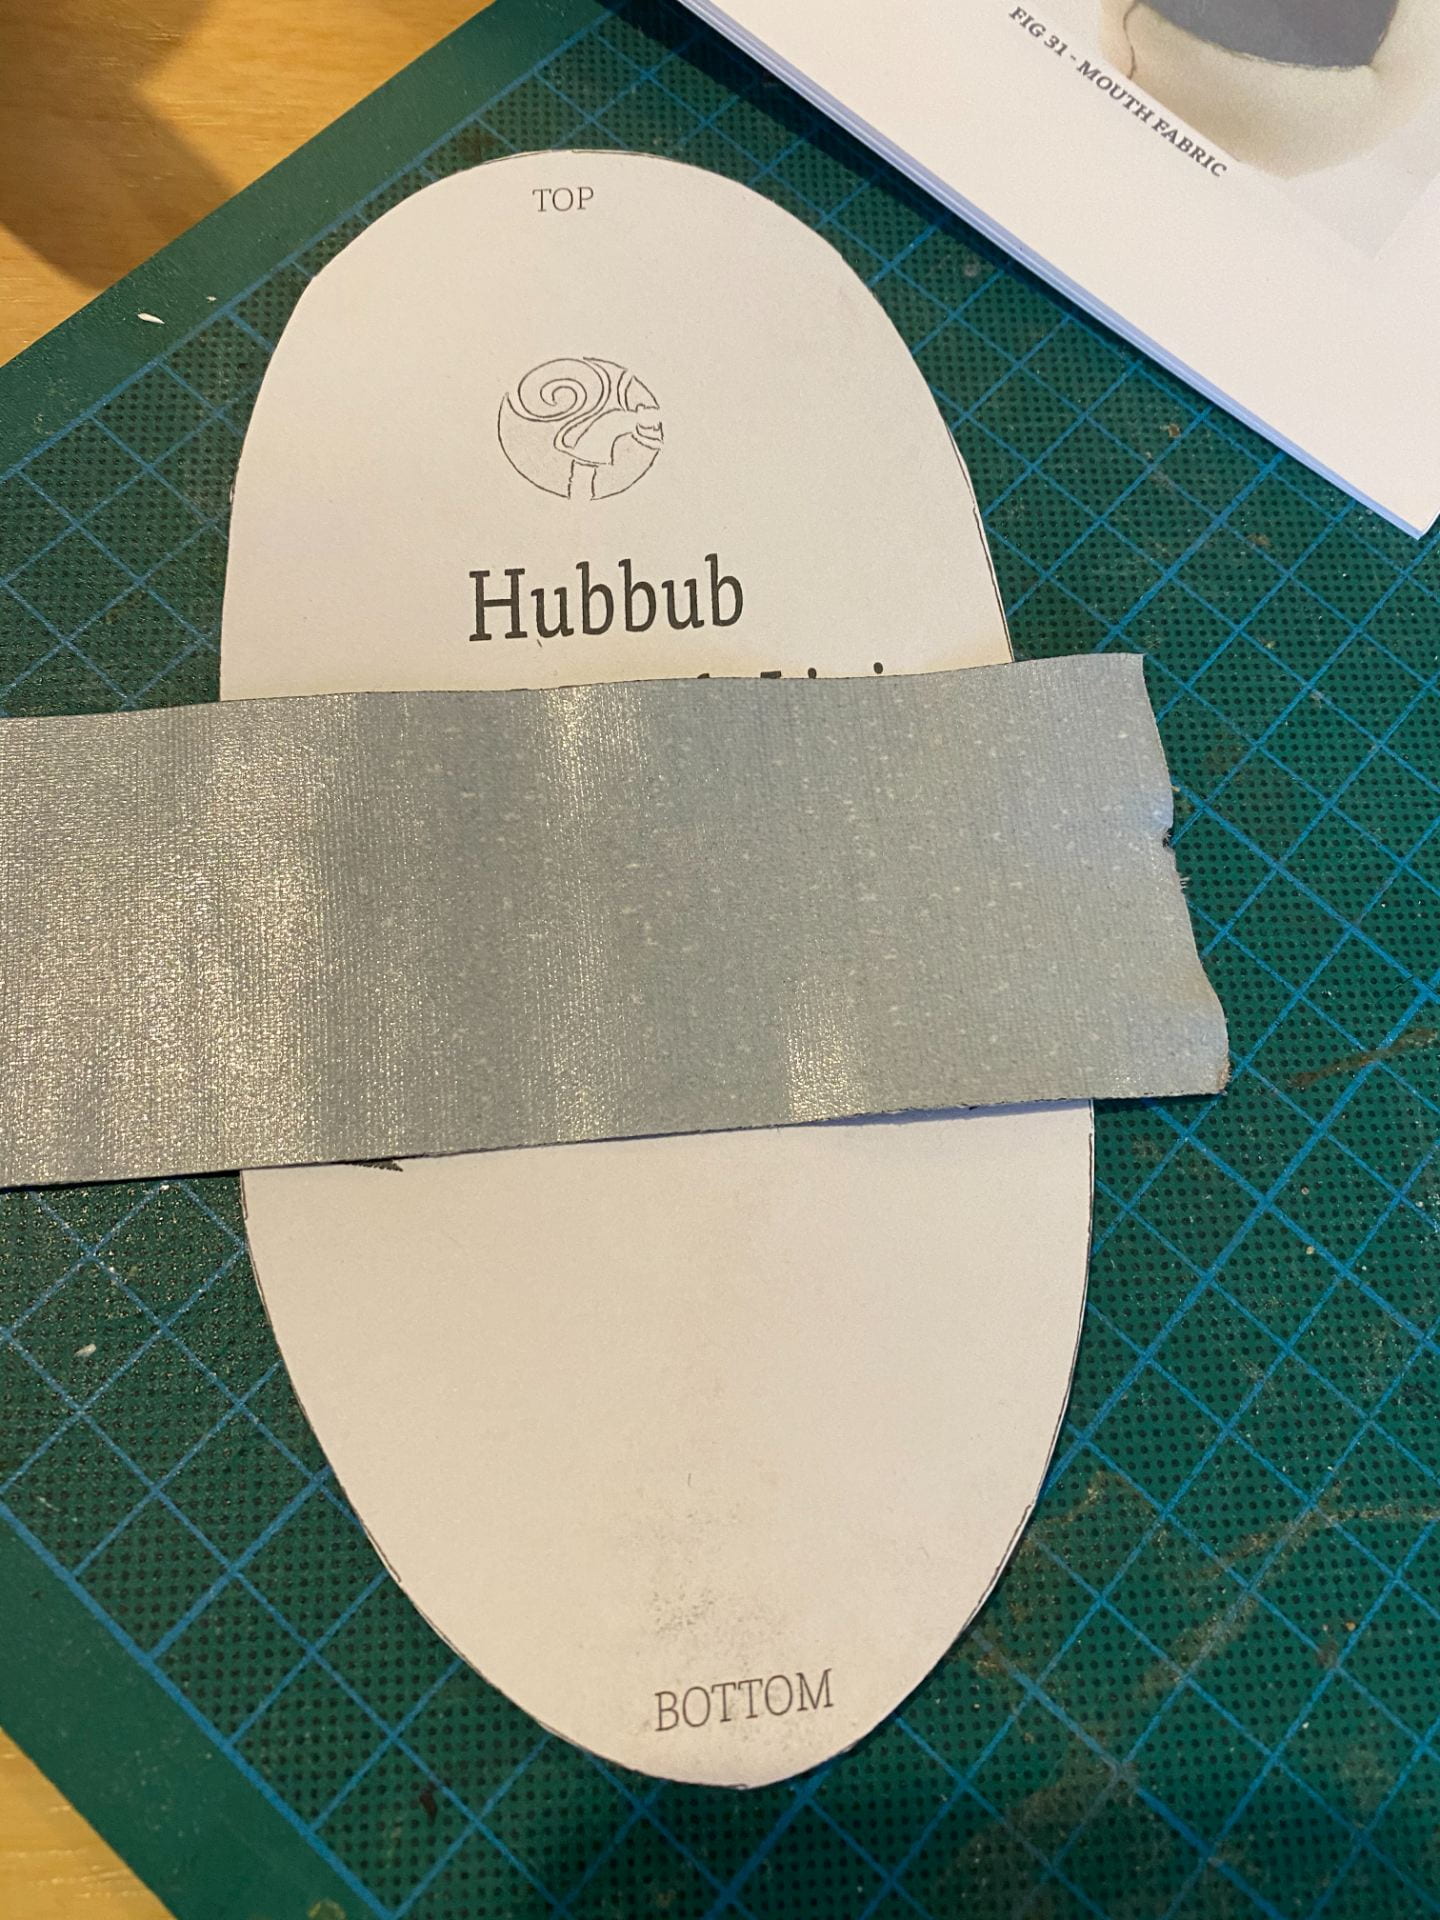
  2. Lay a piece of gaffer tape on top of the velour pattern piece sticky side up where that gap will be
  3. Lay each piece of the plate on top aligning the edges with the pattern piece and pressing it down onto the gaffer tape.
  4. Flip the assembly over and attach the second piece of gaffer tape ensuring that the tape wraps around the edges of the mouthplate gap.

Using this method allowed me to get the gap proportions right for this pattern since the dimensions are not outlined in the instructions.

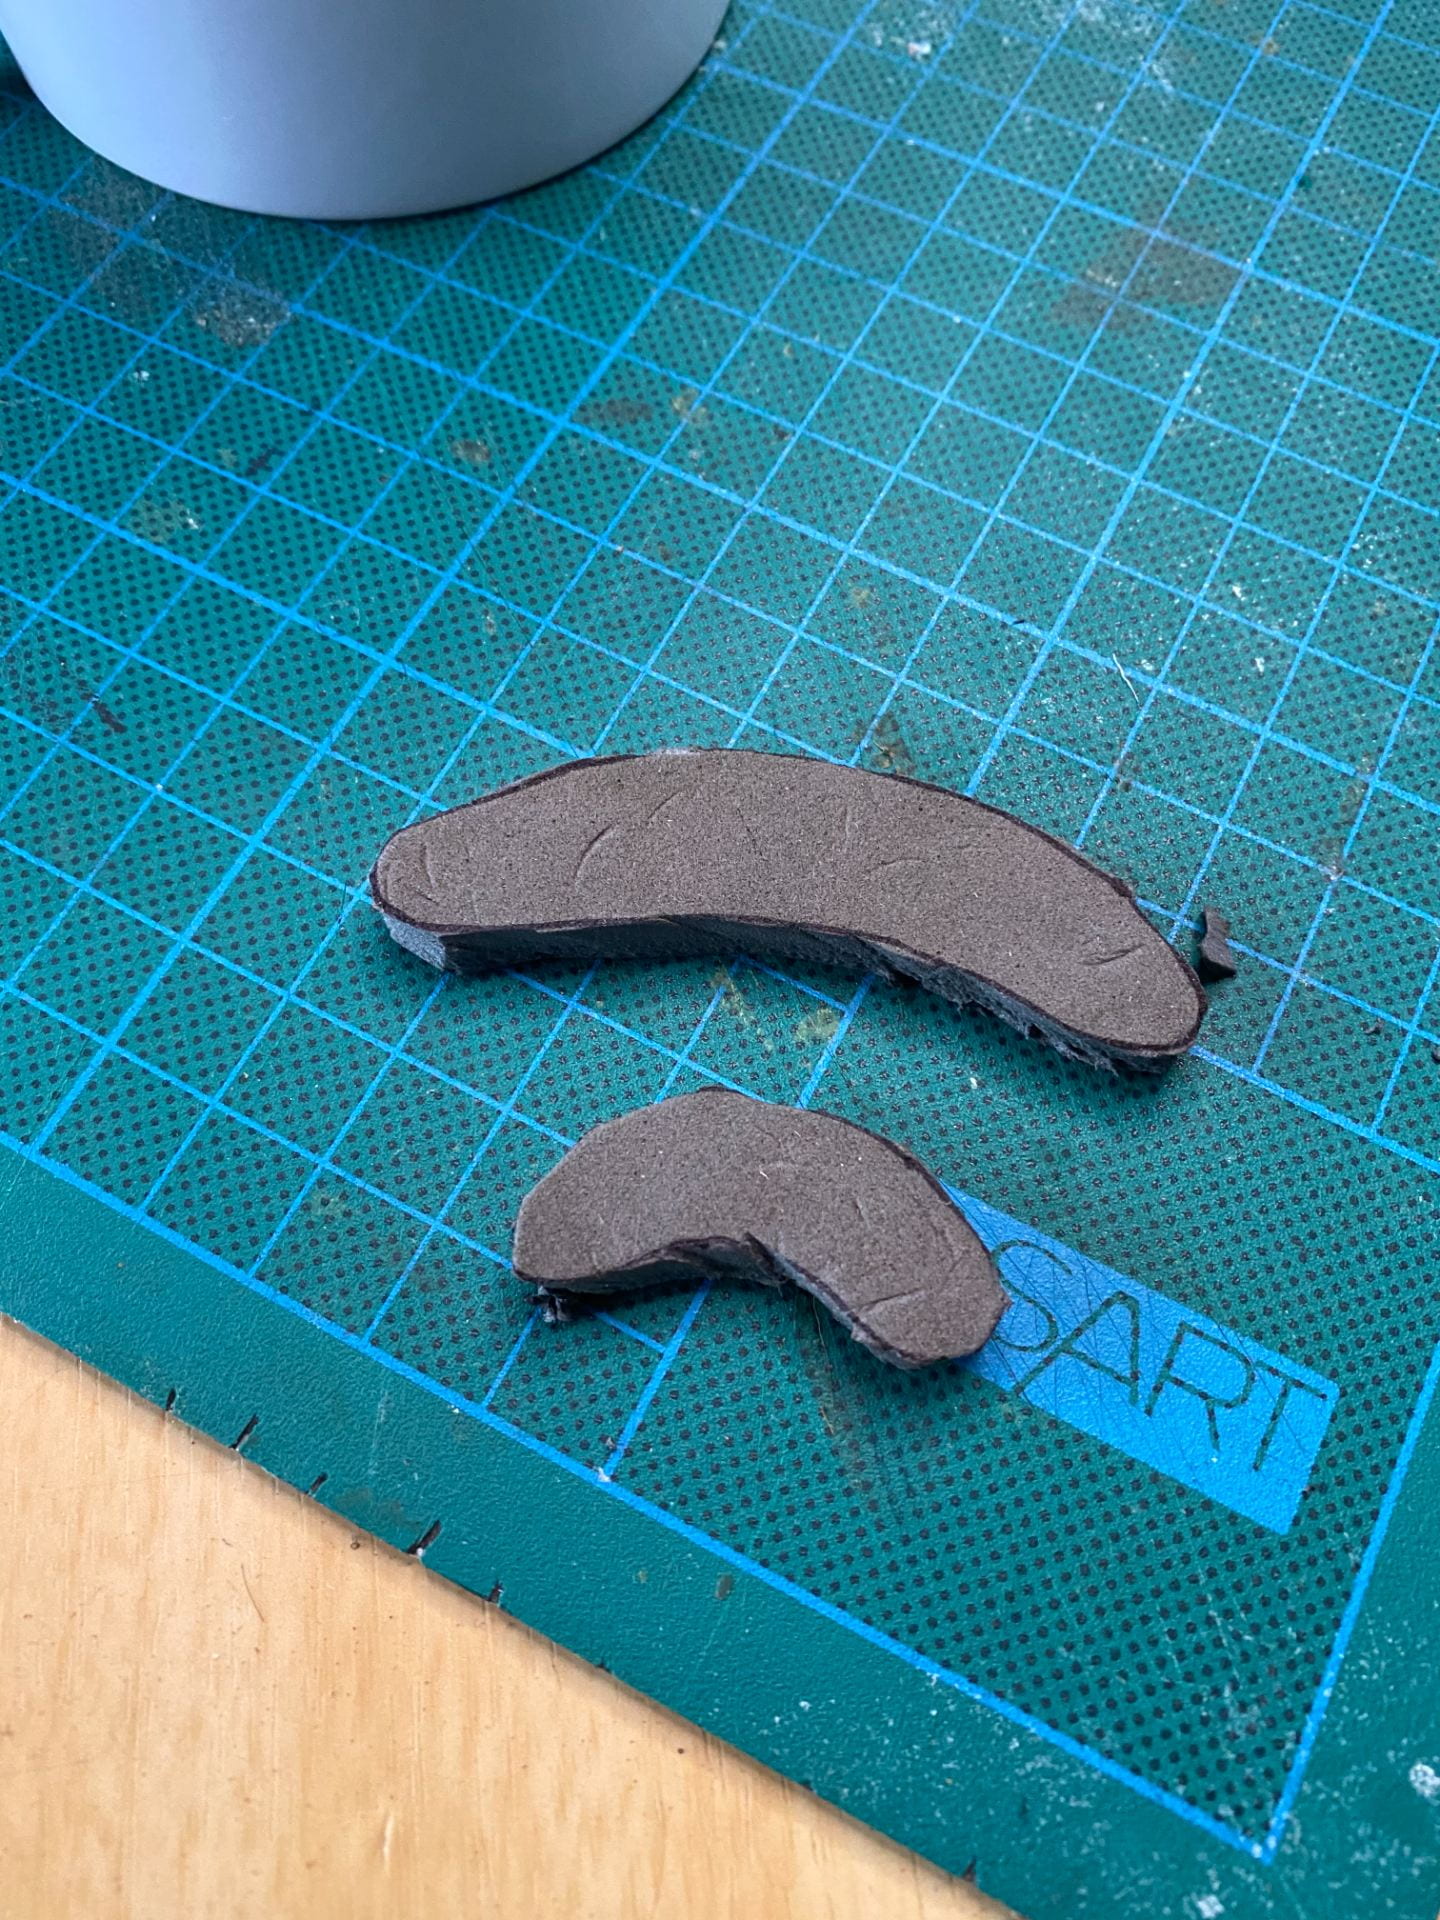
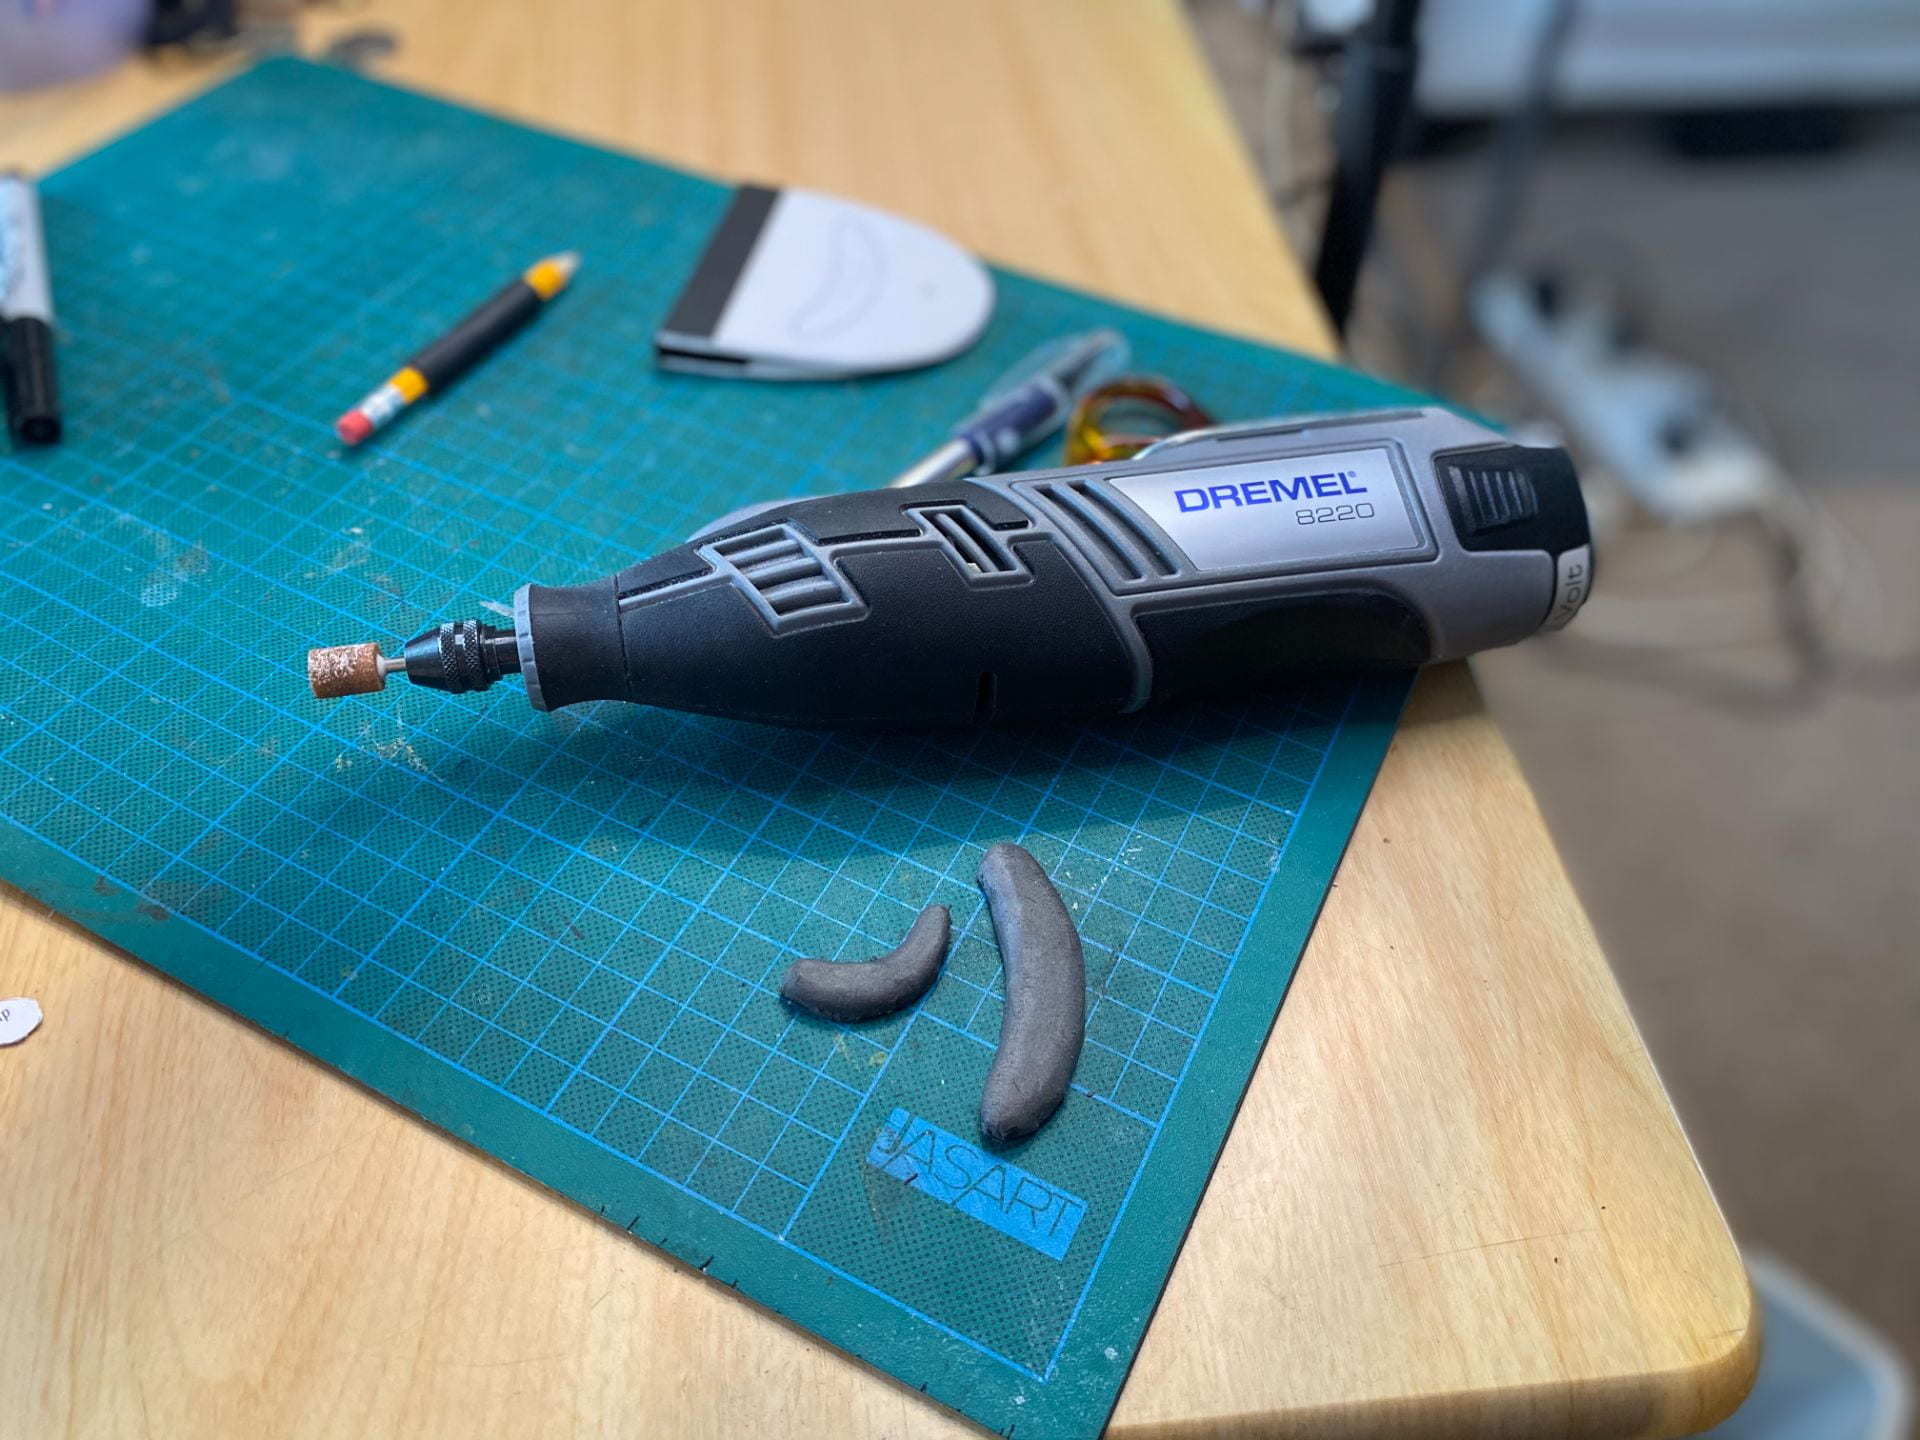
Once the plate was assembled, I used my cordless Dremel to round off the top edges of the finger grips. I then sanded the mouth plates where the grips would be located and used contact cement to glue the grips down.

  • Plastic mouth plate pieces with gaffer tape around the pencil
    Materials for making the mouth plate. Lining pattern, plastic mouth plate shapes and gaffer tape.

Katherine

Making the Alien puppet- is there enough fabric?

Making the Alien puppet- is there enough fabric?

When I filmed the unboxing, I was concerned at the amount of Nylafleece™ that was sent with the kit. The piece of fleece was 1 yard x 1 yard (90x90cm). Given that I wanted to use the same fleece to make features such as ears, eyestalks, as well as allowing for the possibility of mistakes in cutting the pattern, it didn’t feel like enough fabric at first glance.

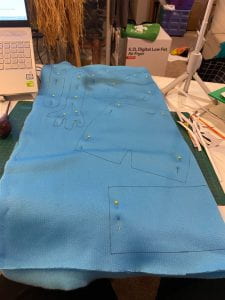
Even laying the pattern out according to the layout directions in the instruction booklet- the pattern got too close to the machine edge. I was able to adjust the layout so that I was comfortable with the distance of the pattern pieces from the machine edge, but there was very little fleece leftover for all the add ons I want to do with this character.

Blue nylafleece laid out with a pattern drawn on it.
Nylafleece with an attempt at laying out the pattern drawn on it.


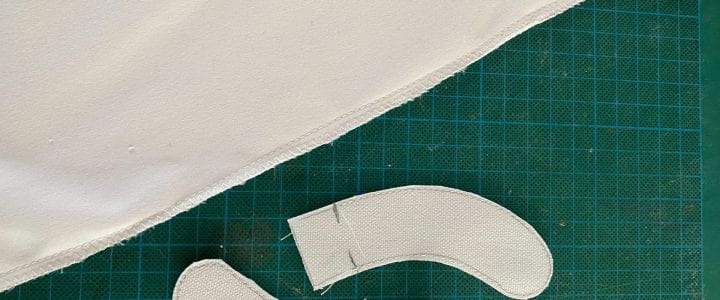
After preparing the fleece pattern, I also took the opportunity to prepare the arm sleeve using the provided stretch satin, as well as the rod pockets in duck cloth. I normally use a dance fabric like lycra because it is more stretchy than the provided satin, and it slides onto the arm with ease. Laying out, and sewing these pieces was straight forward, but as soon as I cut the satin out, it started to fray really badly around the edges. I decided to oversew the raw edge using a zig zag stitch even though this was not in the instructions. The arm sleeve and rod pockets are the only parts of this puppet I intend to sew on the sewing machine. The rest of the puppet will be handsewn.

2 bean shaped rod pockets beside a close up view of a puppeteers arm sleeve
Oversewn arm sleeve and rod pockets.

Building my Alien puppet- designing the character

My design for this puppet is to build an Alien character as I don’t  have an alien in my puppet collection, plus I was trying to work out what to do with Ocean blue fleece. I also want to challenge myself with this puppet, by incorporating an eye mechanism that I have admired for years, as well as try to incorporate some foam patterning to build up the base shape.

In terms of character, this yet un-named alien is friendly, and is obsessed with things that smell nice like fresh baked cookies, flowers, perfume. On it’s planet- smell is the basis of their economy. So this character is looking for nice smells to take back to it’s planet for trade.

The mechanism is a closing eye- and to add to the challenge, I want to put it up on stalks above the head! I figured out the layers of the mechanism while watching the character of Polly in Muppets Treasure Island.  I am still trying to figure out if the trigger for the eye mech will be inside the head, or down on the arm rod for the puppet, but that is a decision for down the road.

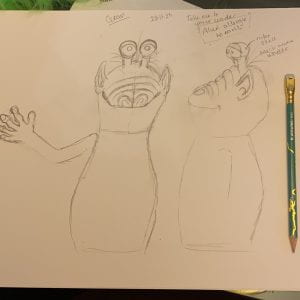
Pencil sketch showing front and side views of my alien puppet
My design for the Alien puppet using the Hubbub puppet pattern

The rising trend of puppet kits- Opening the Monkey Boys Kit

The Coronavirus (Covid-19) Pandemic has encouraged everyone to find alternative ways to be creative. This is no different in the puppet world. Since it is not currently safe to hold a workshop to teach how to build a puppet, there is a rising trend of well known puppet-makers teaming with suppliers to send out puppet making kits that contain everything someone needs to make a foam hand puppet. During November 2020, two US based puppet company’s released puppet kits- Puppet Pelts, and Monkey Boys Productions.

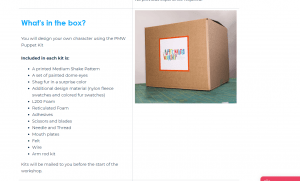
The Puppet Pelts kit- known as the Puppet Makers Workshop contains everything required to build a hand and rod puppet including contact cement, which meant it cannot be shipped overseas. Here is a picture from their website of what is in the box-

Listing of the supplies in the box

List of supplies in the Puppet Pelts kit

The other company is Monkey Boys Productions based in Pennsylvania USA. They released 4 kits called Flick, Splat, Hubbub and Yawp. The difference between the two kits was that the Monkey Boys kits contain everything except 6 items- scissors, glue, fabric marker, chalk, sewing machine, and wire for arm rods. This meant that the kit could be shipped to me in Australia. Another difference is that the Monkey Boys kit does not come with a 5 session video workshop, but it does come with an instruction book, and video tutorials where required.

You can see and order the kits from the Monkey Boys online store

I ordered the Hubbub kit because I liked the interesting head shape, and as a puppet making teacher, I am interested in how puppet kits are put together so that people who don’t have access to the best quality supplies, can access them. I filmed an unboxing of the kit to record what you get in the Monkey Boys Pro Puppet Kit known as Hubbub.

I intend to share this puppet making journey here on my blog as I turn the Monkey Boys Kit into an Alien character.

Katherine

Puppeteering/ Zooming from home- experimenting with bed sheets as green screens

Puppeteering/ Zooming from home- experimenting with bed sheets as green screens

Over the last few weeks, I have been involved in many video conferencing calls for both my teaching world and my puppetry world. When I have used Zoom, I have used their virtual background feature, and it works really well to a point. The tricky part is if I want to show the other people in the call an object, or even play with a puppet, the virtual background without the green screen option cannot include the object beside me such as a puppet on my arm.

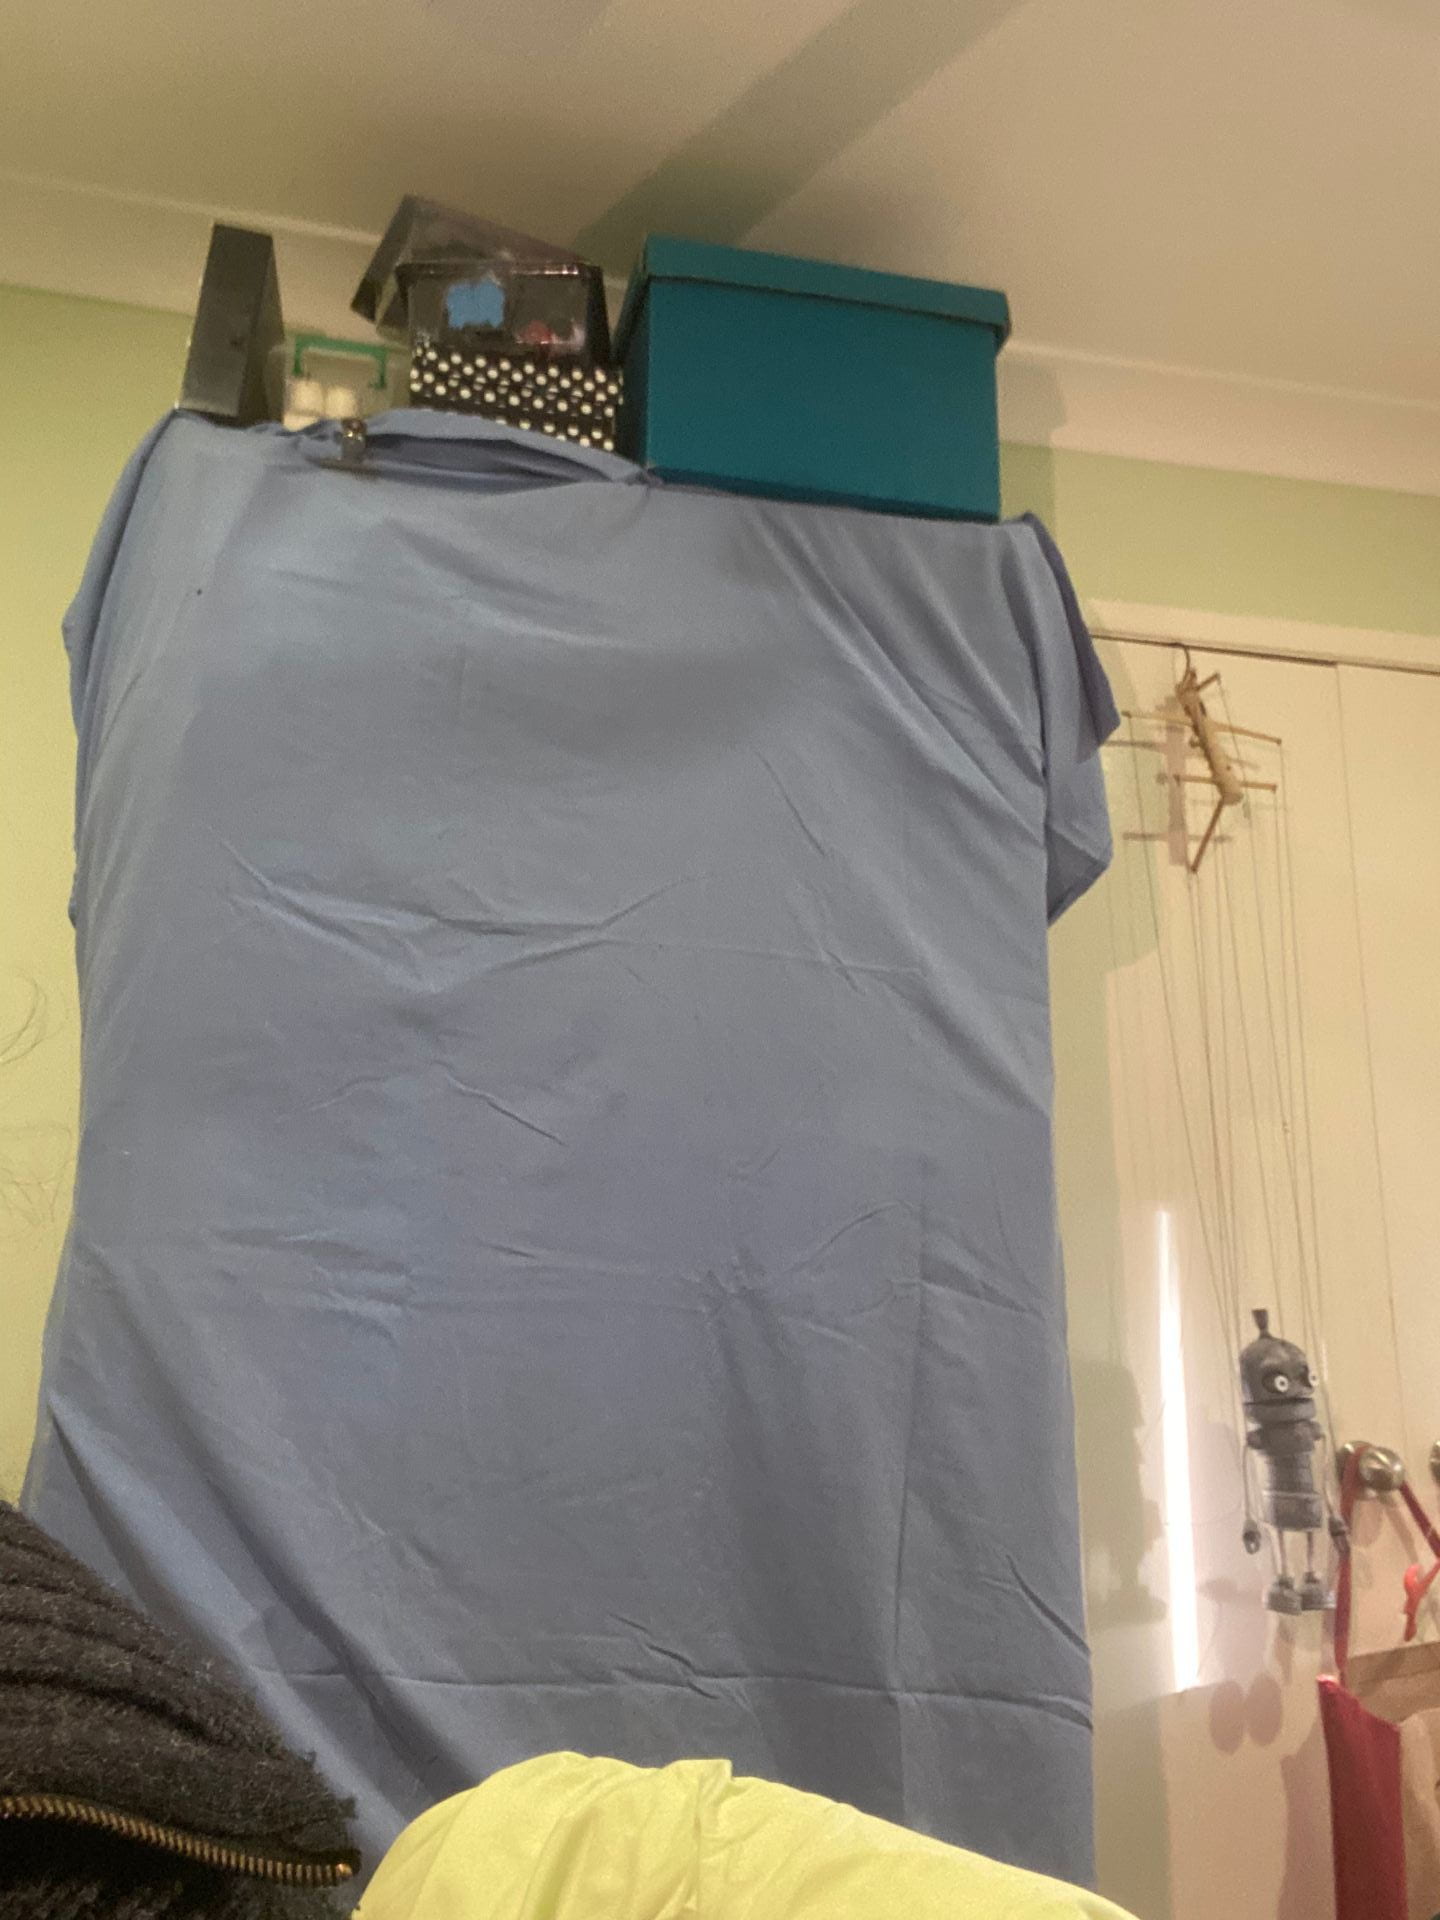
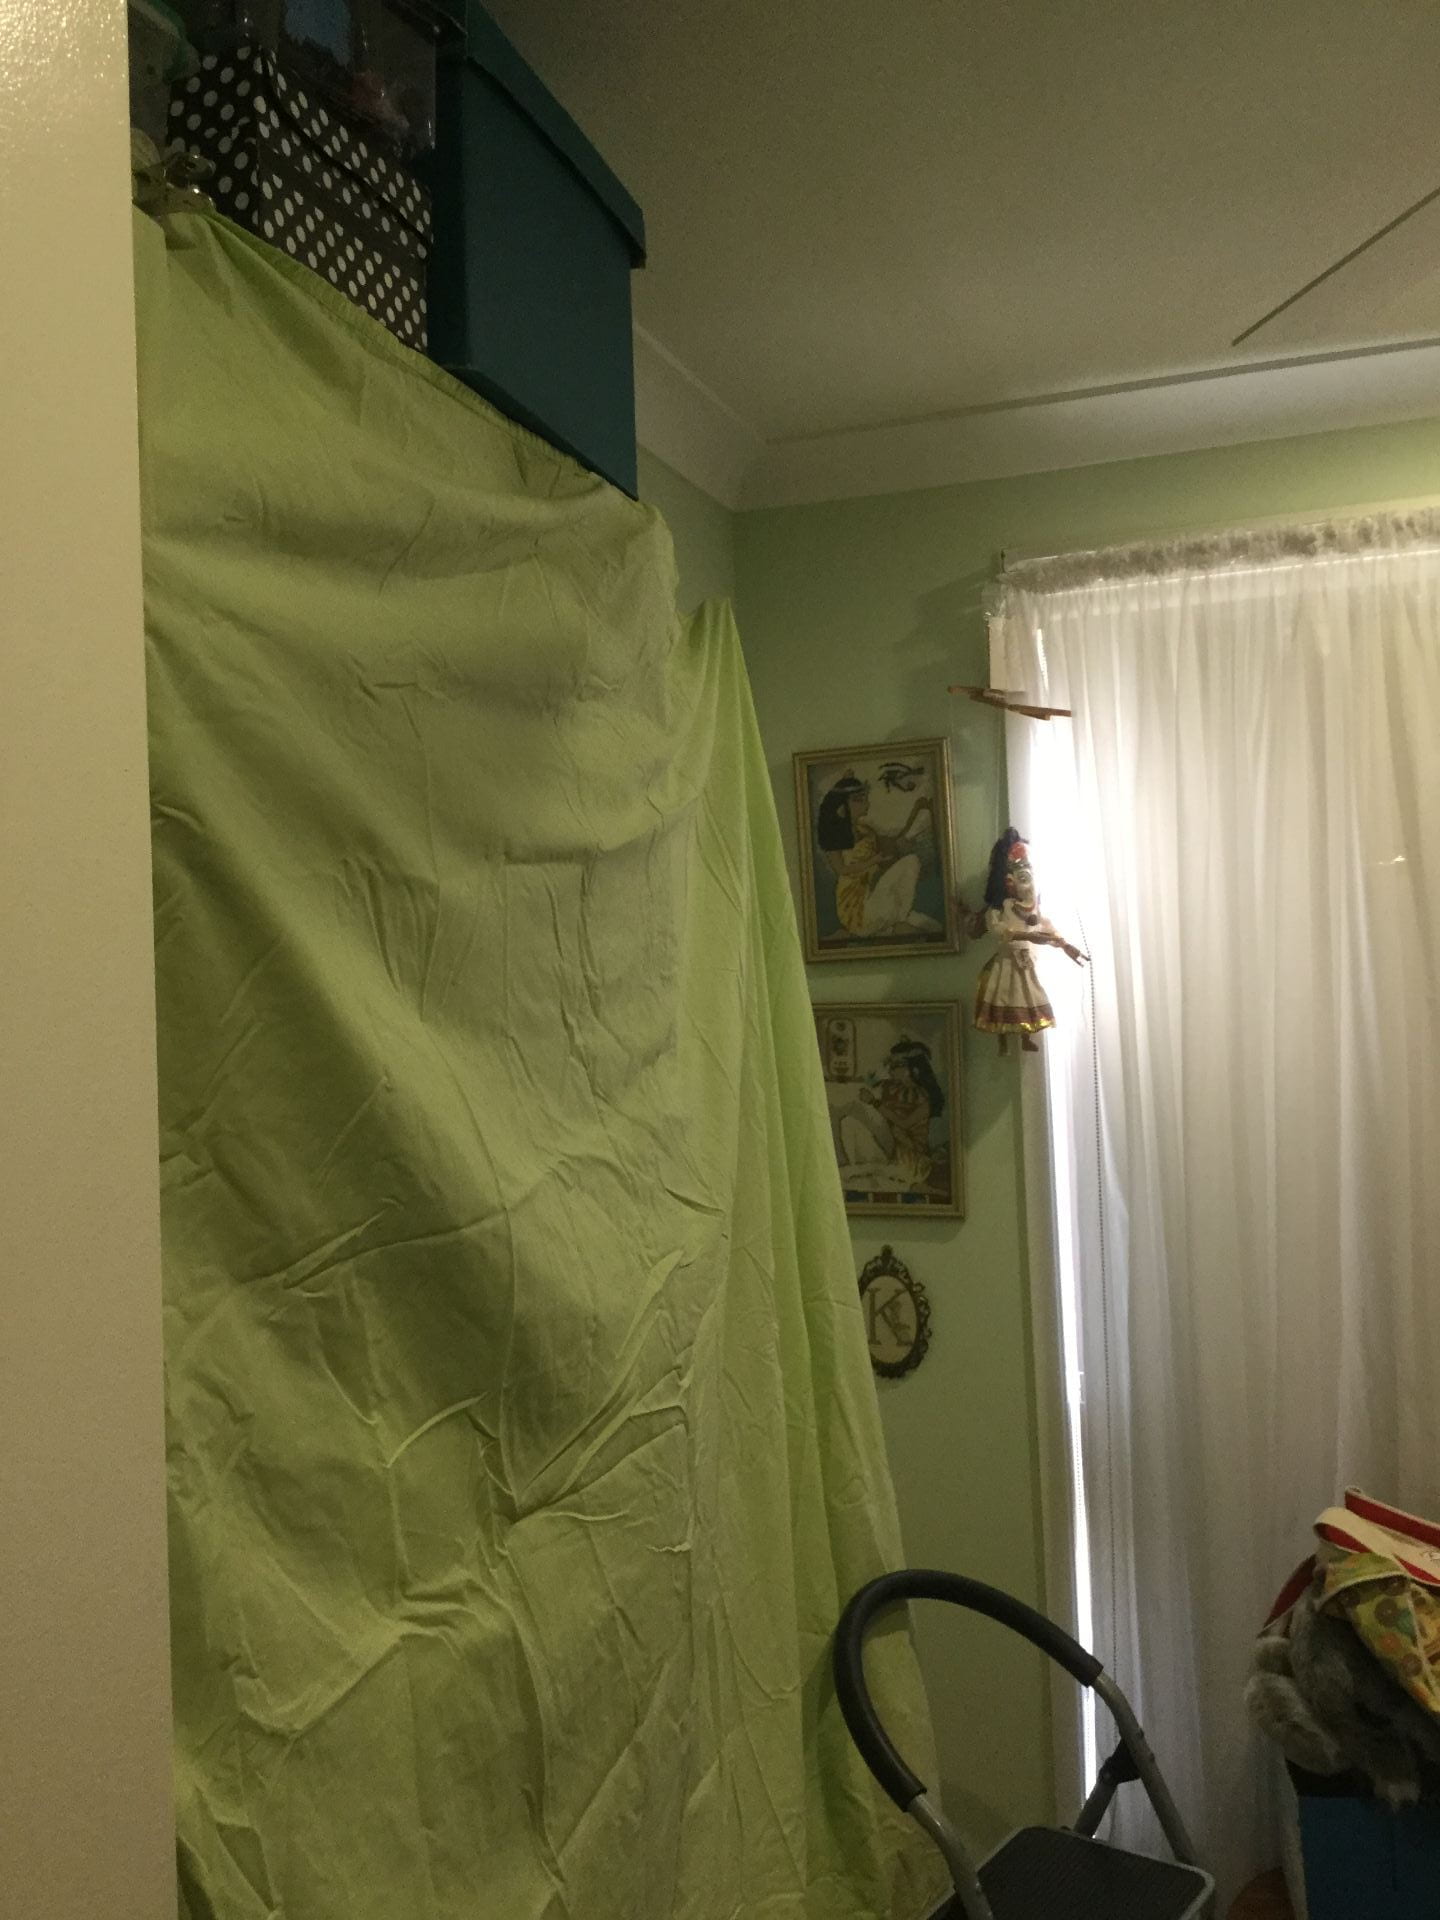
My first thought was, can I use a substitute fabric as a green screen/ chroma key background? I wanted to focus on using the materials I had at home that are a solid colour. I started out exploring bed sheets since they are light to hang up. I had one that is a blue grey colour, and the other was a pale green. While setting up for filming, my new woven polyproplene green screen that I had purchased on Amazon arrived, so now I could compare the effects.

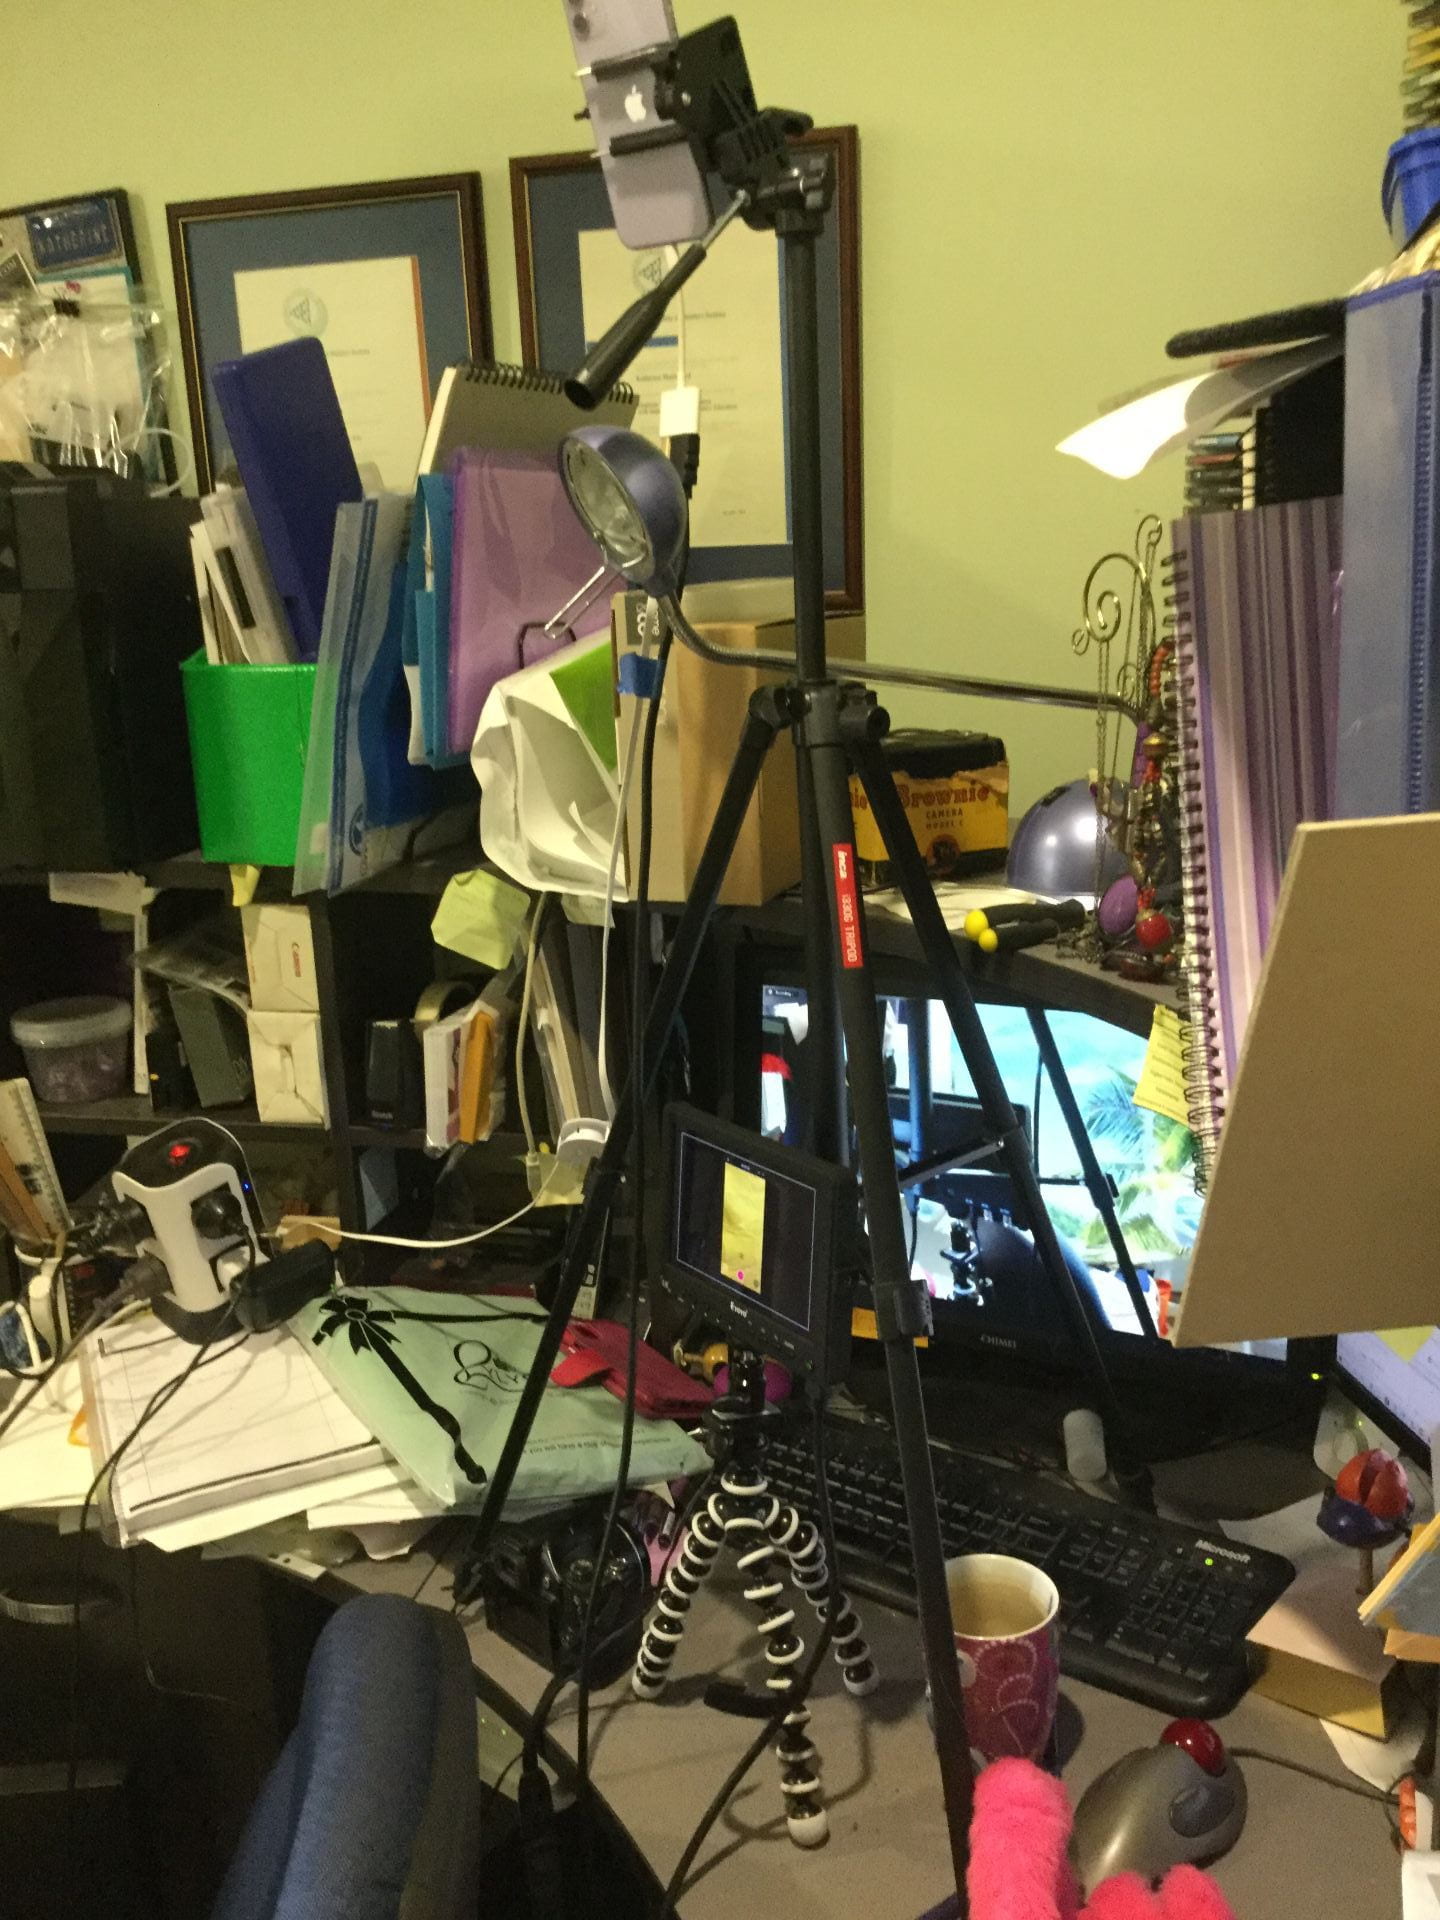
The filming equipment I used is on my post about using a phone to record video with puppets

Here are the additional items

  • Tripods set up on desk with zoom videoconference in the background
    Phone filming setup with zoom running on the computer in the background

Results from the experiment

In Zoom, I got best results from using the green bed sheet and the commercial green screen without any additional lighting apart from the ceiling downlights.

In editing using Adobe Premiere Pro- I got the cleanest background removal results from the professional green screen.

If I was to do the experiment again, I want to see what would happen if I added lights to the sheet/ screen only to even out the colour difference across the surface. I would also iron or smooth out the surface to see if the background removal was more successful.

Miss H

Puppeteering from home- Puppet tech idea

Puppeteering from home- Puppet tech idea

A frog once said in a TEDx Talk, “If necessity is mother of invention, then creativity is the father”. Given the whole world has been isolated by the COVID 19 pandemic, puppeteers are trying to find ways to reach their audiences remotely. There is a lot of discussion in the puppetry community about how to adapt video conferencing and streaming technology to puppetry.

Over the last 5 years, I have been learning the art of television and film puppetry from 2 amazing gentlemen who I am honoured to call my mentors- Noel MacNeal and Peter Linz. One of the challenges I have faced practising my puppetry skills at home, is recording video of my puppets being puppets. I started out using my webcamera, but it could not record what the puppet was doing. If I use my phone or iPad as the camera, either the image on the screen looks like a mirror, or I can’t see the image on screen. In both of those situations,  I don’t know if the puppet looks right for the audience.

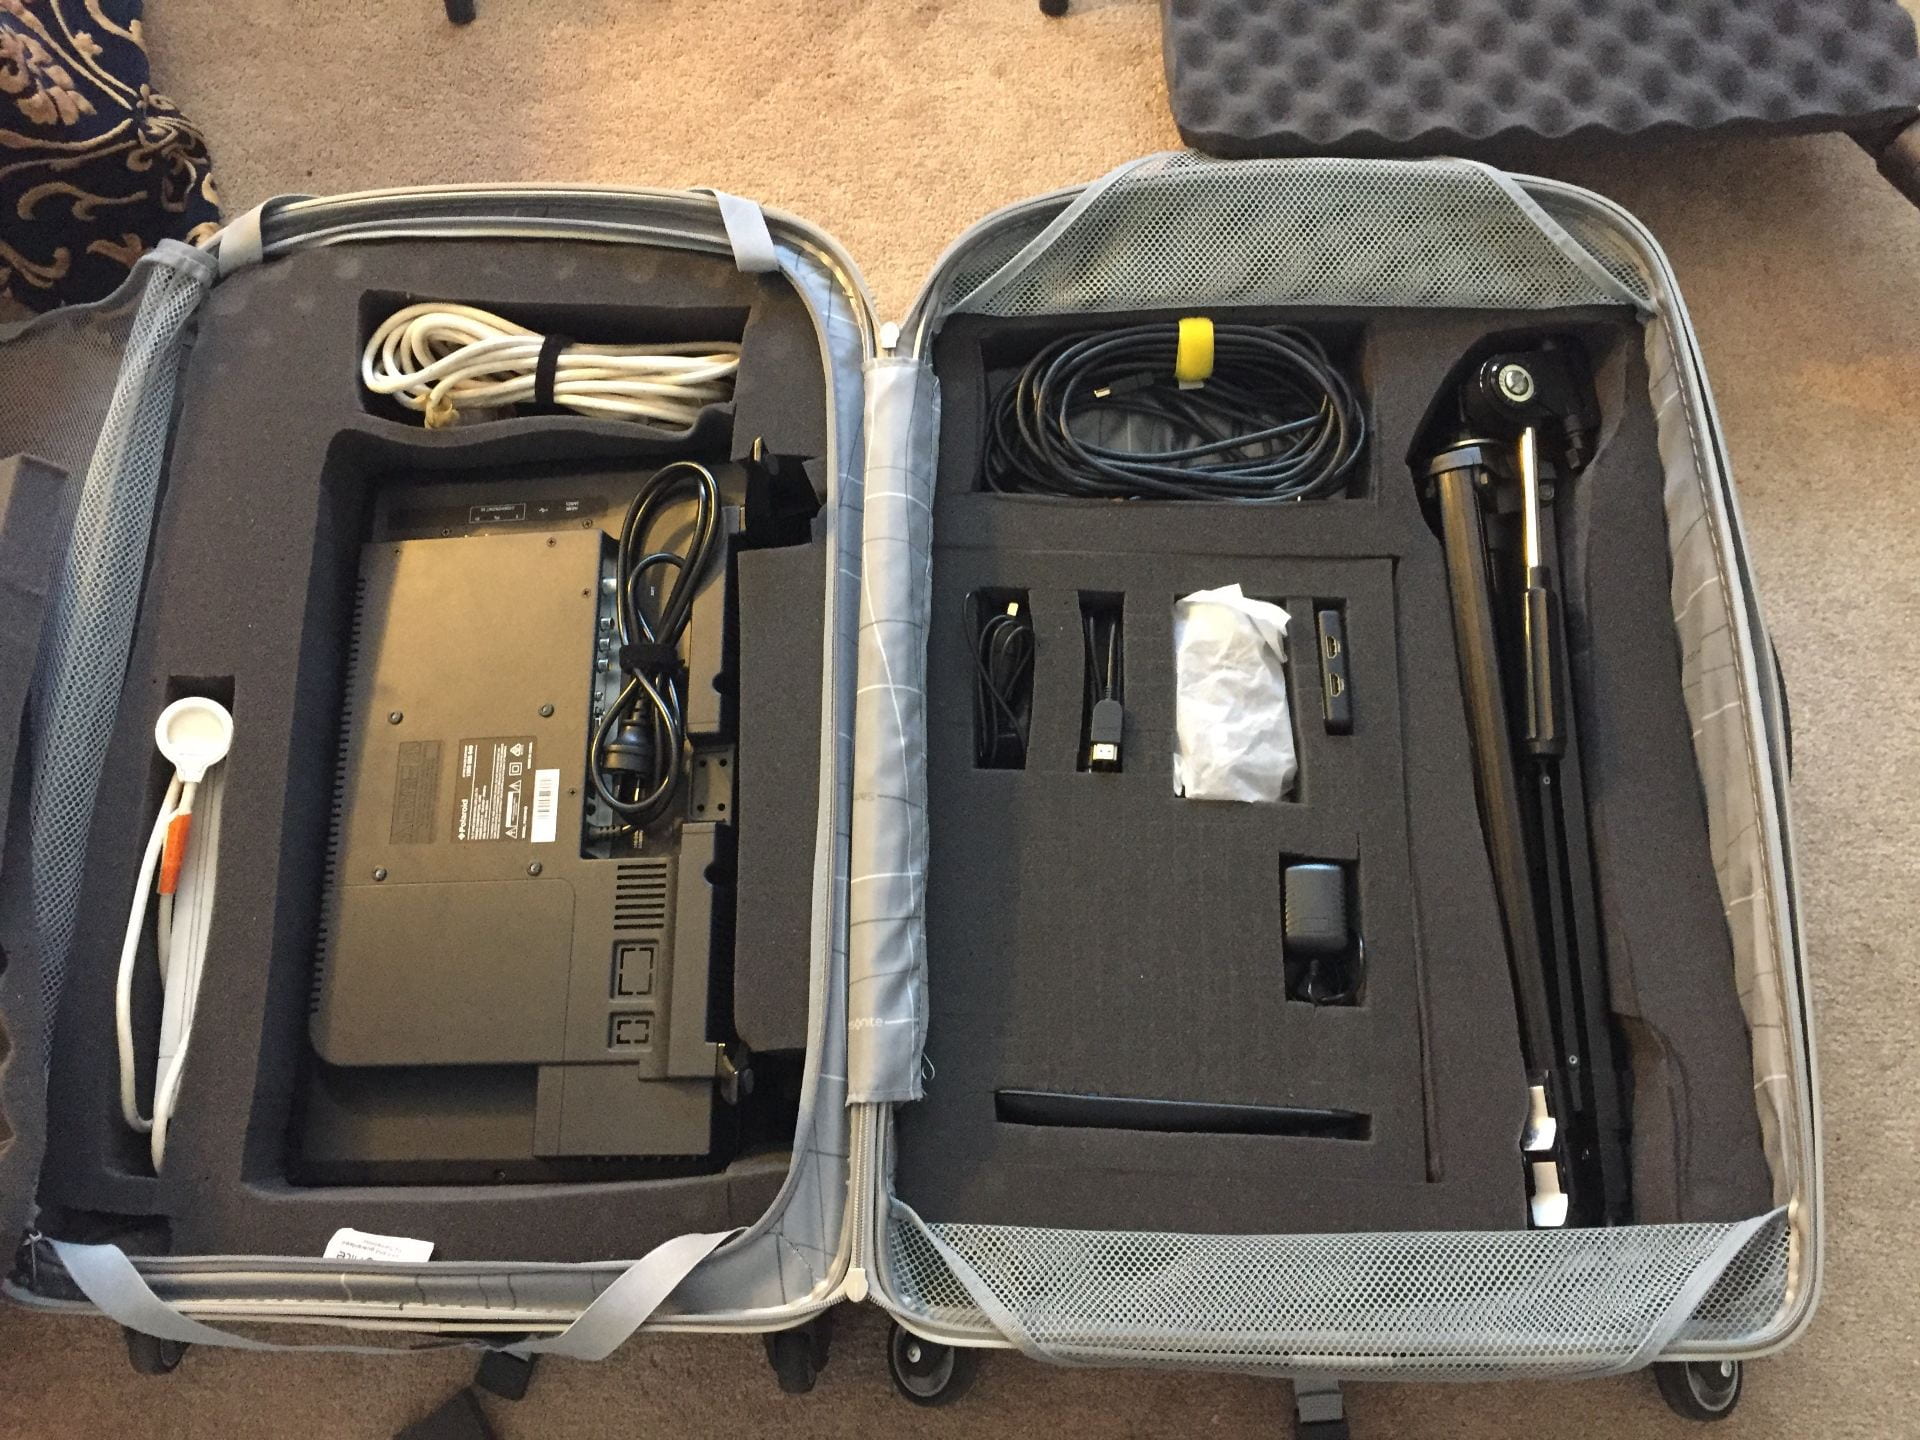
I have assembled my own monitor puppetry kit over the last 5 years with a Sony Handycam, a small flat screen tv which has evolved into a professional 7 inch field monitor as my puppetry monitor, tripod and cables. Even though this setup is in an old suitcase with wheels. it’s very difficult to move around, and I have to download and edit the footage afterwards. This means that the puppet cannot interact live with an audience, or another puppet that is not in the same room. I haven’t been able to acquire the equipment required to live stream from the Handycam to any of the streaming platforms like Facebook live or Zoom yet.

Monitor puppetry kit in it's case
Monitor Puppetry kit with tripod, screen, camera, cables, HDMI Splitter

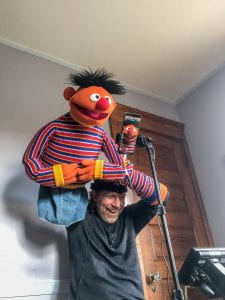
However, on April 14, 2020, my puppetry mentor Peter Linz, shared this photo and a New York Times article on how Elmo’s Playdate was filmed on his Instagram account. I looked at the equipment he was using. It was his mobile phone, linked to his field monitor. The phone was recording the performance, yet he could see what his character Ernie was doing on the monitor. By looking at the cables coming out of the phone in the photo, I immediately worked out I could adapt the equipment I have at home! It was such a creative, innovative solution to the problem!

Peter Linz performing Ernie using a mobile phone
Peter Linz performing Ernie for Elmo’s Playdate. Photo Credit Aria Linz

So this is how I have been able to reverse engineer the setup. Please note that this setup is for iPhone (I have a standard iPhone 11).

You will need

  • Mobile phone
  • Tripod compatible phone cradle
  • Tall tripod
  • HDMI adaptor for your phone. I am using the Apple Lightning Digital AV Adapter. For the Samsung Galaxy phone, they have their own USB-C to HDMI adapter
  • Monitor with HDMI input eg a Television or computer monitor with HDMI input. I am using the Eyoyo 7 inch field monitor
  • HDMI cable
  • Power board to provide power for the setup with an extension cord.

Here is a video demonstration of the setup

Miss H

Skip to toolbar