The first part of today was to travel by Amtrak train from Baltimore Penn Station to New York. The trip took two and half hours including a stop in the big city of Philidelphia. Once we arrived in New York, we had a 20 minute walk with our luggage from the Moynihan Train Hall to our hotel near Times Square.
City of Philadelphia as seen from the train
We had a late lunch in our hotel room before Katherine headed to the Westside Theatre to see her puppetry teacher perform in the musical Little Shop of Horrors as Audrey 2 (Pods 1 and 4). The puppets were built by Monkey Boys Productions. Katherine was really excited to see her puppetry teacher again as they had not seen each other for many years.
Katherine outside the Westside Theatre
Little Shop of Horrors banner outside the Westside Theatre
Waiting to watch the show
Noel MacNeal explaining his role as a puppeteer of Audrey 2
Demonstration by Teddy Udain and Weston Chandler Long of how Pod 4 of Audrey 2 works
Katherine and her puppetry teacher Noel MacNeal outside the Westside Theatre
Today we visited the Maryland Center for History and Culture because they are the current host of the Jim Henson Exhibition- Imagination Unlimted. This is a touring exhibition of the Museum of the Moving Image, and it has a wide collection of works on paper, films, puppets, and costumes from Jim Henson and the Jim Henson Company.
Reproductions of Jim Henson's screen prints Hilarity, Melancholy, and Conceit
Kermit the Frog puppet c.1978
Jim Henson unpublished cartoon 1955
Toys from Sarah's bedroom in Labyrinth
Red and Wembley Fraggle
Aughra puppet from the Dark Crystal
Slimey the worm balancing on a tightrope
Sesame Street Worm Circus
Count von Count from Sesame Street c.1970's
Grover puppet from Sesame Street
1970's Bert Puppet
1980's Ernie Puppet
Billy and Sue Puppets 1962
Pitchman Pump puppets 1963
Bunsen and Beaker from the Muppet Show
Scooter puppet- The Muppet Show
Country Trio puppets- Jim puppet
Country Trio puppets- Jerry puppet
Great Muppet Caper poster
Katherine really enjoyed looking really closely at how the puppets were built, as well as seeing puppets such as the inchworms in person because she had only ever seen them on television.
Today was our day trip to Washington DC which is the capital of the United States of America. Washington was a 45 minute train ride from Baltimore. We arrived at the beautiful Union Station and since it was a lovely autumn morning, we walked from Union Station to the National Air and Space Museum. On the way to the museum, we walked past the US Capitol building (performs the same function as the Houses of Parliament in Australia), and opposite was the Washington Monument.
Union Station inner hall Washington DC
Union Station main hall Washington DC
Washington Monument
Capitol Building Washington DC
Katherine in front of the Capitol Building Washington DC
National Museum of the American Indian Washington DC
We had a ticket to enter the National Air and Space Museum at 10am, and as soon as we walked in, we encountered the first of Katherine’s must see objects- the filming model of the starship Enterprise- NCC-1701!
Here is what the model looked like while it was in the conservation lab being restored
We then started to explore the museum- only half of it is open as the other half is currently being rebuilt! We saw a huge display space with real planes hanging from the roof, and a huge 747 that had been cut in thirds attached to the wall! In the first gallery, we saw the plane that made the first flight- Orville and Wilbur Wright’s Flyer, and when we moved upstairs, there was a real screen used X-Wing from Star Wars: Force Awakens!
The original Wright Flyer
The original Wright Flyer
The original Wright Flyer
America by Air display
America by Air display
Poe Dameron's screen used X Wing outside the Planetarium
The most exciting space was the Destination Moon Gallery full of objects from the Mercury, Gemini, and Apollo space missions!
We saw the special capsule that was built to hold a chimpanzee to prove living beings could survive in space, Freedom 7 which took the first American Man Alan Shepard into space, but the real highlights were the Apollo exhibits including the Columbia Command module from Apollo 11, the space suit Neil Armstrong wore when he took the first step on the Moon. What was really surprising were the remaining pieces of the F1 engine from Apollo 11 that had been collected from the ocean floor!
Mercury Primate Capsule
Freedom 7 Mercury capsule that took Alan Shepard the first American man in space.
History of American spaceflight from Redstone to Saturn
The remains of one of the Apollo 11 F1 engines retrieved from the floor of the Atlantic Ocean
Back of Neil Armstrong's moon walk suit
Neil Armstrong's moon walk suit
Neil Armstrong's moon walk suit
"Columbia" Apollo 11 Command Capsule
"Columbia" Apollo 11 Command Capsule
That's Apollo 11 Command Capsule "Columbia" behind Katherine!
Ablated Apollo heatshield sample
Unablated Apollo Heatshield sample
Apollo Heatsheild manufacturing model
Apollo 13 jury rigged C02 scrubber
Apollo 13 crew making the C02 scrubber
Apollo era C02 scrubbers that caused the jury rigged system to be invented.
Original F1 Apollo rocket engine
Katherine in front of the Apollo F1 Saturn V engine
Sewing machine that made the Apollo space suits
Unused Lunar Rover
Special mesh wheels of the Lunar Rover
Unused Lunar Rover
Screen used Spock Ears from Star Trek
After the National Air and Space museum, Katherine and I travelled to the University of Maryland to visit the Jim Henson Memorial Statue and Garden. Jim Henson is a major influence on Katherine’s love of puppetry, and Katherine has visited the memorial benches to Jim Henson in New York and London.
Dedication plaque
Georgina having a conversation with Jim Henson
Georgina, Kermit the Frog, and Jim Henson having a conversation
Georgina, Kermit the Frog, and Jim Henson having a conversation
Kermit the Frog and Katherine
Detail of the Jim Henson Memorial
Detail of the Jim Henson Memorial
Detail of the Jim Henson Memorial
Katherine, Kermit the Frog, and Jim Henson having a chat at the Jim Henson Memorial University of Maryland
We spent the weekend in Huntsville resting after our exciting day at the US Space and Rocket Center. I caught up our blog of all the adventures we had been on, and Katherine worked on the plan for the coming week as we will be pretty much on the go for the whole week in at least 3 cities. Our next base city will be Baltimore in Maryland, and Katherine is double checking how to get from the airport to our hotel, as well as the plans for our day trip to the Smithsonian in Washington.
Day 31, October 23, 2023
Today has been travel day. We started in Huntsville leaving the hotel at 9:30 and flew from the tiny Huntsville airport to Alanta which is less than an hour away by plane. We had 3 hours to explore the newly expanded Atlanta airport before we boarded our 1 hour 45 minute flight to Baltimore Maryland.
We used the Lightrail to get from the airport to the hotel in Downtown Baltimore- very challenging with the bags as the lightrail had 5 big steps to get into the carriage which is not good for managing a suitcase and dufflebag. However, if you are a baseball fan, we went past Camden Yards!
Tomorrow is our big day trip to Washington DC and the University of Maryland!
The 3D printed base and main control handle. The Delrin thumb block has been added.
The main torso and head assembly of the skeleton are added to the control rod.
Loops to take a bolt are added to the main arm rods.
I straightened the arm rods.
I used a bolt and two washers
Added the legs back onto the skeleton.
Whisps of hair (faux fur) were added
Dundun and Bones together
Bones is very supportive and welcoming to Dundun
Dundun is very grateful to his friend Bones for showing the way.
Building the base of my gingerbread house
Adding the walls
Adding the walls
The scariest part of building the house was adding the roof and hoping it doesn't slide off as the icing dried.
Today was the big day to finish our mechanical skeleton puppets.
We started off by visiting a local hobby shop to purchase supplies. It was Katherine’s first time in an American hobby store, and the diversity of supplies was amazing! Katherine bought the bolts and washers she needed to connect the arm wires to the hands of the puppet.
To make the arm wires, Katherine cut the length she needed from the coil of wire, but she needed straight wires, so Katherine researched how to straighten wire and found this video which worked for her.
After finishing the assembly of the two skeletons, Katherine and Pam filmed them for Pam’s YouTube channel. Pam created the funny puns on the still pictures from the filming session.
After a long fun day of puppet building, Pam brought out some gingerbread house kits that you can assemble and decorate. Katherine chose the Halloween kit, and Pam chose the christmas kit. Construction only got as far as attaching the roof because gingerbread houses are held together with just icing. The icing has to set before the decorations are added. Katherine decided to use string to hold the walls in place while the icing set.
Day 25 & 26, October 17 & 18, 2023
Both day’s started with Katherine helping Pam in her workshop develop some new puppets for a future project. Katherine had built similar puppets and had photographs in her archive that were a helpful guide for Pam. In the evenings, Pam and Katherine finished their gingerbread houses by using icing as glue and candy as decorations. Katherine tried a fancy basketweave piping tip to create a spooky tree on her gingerbread house. The gingerbread houses will be left on display at Pam’s house until after Halloween and Christmas.
Today was travel day for Katherine and I from Bozeman, Montana to Grand Rapids, Michigan. It was a very early start so we saw the sun rise over the snow covered mountains of Montana from the plane.
We arrived in Grand Rapids Michigan and were met by Katherine’s puppet making friend Pam Groom of Live Action Puppets. We are visiting Pam for 6 days, helping her with some of her puppet projects, and working on a group project of making a mechanical skeleton puppet for Halloween.
Day 22 & 23, October 14 & 15, 2023
In preparation for our visit, Katherine’s friend Pam suggested that Katherine makes a mechanical skeleton puppet along with Pam as Katherine loves Halloween and puppets. The process was based on a youtube video Pam found of another puppet maker turning a really big skeleton prop into a puppet
The skeleton we transformed was much smaller- only 23 centimetres tall! The process first started with disassembling the whole puppet into all it’s separate parts.
Deconstructing the 9 inch skeleton so it can be mechanised.
Using a small saw to remove the top section of the neck so that a 3D printed bead could be added to allow the head to rotate
Adding a saddle clamp to hold the cable housing against the spine
Adding the elastic joint and 3D printed bead to the head and gluing in the pull bar inside the jaw.
Reassembling the body with elastic joints at the shoulder and wrist.
It’s going to take a couple of days to build this puppet as various parts such as the neck ball, the handles, and the stand all have to be 3D printed.
Today Katherine’s friend Frank took us to visit the Museum of the Rockies. The museum has a general exhibitions area which includes local history including an exhibition of artefacts representing the local first nations tribes. The other half of the museum is the hall of the dinosaurs with an enormous collection of dinosaurs including a full T-Rex skeleton as well as multiple Triceratops.
A replica of Mike the T-Rex outside the entrance to the Museum of the Rockies
Hand beaded Chippewa-Cree Vest
Deer hide moccasins from the Northern Plains that have been hand beaded.
Hunting, gathering, and cooking tools
Deer skin dress, leggings and moccasins of the Lakota people
Bison that roamed the plains of Montana in Yellowstone.
Skull of a wooly mammoth
Hall of the dinosaurs
Adult and baby triceratops
Original skull of Montana the T-Rex
Tail fossil of a Ankylosaurus
Ankylosaurus skull fossil showing the skin pattern
Collection of triceratop skulls
Collection of triceratop skulls
Montana the T-Rex
Montana the T-Rex
Mosasaurus skull
Backside of a Triceratops skull
Neck of a Sauropod
Neck of a Sauropod
Legs and rib bone of a Sauropod
Allosaurus known as "Big Al"
Allosaurus known as "Big Al"
Fossil being prepared for study in the labratory
Katherine and her friend Frank being "chased" by Mike the T-Rex
The Museum of the Rockies is famous for the Wankel T-Rex. A replica of the T-Rex stands outside the building while the original skeleton was moved to the Smithsonian Museum of Natural History in Washington DC
Day 19 & 20, October 11 & 12, 2023
Katherine helped her friend Frank for the last 2 days with a puppet project he was working on and needed her technical knowlege. We did go on a trip to an American Goodwill store and a hardware store as Katherine had never seen a Goodwill store, but had heard a lot about them. A Goodwill store is just like an Australian Salvos or Vinnie’s store.
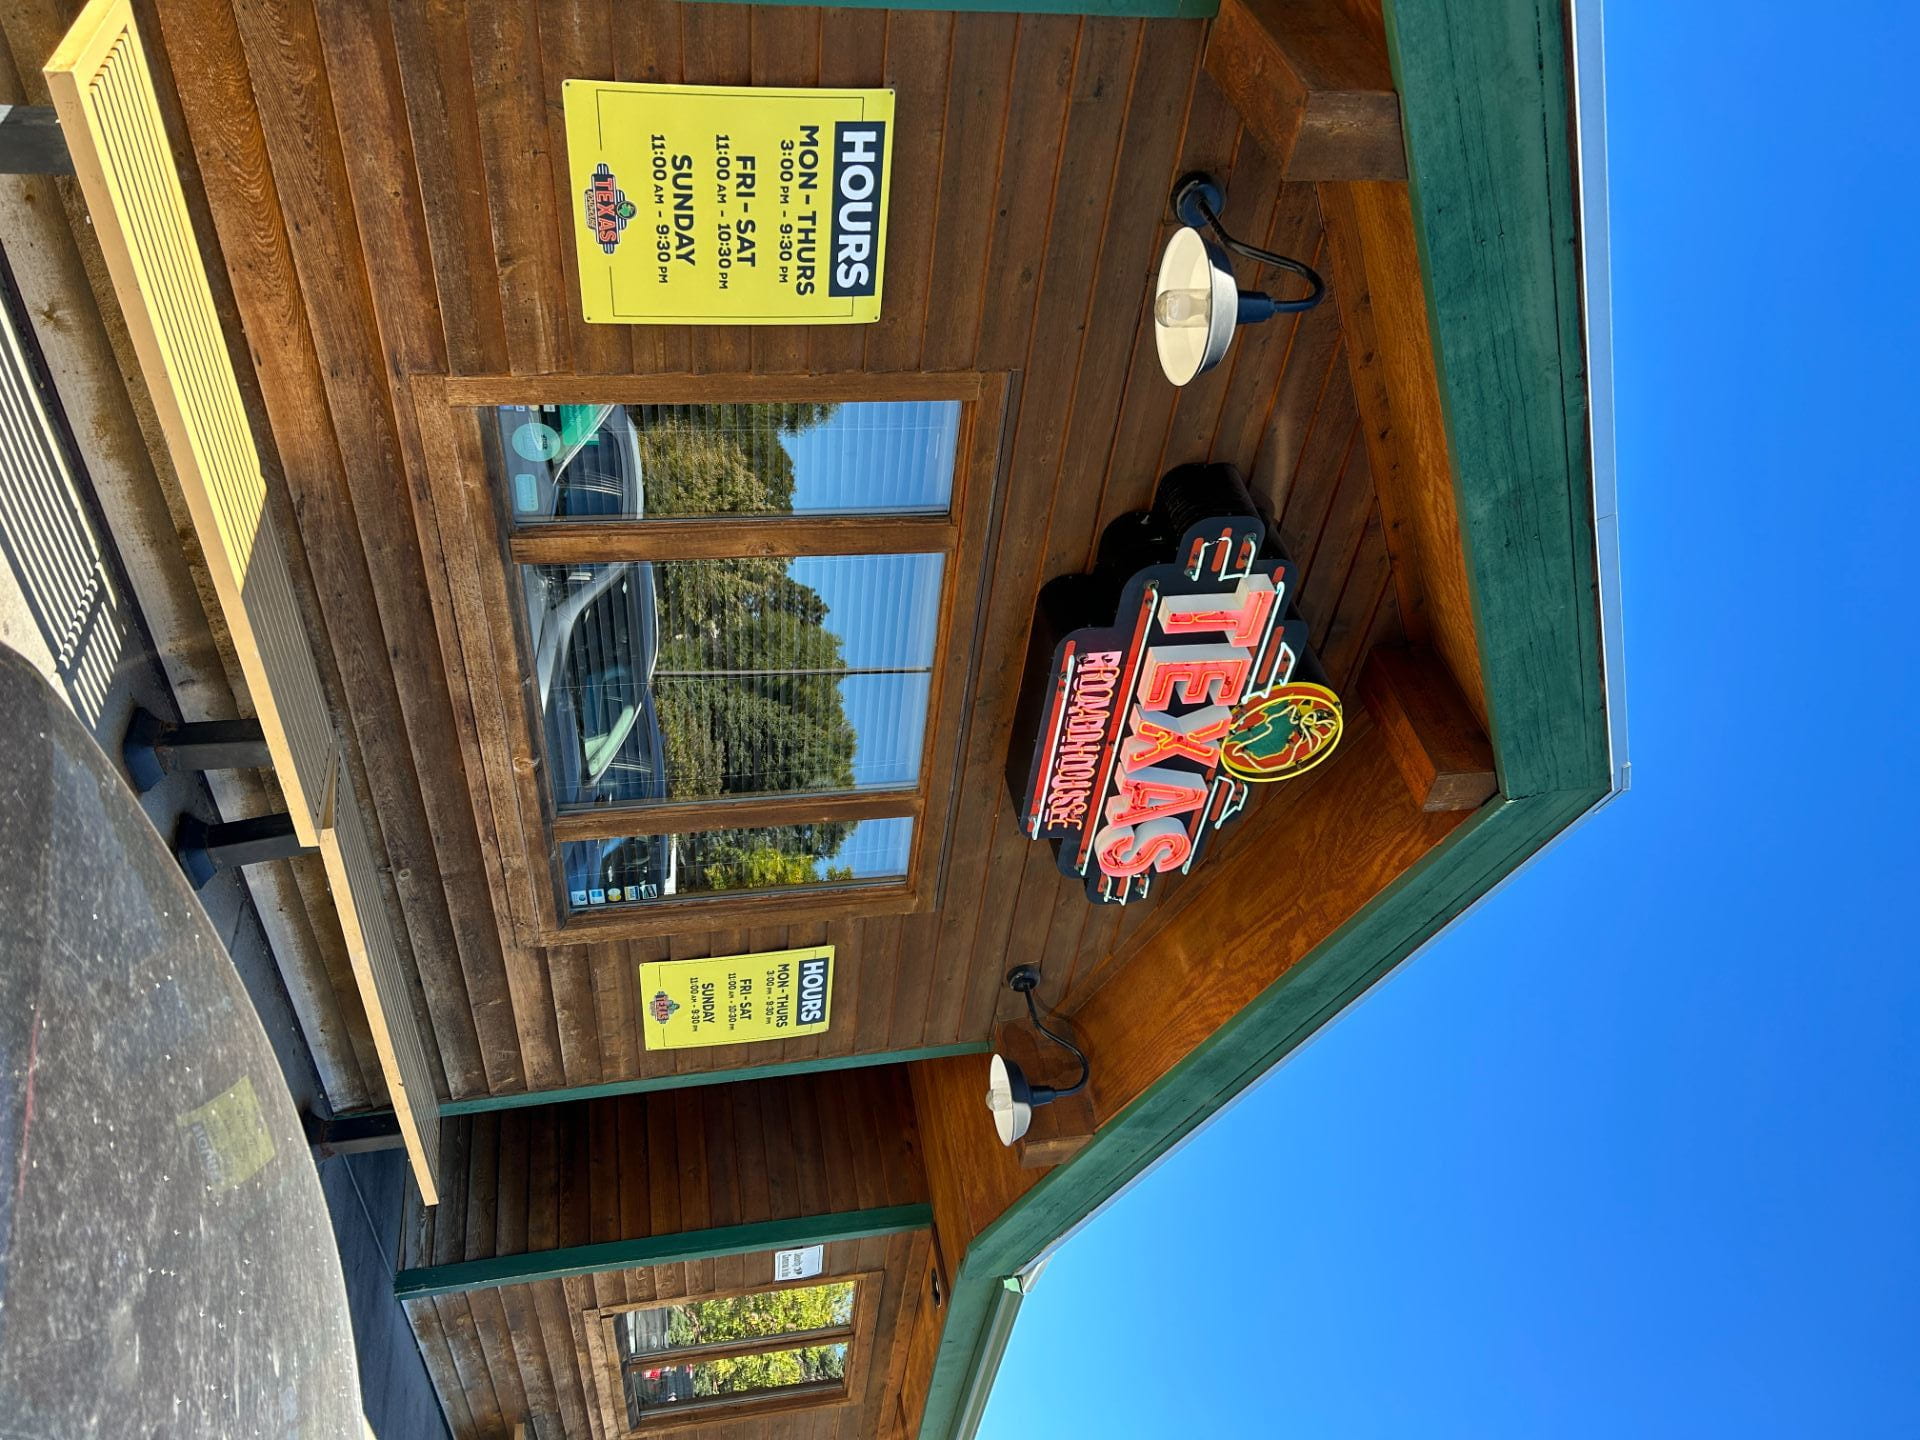
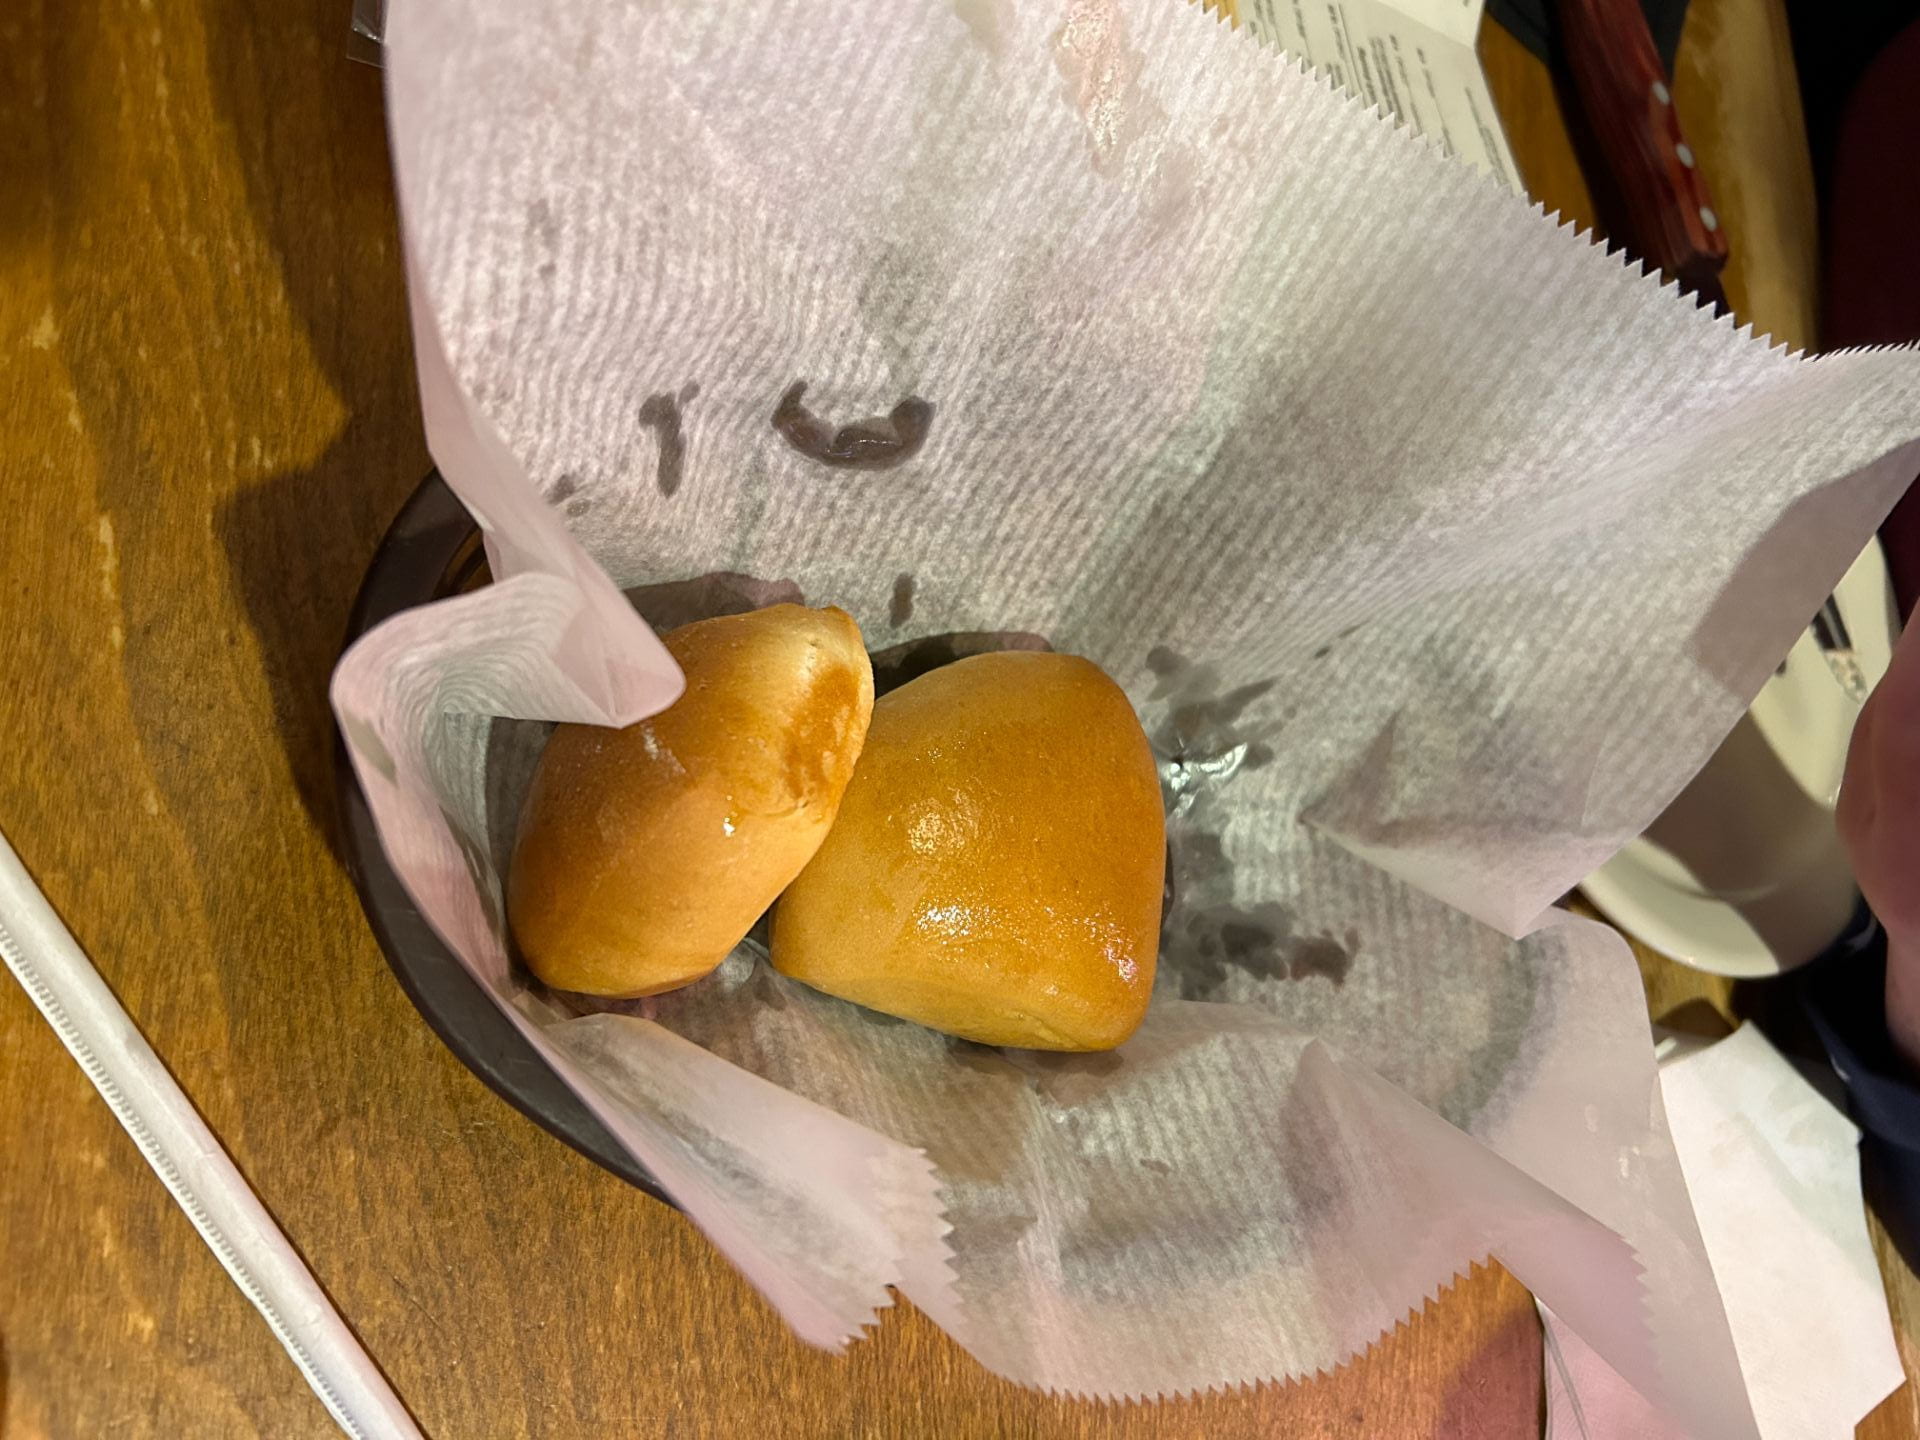
Katherine and I spent time with her friend Averie helping her with some of her puppet making projects. On the Sunday, Katherine’s friend Averie took us to a restaurant Katherine fondly remembers from her experience at Beyond the Sock from 2015-2019 called Texas Roadhouse. Their rolls have a special glaze that makes them delicious. It was a wonderful rememberance of Katherine and Averie’s time spent at Beyond the Sock.
Day 17, October 9, 2023
Today was travel day from Denver Colorado, to Bozeman Montana. We are staying with Frank, one of Katherine’s puppetry friends from Beyond the Sock, and Stan Winston School of Character Arts.
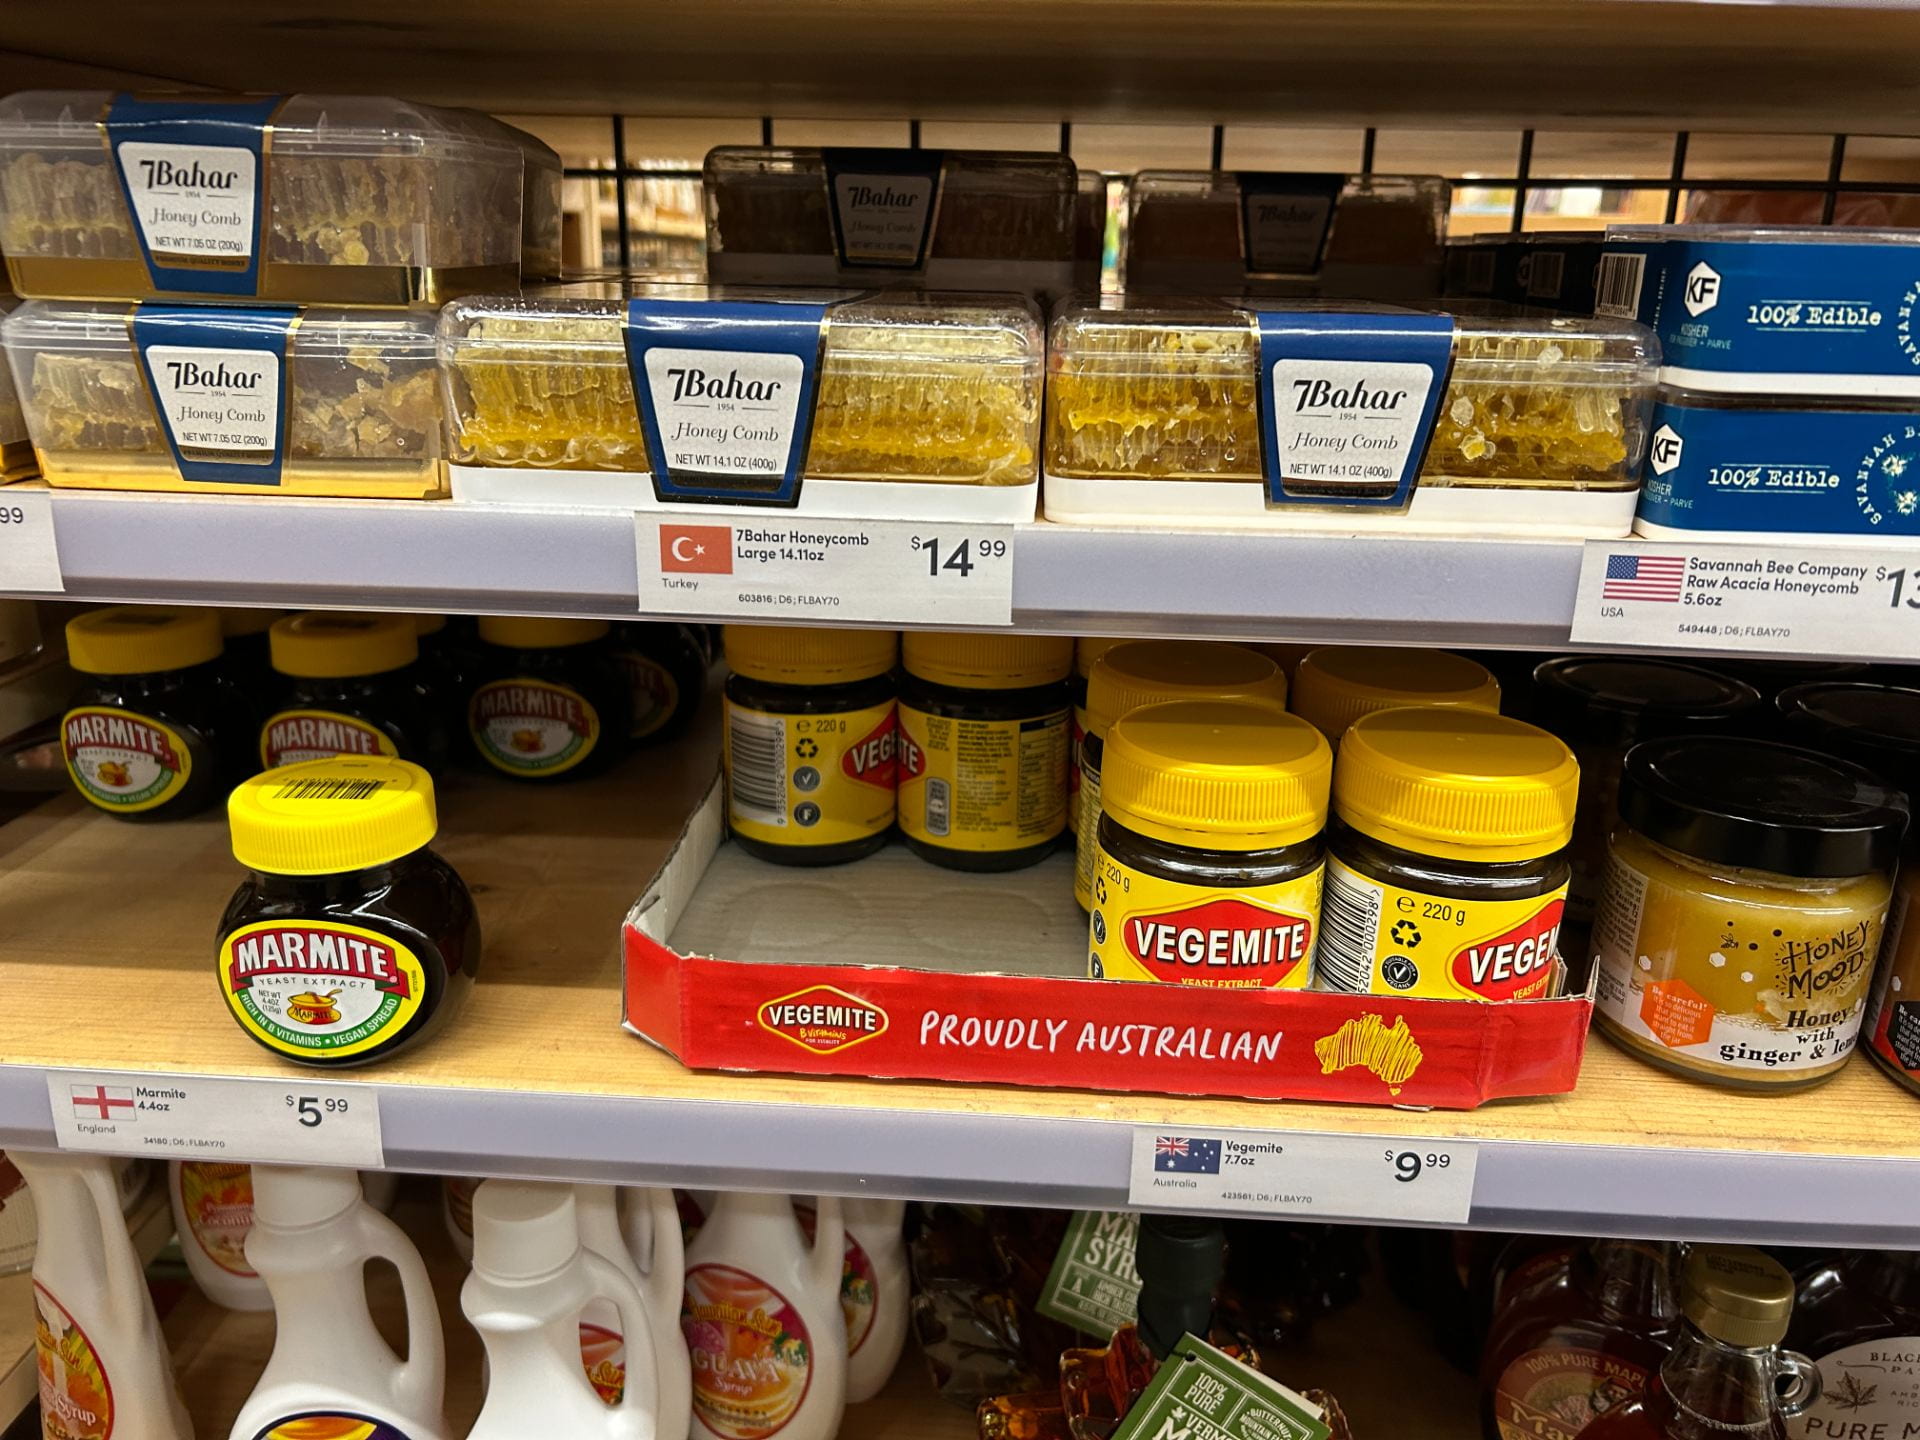
We had dinner at a lovely Italian restaurant, after which Frank showed us a shop called World Market where we found large jars of Vegemite!
Since we arrived really late to the hotel last night, Katherine was very tired, so we spent a couple of hours with her friend Averie helping her with building a couple of puppets she needed help with. ,We then went back to the hotel to have an early night as tomorrow we are going to go and explore Denver.
Day 14, October 6, 2023
Today, Katherine’s friend Averie took us shopping so Katherine could get a wet weather jacket, but also we could go and see the famous Blue Bear that is standing outside the Denver Convention Centre staring into the building. The statue is huge, and as a public artwork, it’s proper name is I see what you mean (2005) by Lawrence Argent.
Today Katherine and I went to visit her friend Jason at his home. Katherine helped repair a couple of Jason’s puppets. We enjoyed a lovely home cooked Pot Roast, and Katherine tried her first piece of pumpkin pie!
Day 12 October 4, 2023
Today is travel day where we are travelling from Seattle, Washington to Denver, Colorado. I spent the morning relaxing, while Katherine helped update this blog with our adventures!
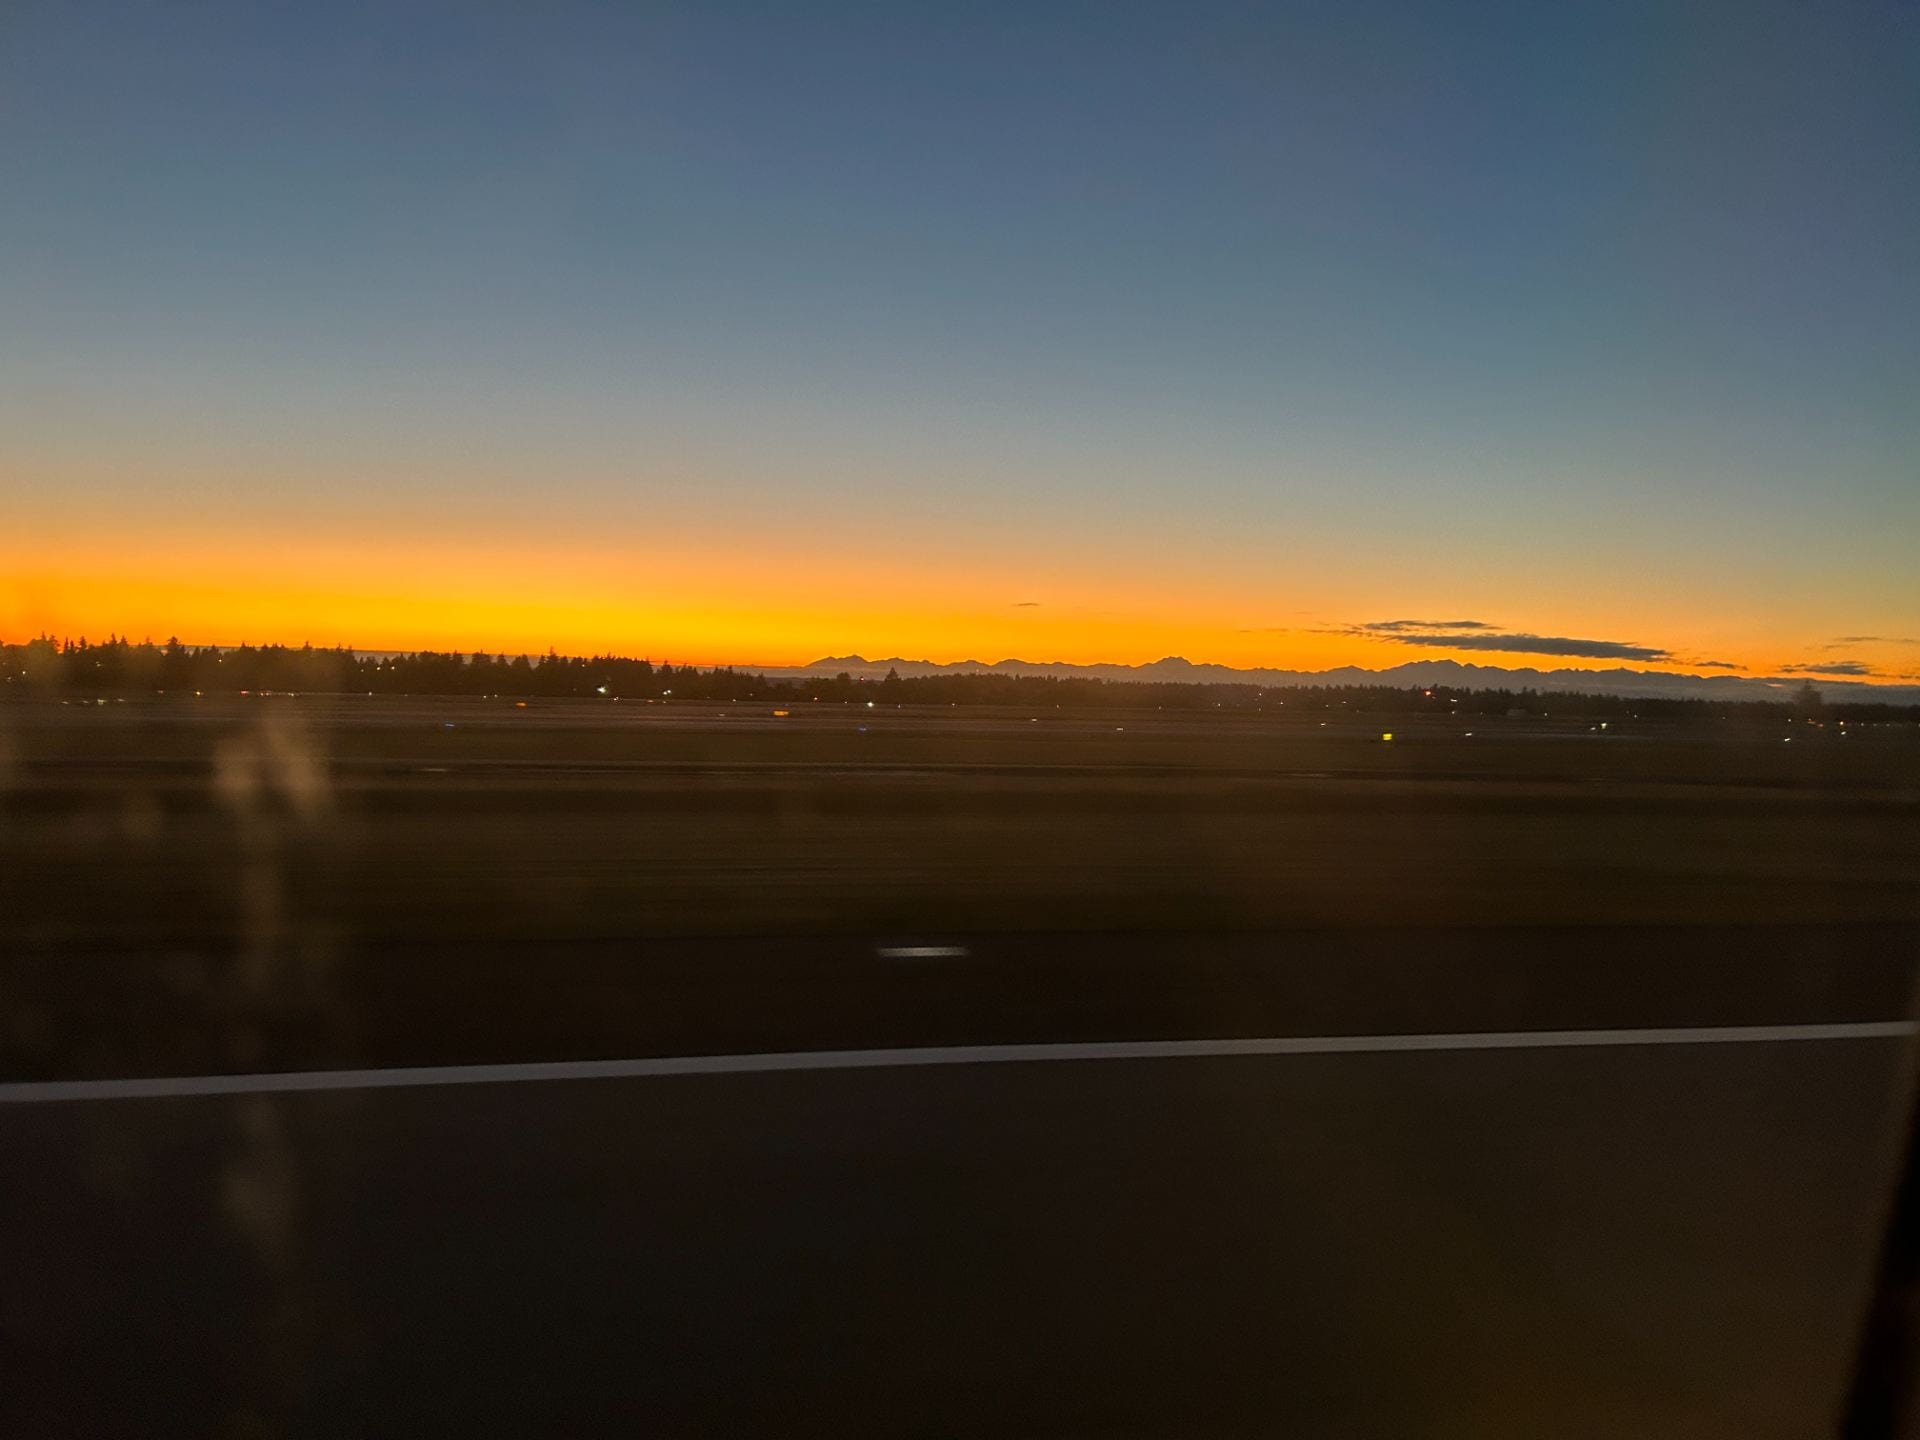
Our flight was in the early evening- just as the sun was setting behind the Olympic Mountains.
Taking off from Seattle with the sun setting behind the Olympic Mountains
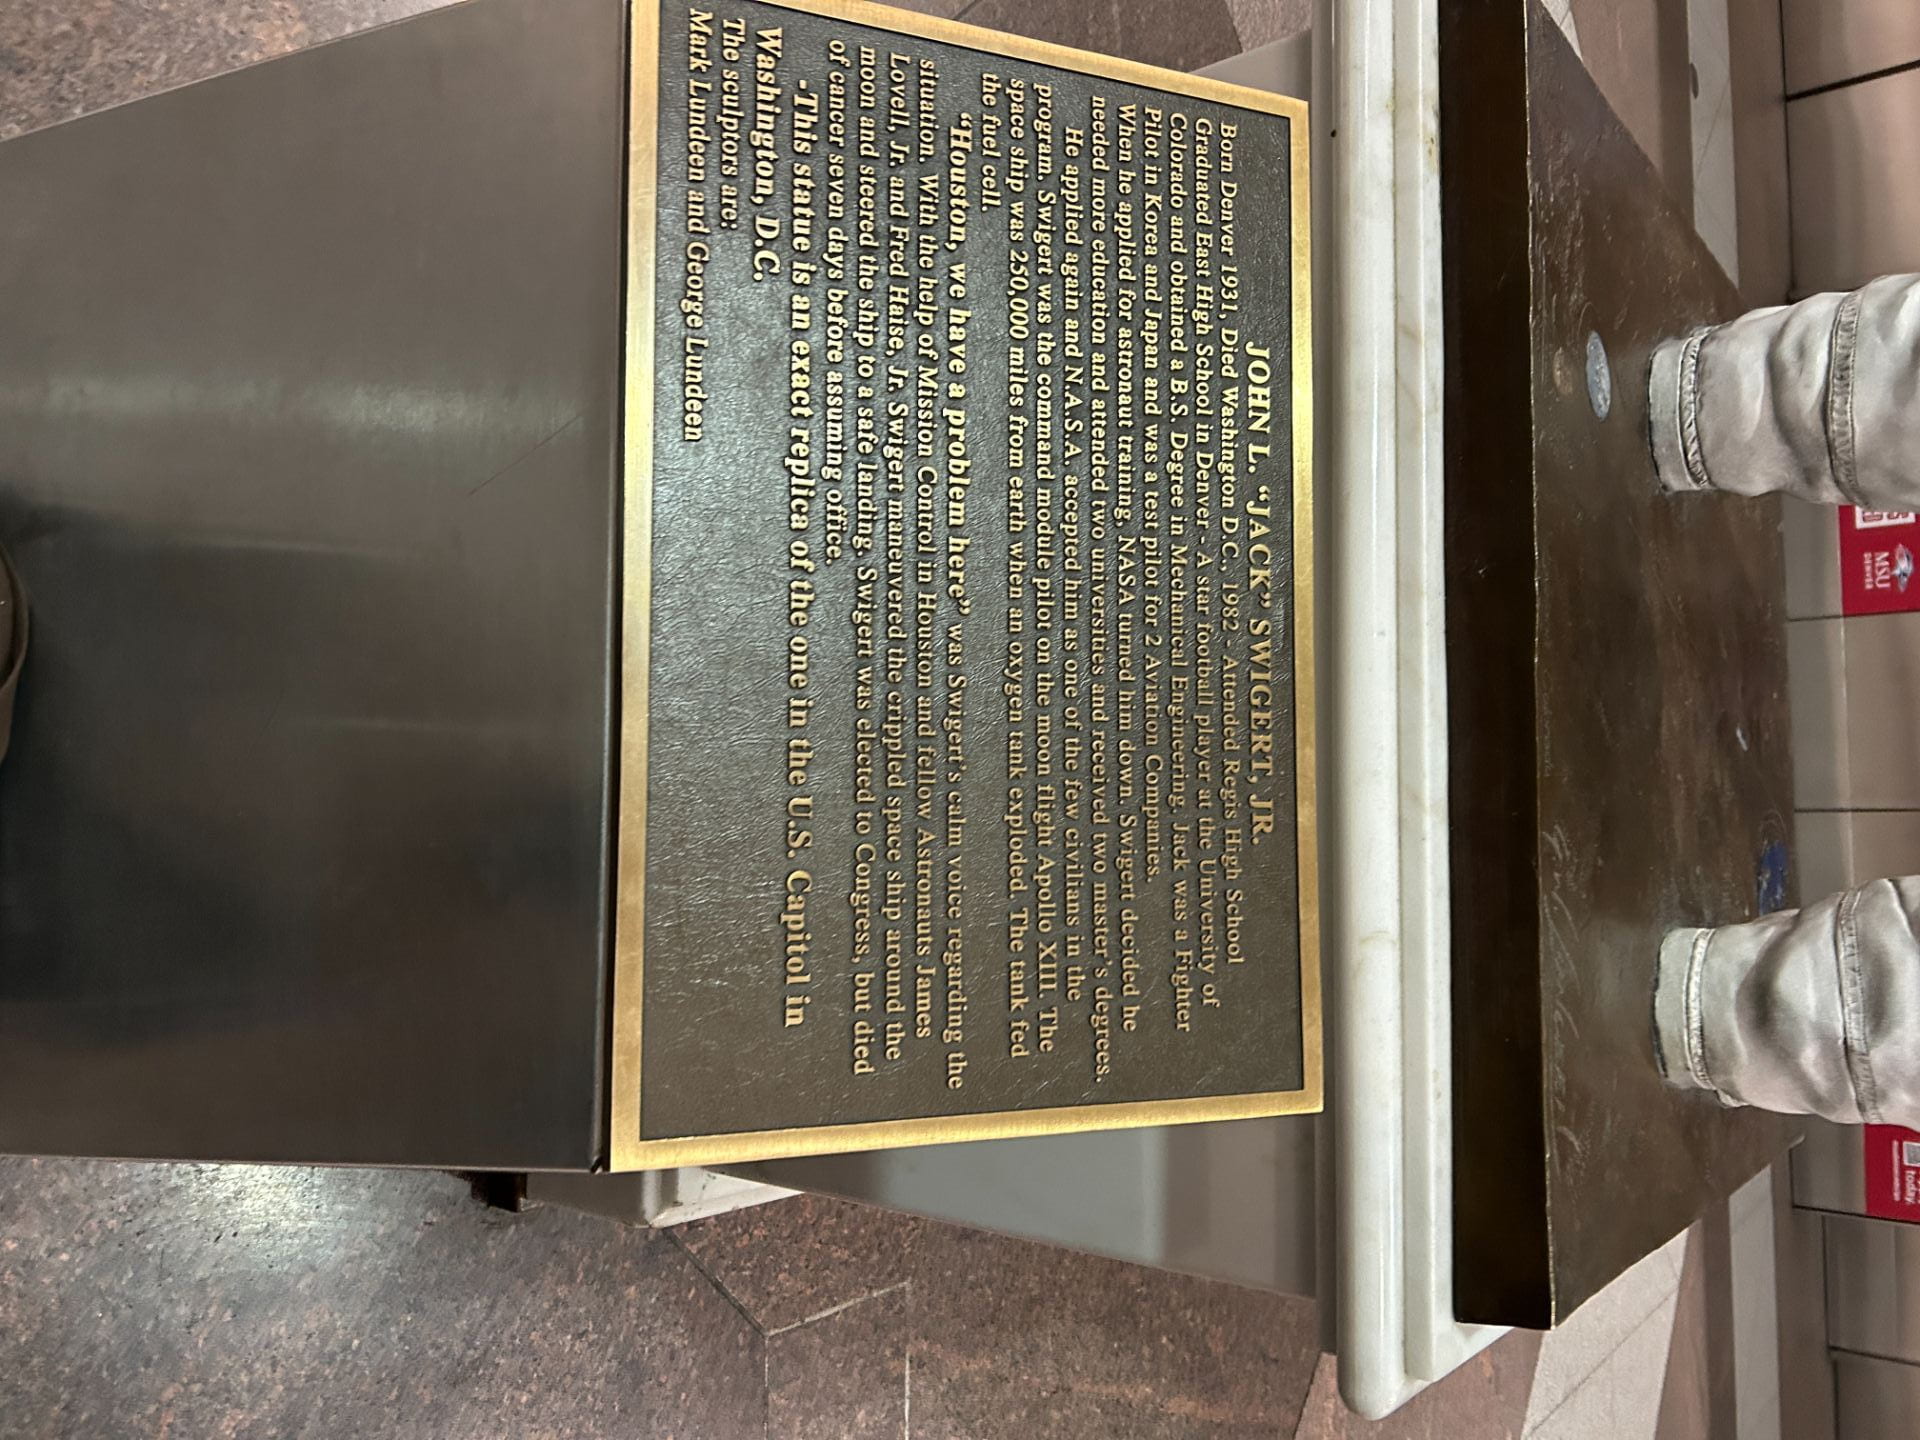
When we arrived in Denver Colorado, there was a statue to astronaut Jack Swigert, who was one of the three astronauts on Apollo 13 whose experience is documented in the movie Apollo 13. Swigert was going to be a US Senator, but he died before he could take office.
Dedication statue to Astronaut Jack Swigert at Denver Airport
It was midnight by the time we got to the hotel, so Katherine and I went to bed straight away.

 Katherine outside the Westside Theatre