
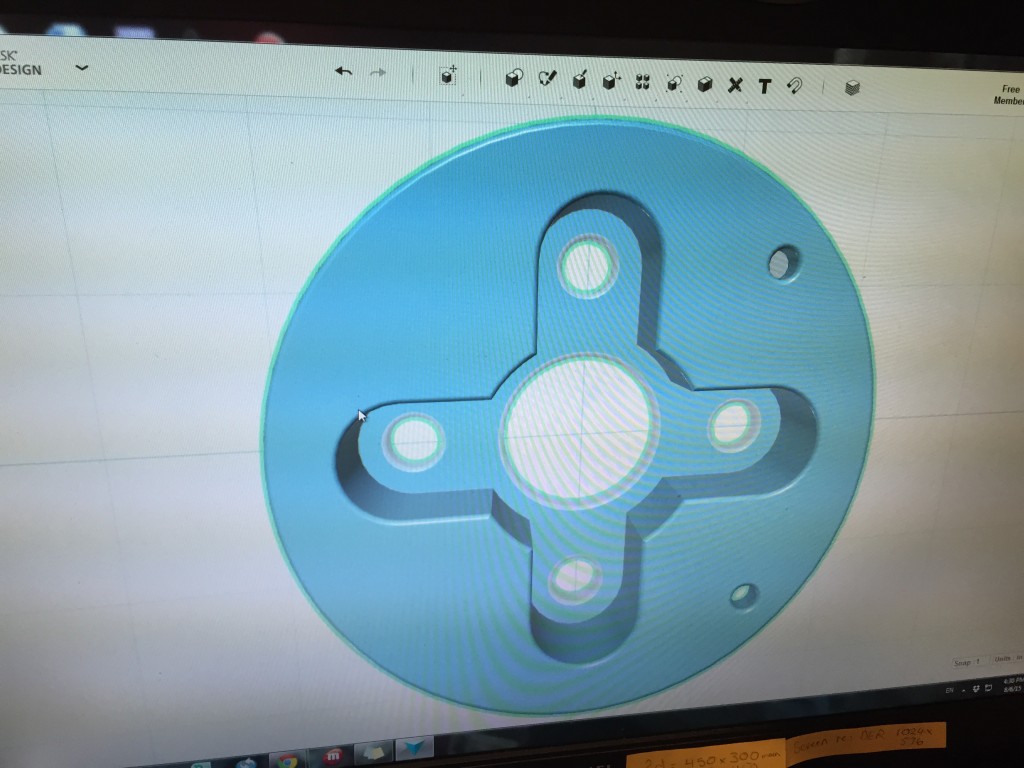
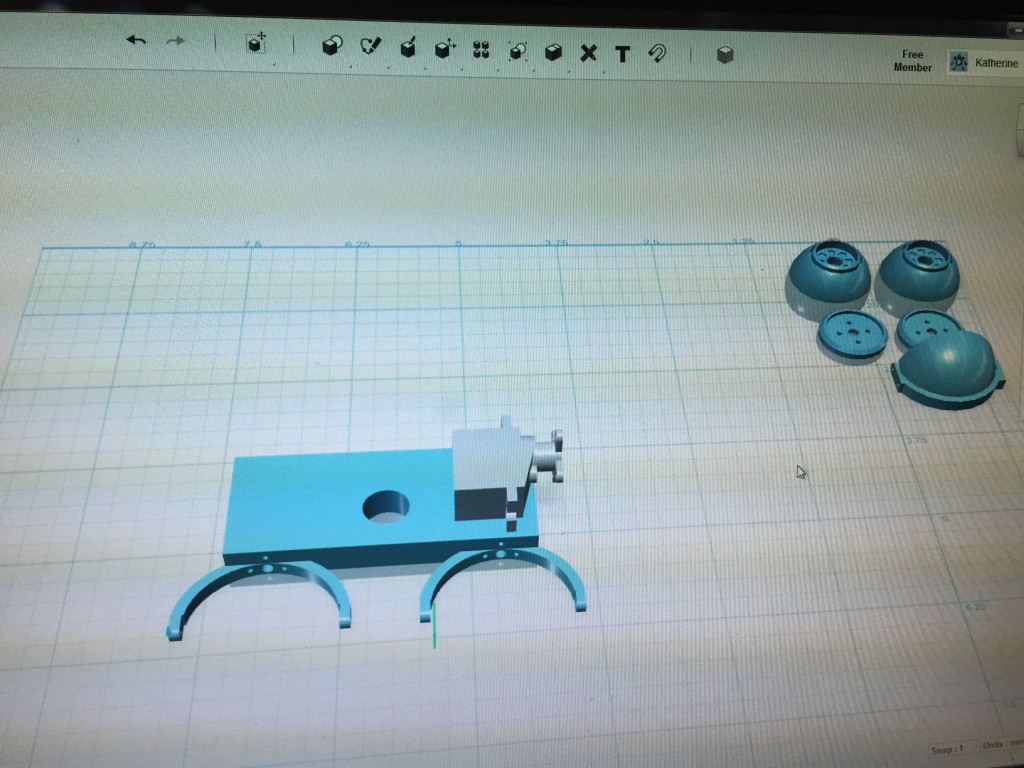
I am now much more comfortable using 123D Design and I have finished designing the remaining components. I also learned another important word in animatronics, E-Bar. In animatronics, the E-bar holds all the main servos that control the puppet’s eyes and the actual eyes are suspended from the bars of the E using screws. This mechanism actually has a second platform directly above the E-Bar for additional servos. The servos on the E-bar control the eyeblink part of the mechanism while the servos on the upper platform control the up/down and side to side movement of the actual eyeball.
A really helpful part of the forum for this particular project over at Stan Winston School of Character Arts, is that the teacher, David Covarrubuas, uploaded a 3D model of the recommended servo for students of the class to use for free! Since I was able to buy that particular servo, it has made designing the E-bar and the upper platform so much easier!
https://youtu.be/bYUkB8slaA8
Now that I have finished the core design and I am ready to print the parts, it is time to consider how I could support students in the Library in designing their own 3D models. While I have been using 123D Design, the Industrial Arts faculty teaches and uses another piece of software called Creo. My feeling is that if I bring 3D printing into the Library, I should install Creo onto the Library computers so not only the Industrial Arts classes can come to the Library and use familiar software, but students who have taken Industrial Arts classes at any time during their school years have some familiarity with the software.
Time to fire up the 3D printer! Can’t wait!
-Miss H