Making the facial features of Totoro.
To make Totoro’s ears/ horns, I modeled the ears using 3 modelling and printing. Due to the scale of the piece, I had to try to cut the horn into 3 pieces. I had a great deal of difficulty in splitting the shape in that I am still not familiar with breaking a model up in Creo Parametric 3.0. I was able to make the bottom two pieces quite easily, but making the top pointed part fit proved to be very difficult to make the right size. I ended up achieving a satisfactory result after lots of failed attempts. I definitely need to learn an alternative approach to making a 3D model that breaks up into interlocking pieces.
To cover the ear with fur, I put the ear into a freezer bag, and covered the bag with small pieces of tape. I then used a small pair of embroidery scissors to cut the tape and plastic off and cut lots of small darts to create a flat shape. The flat shape then became the pattern for cutting the fur. I did add a 3mm seam allowance while cutting the fur so I could hand sew the fur together and turn it over the 3D printed form. The ears/ horns were then sewn around the base onto the fur.

I used more butcher’s paper to create the shapes of the eyes, nose and mouth so that I could experiment with sizes and placement.
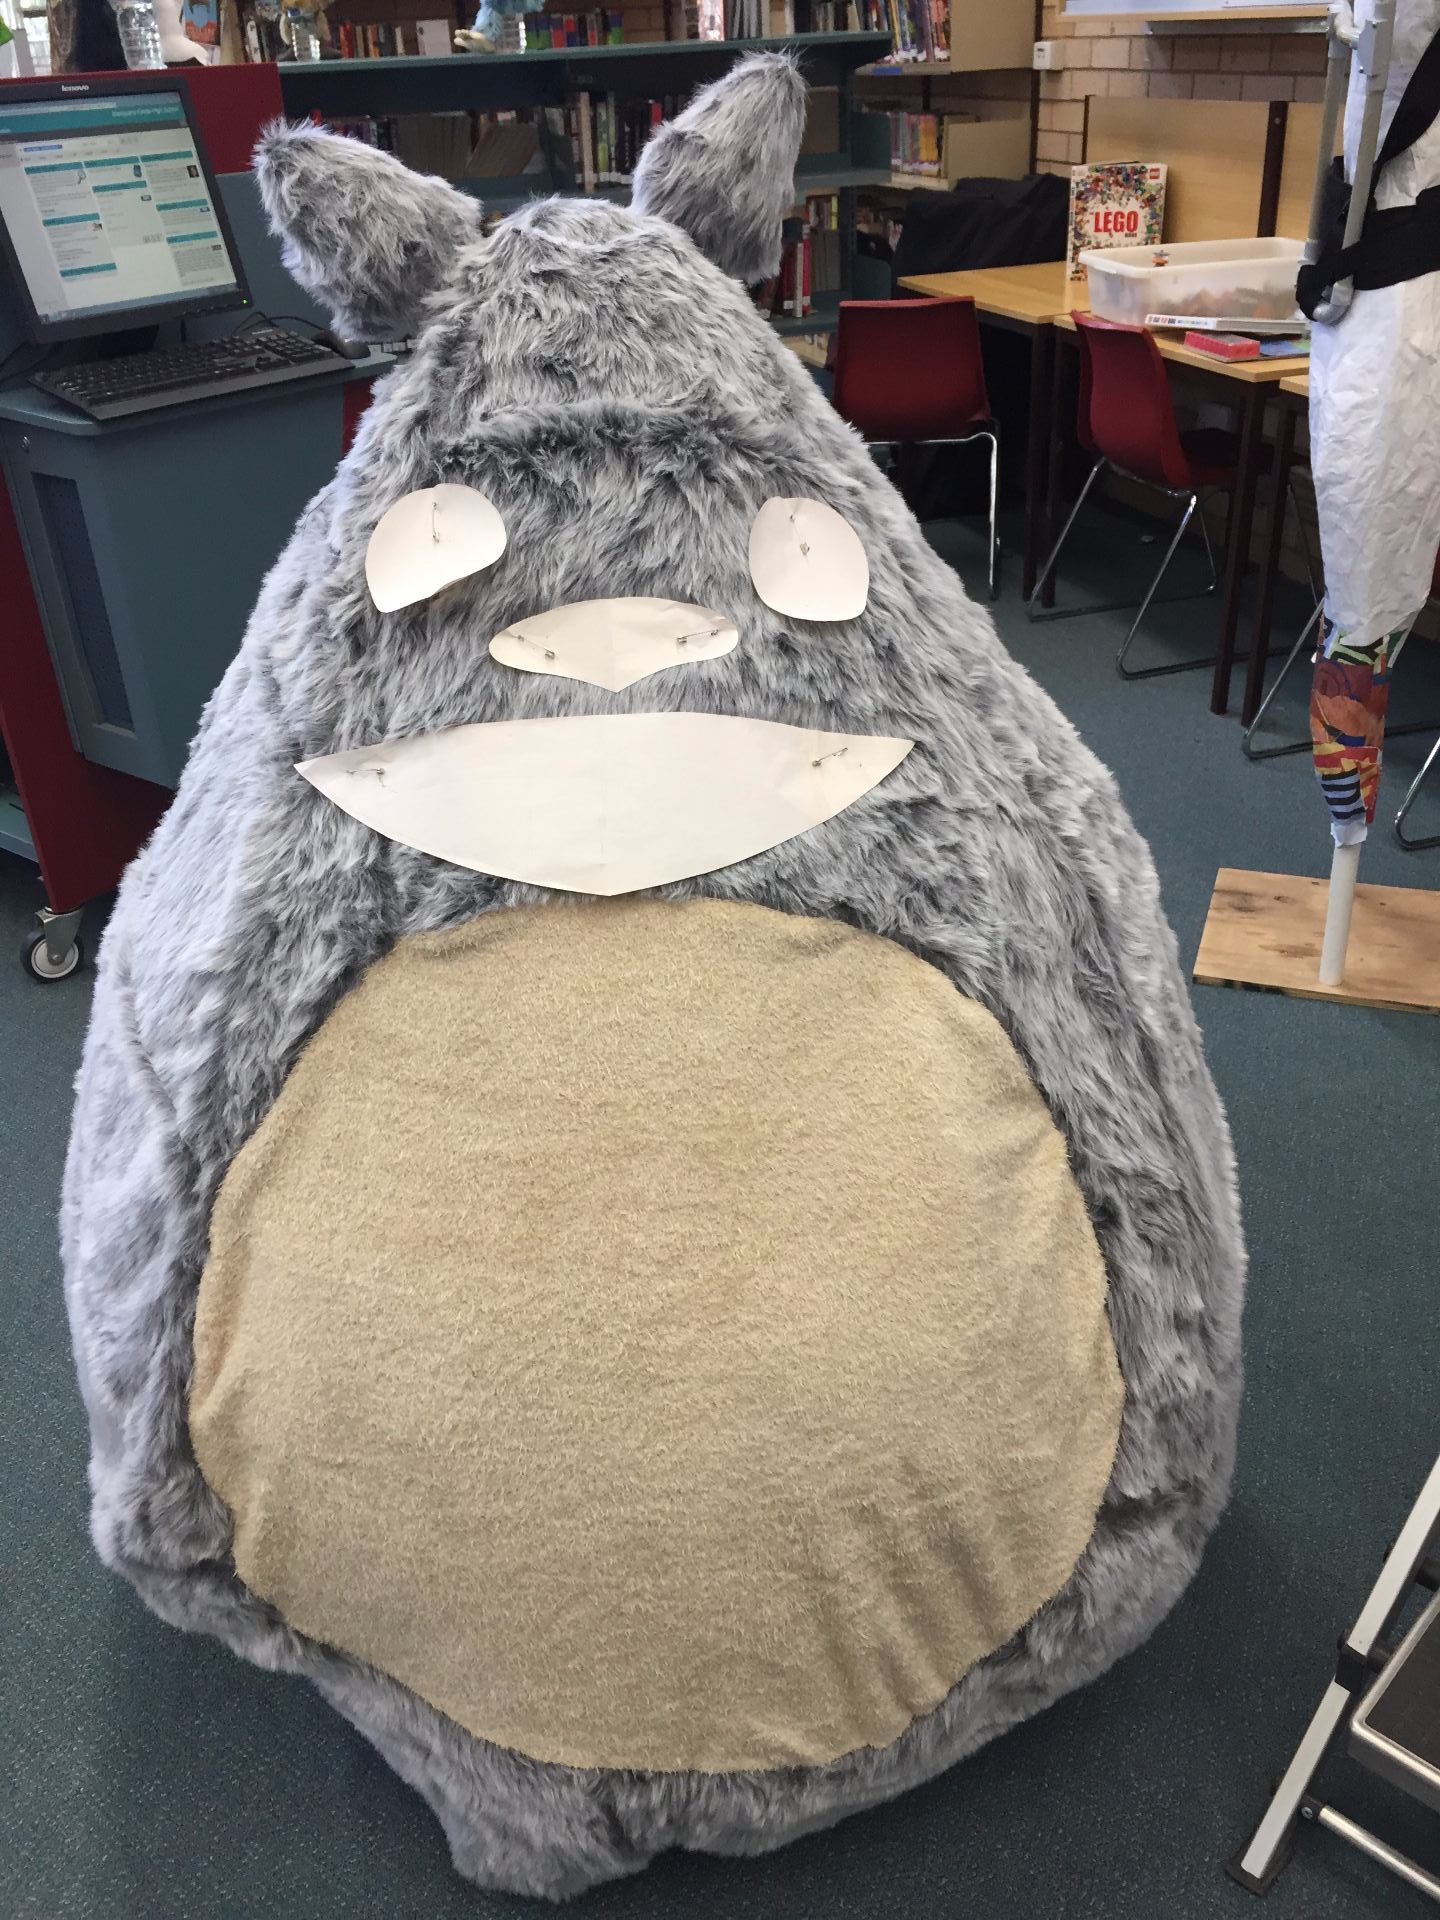
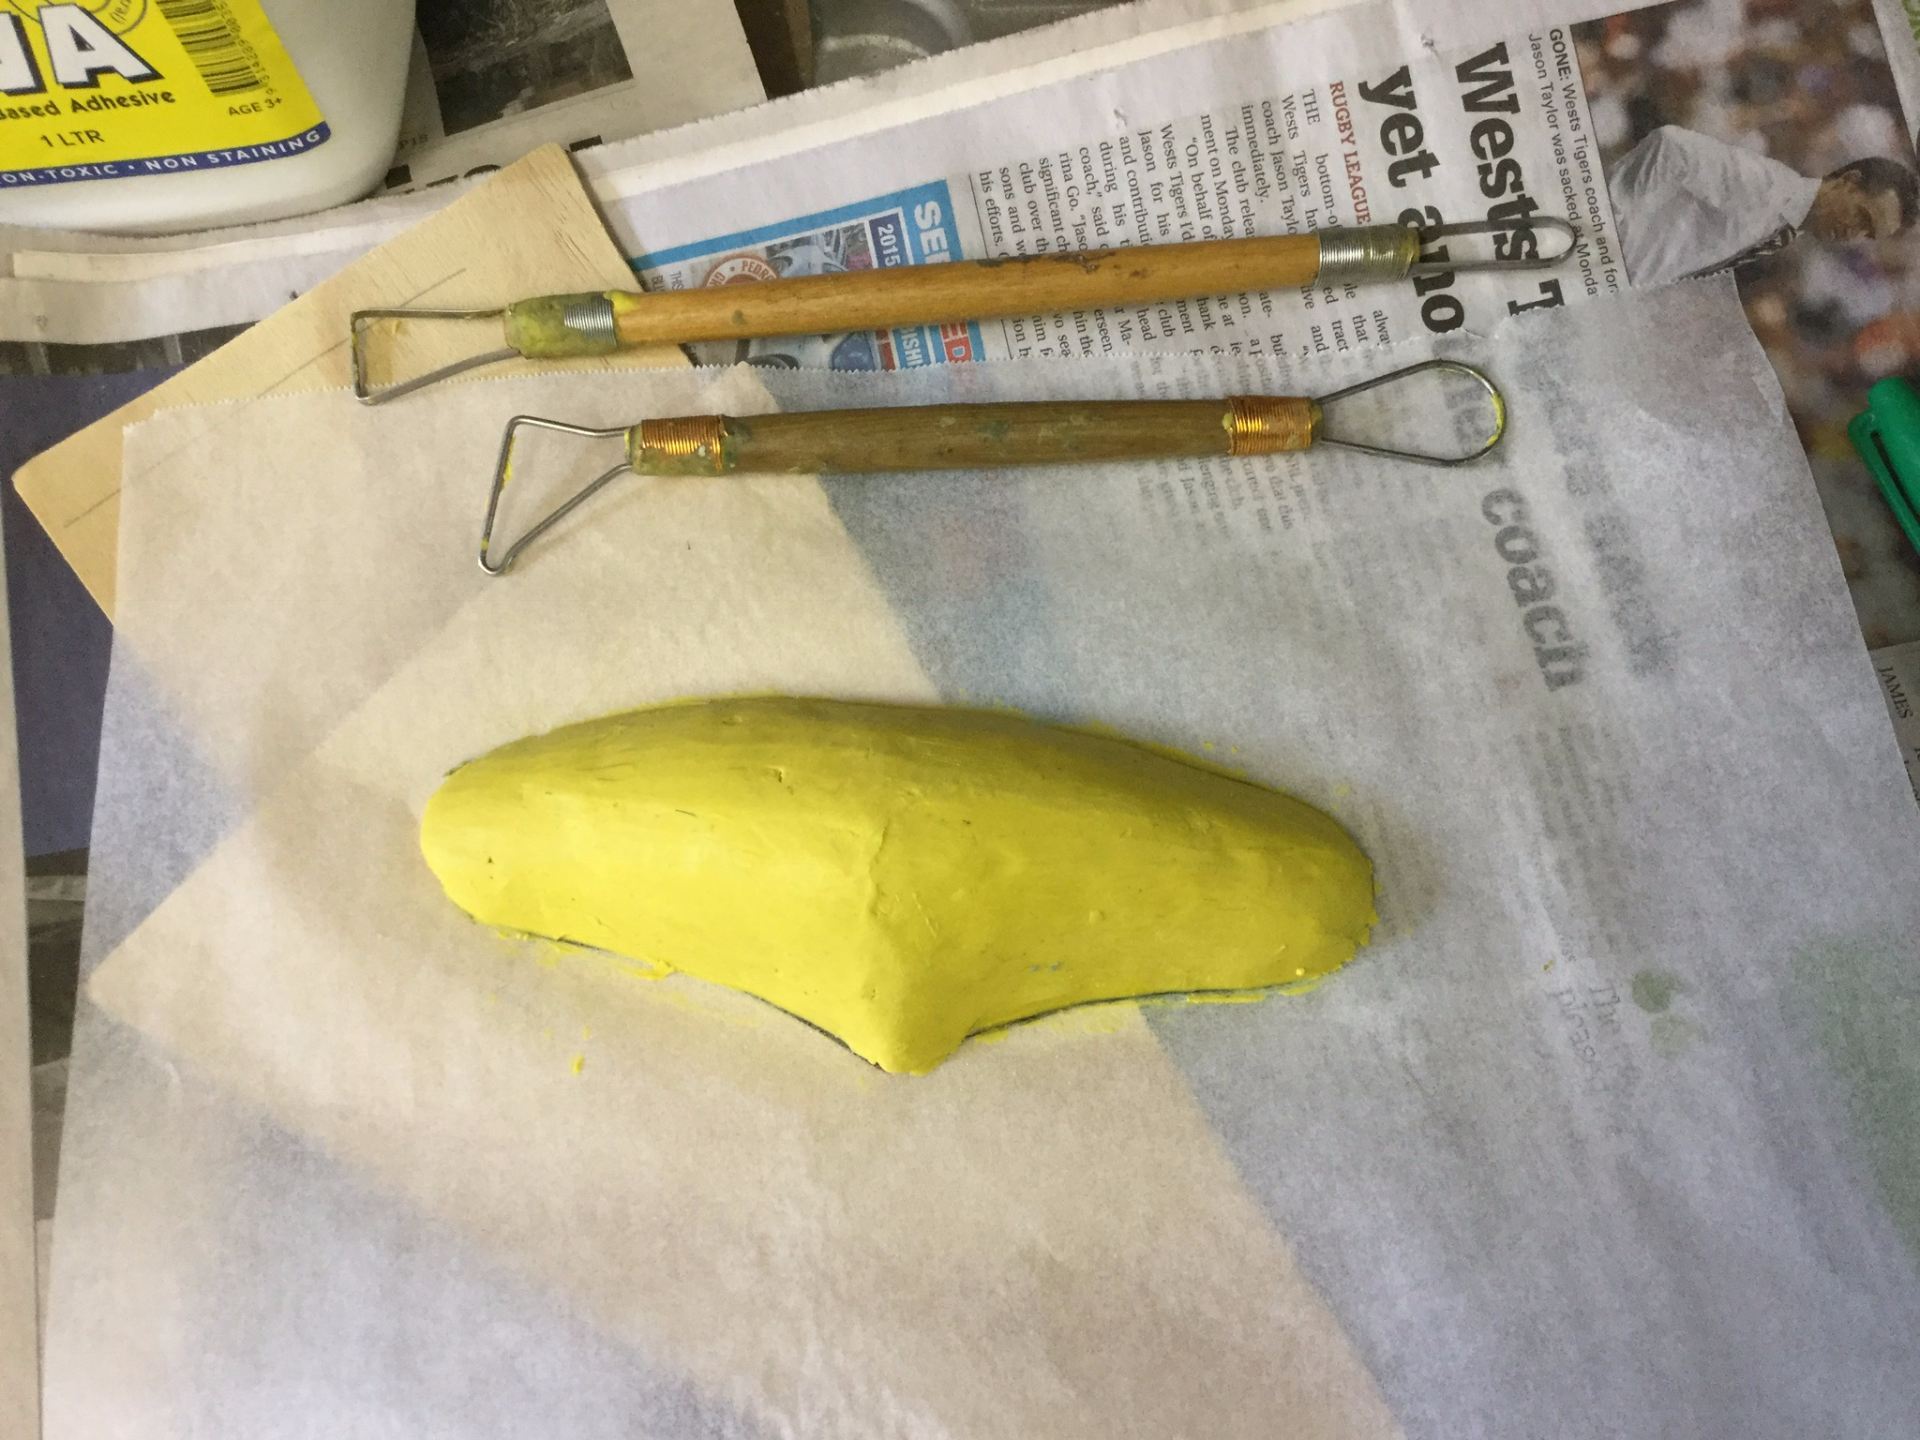
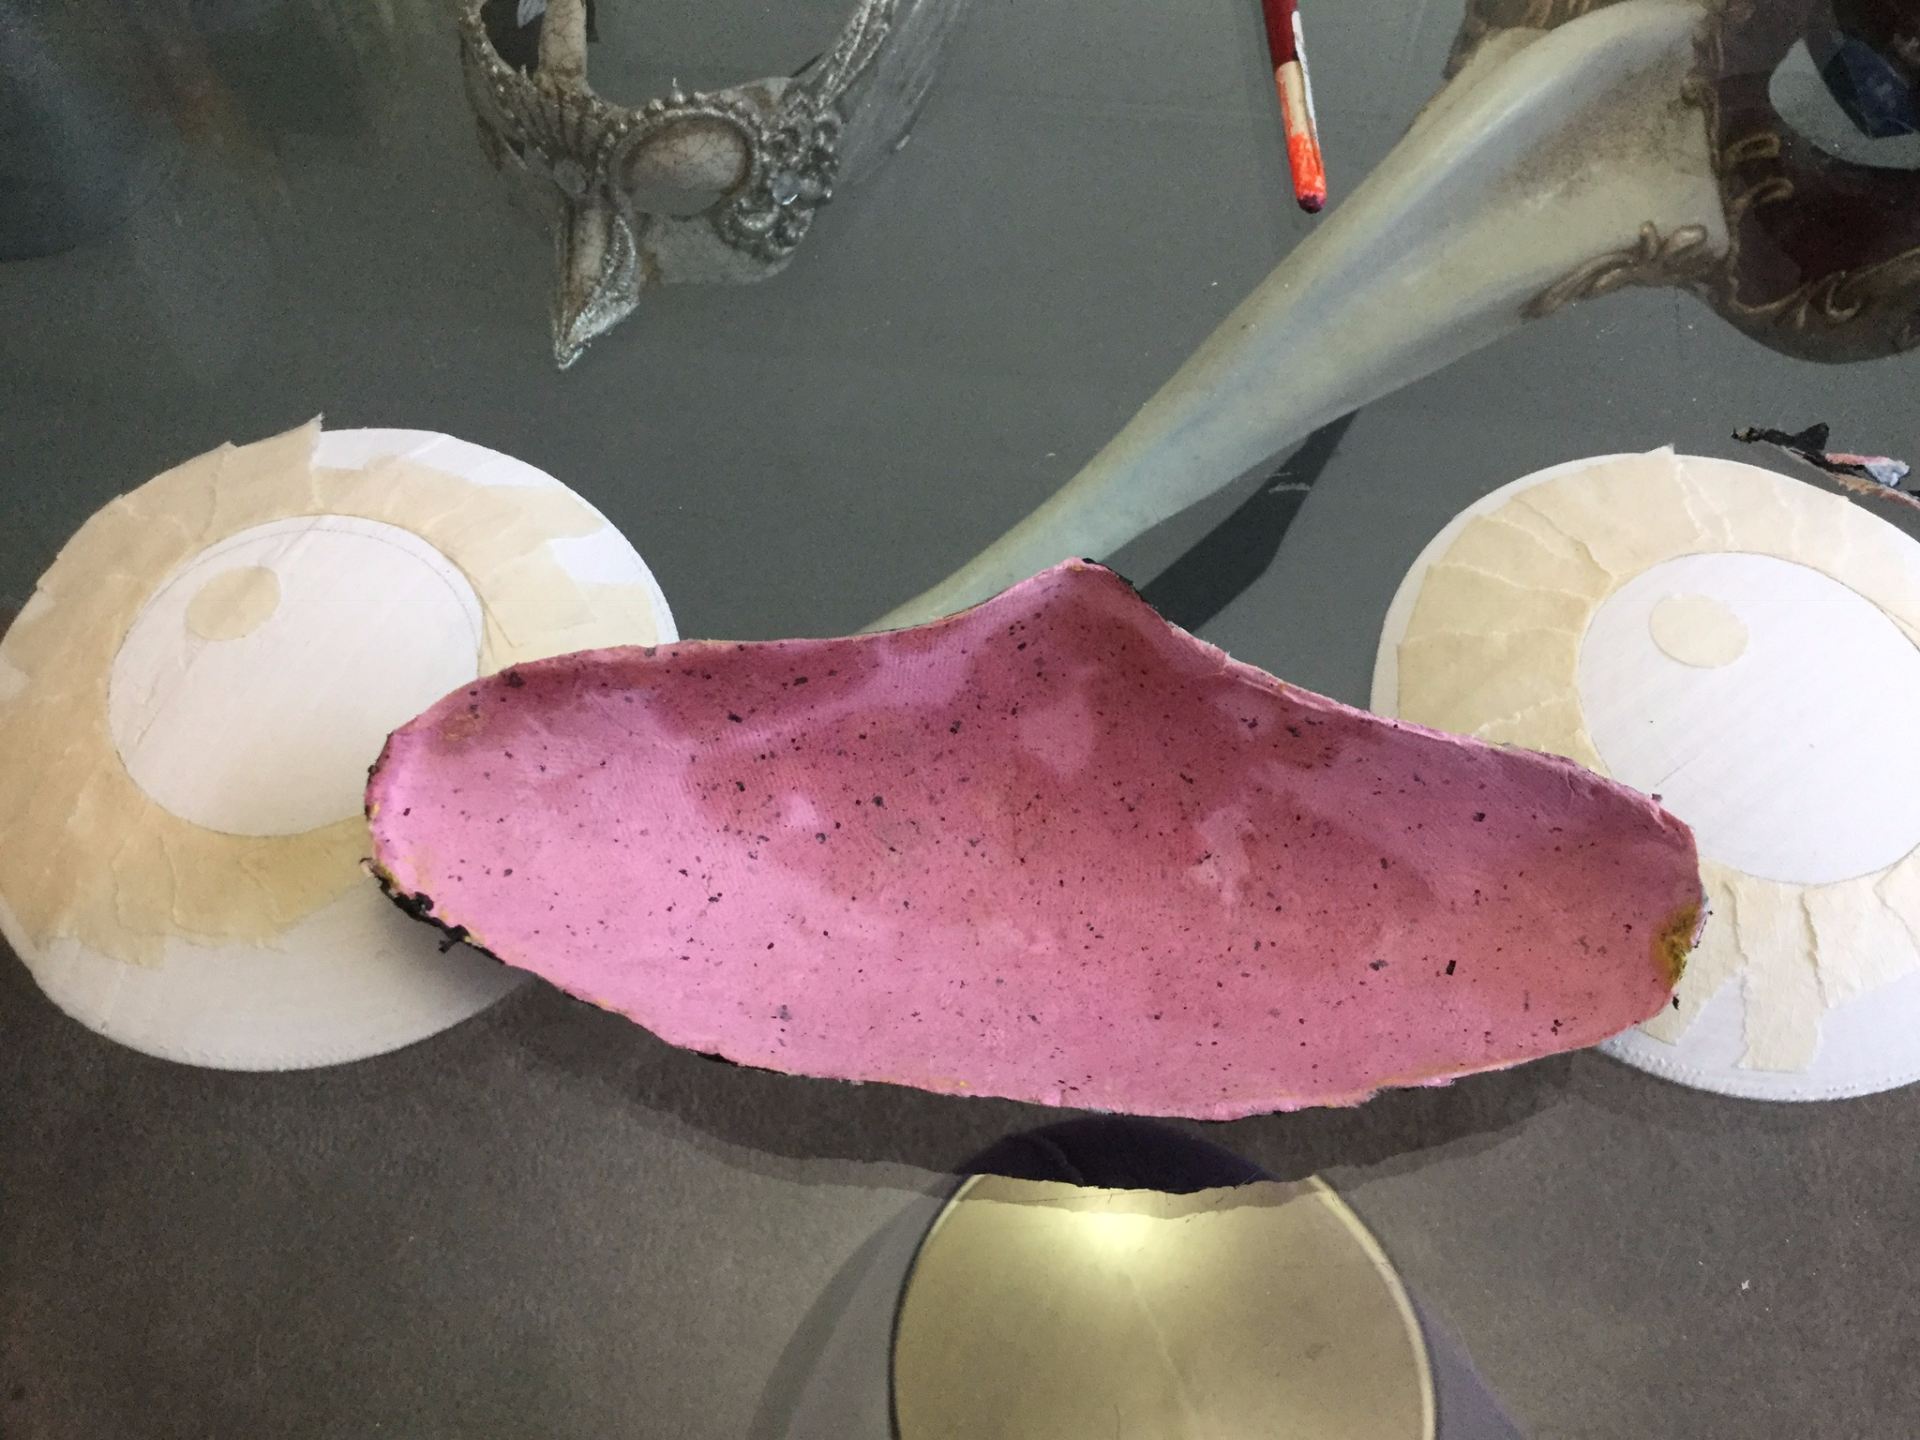
To make the nose, I used the butcher’s paper template as a guide to the overall size of the nose and built plasticine up on it. I then used four layers of my own hand made paper to cover the nose form.
I created the eye forms by modeling them on the computer and printing them out using the 3D printer. I then used black acrylic paint to create the pupils.

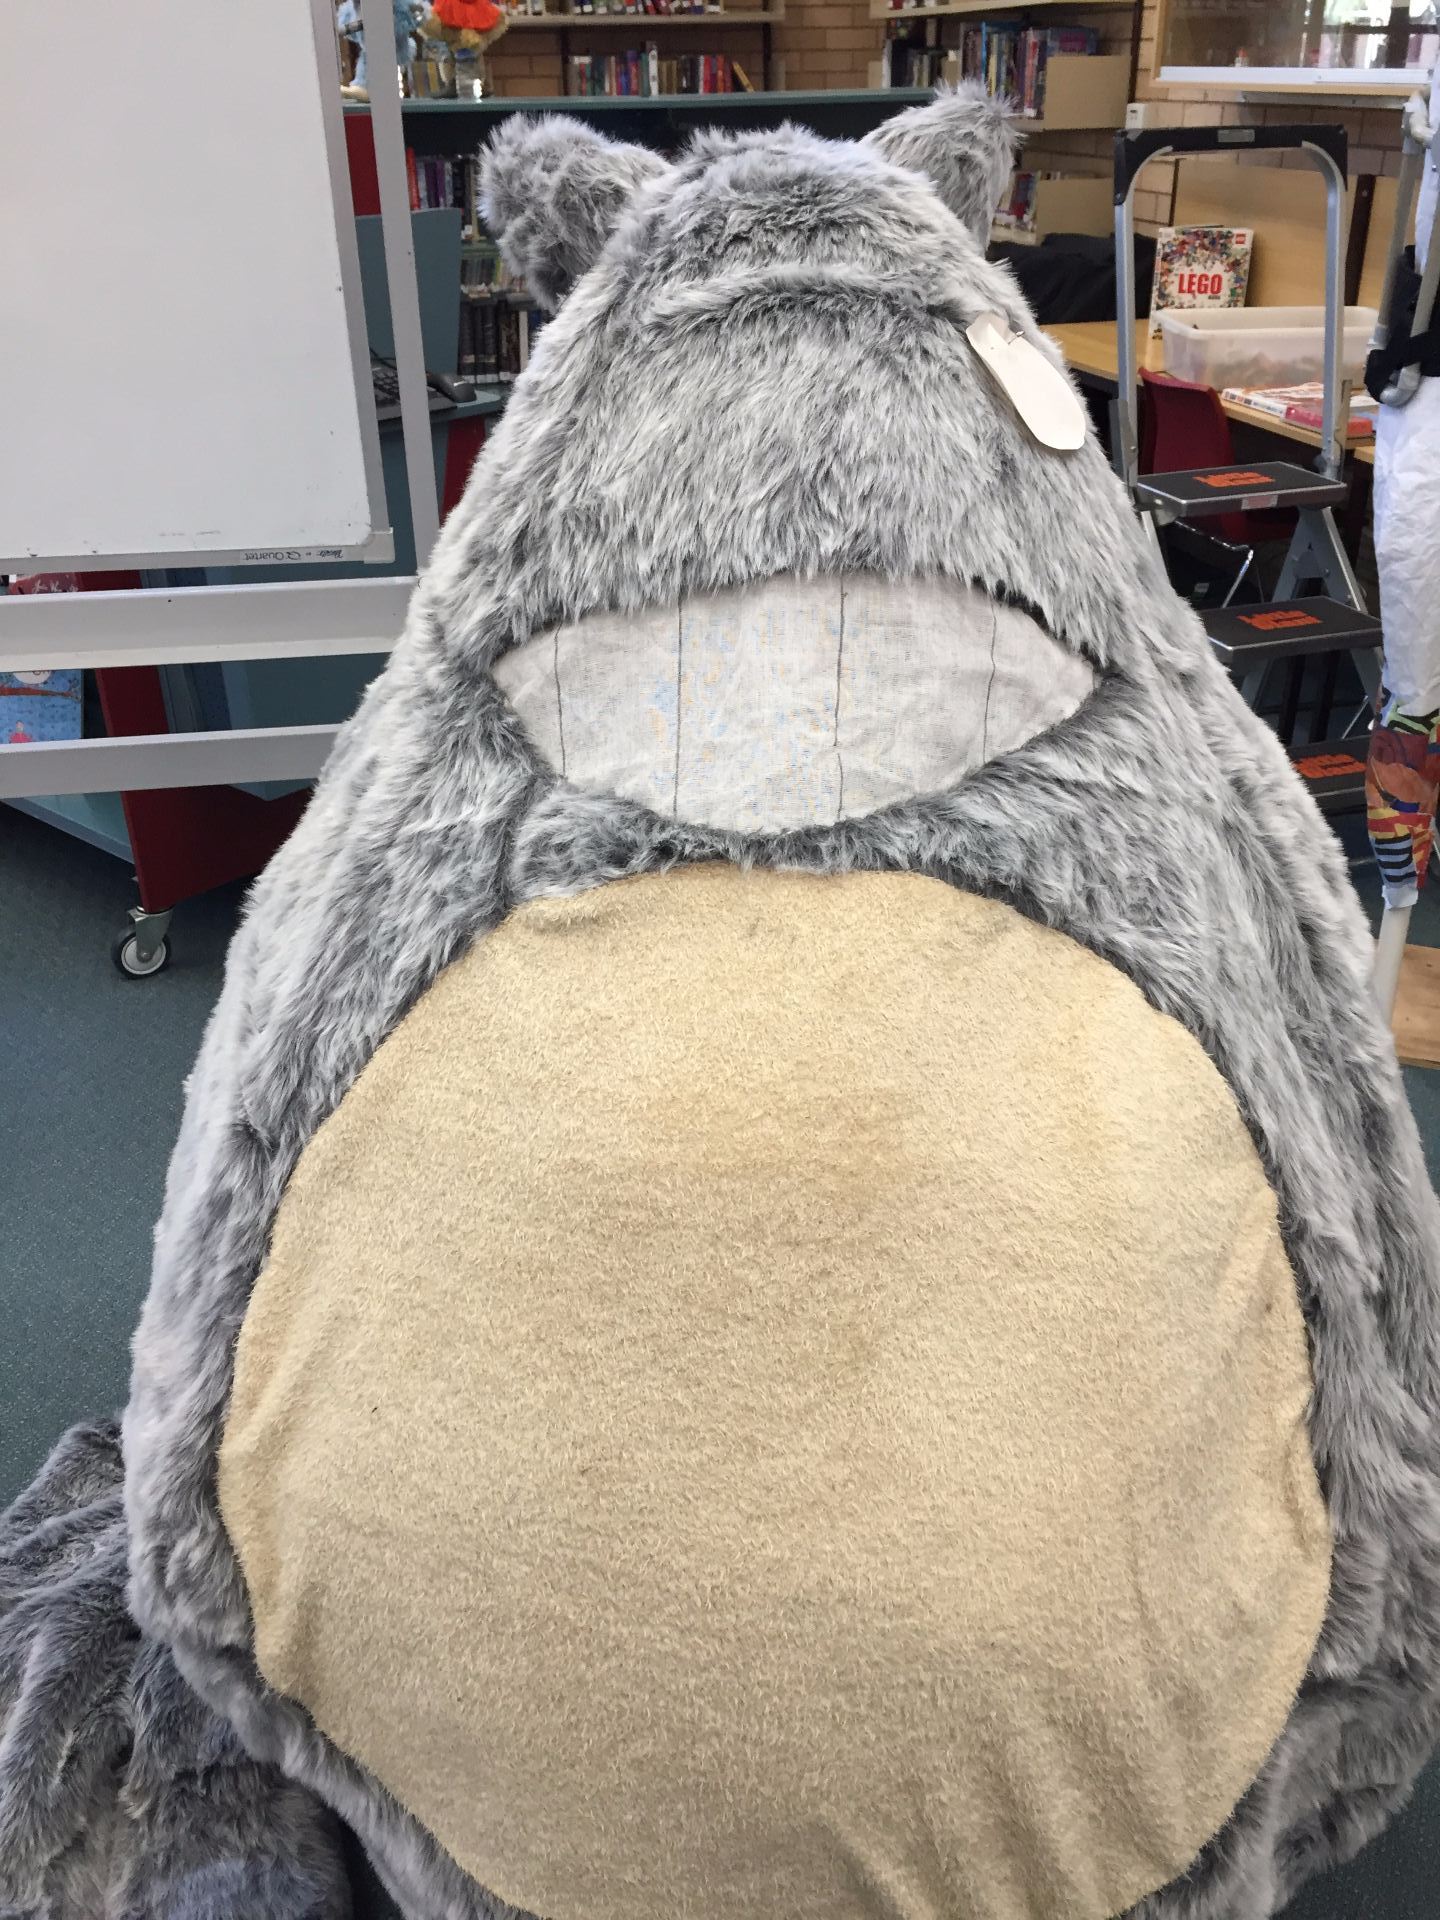
The mouth of Totoro is how I see out of the puppet. I originally used three layers of curtain netting, but it was too hard to see out of, so I removed one layer.
Totoro’s teeth were drawn onto the mesh using a black Sharpie.
To make Totoro’s whiskers, I used long, black zip ties. To attach them to the face, I cut a small slit into the fur using embroidery scissors. Then, I inserted the square end of the zip tie and glued it in place using hot glue.