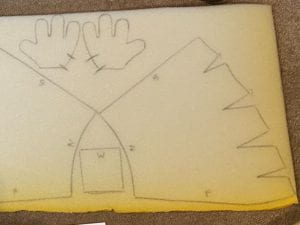
Now that the fleece is all marked out, it’s time to start construction of the foam understructure of the puppet. I tried to follow the recommended foam layout, but I discovered that the recommended layout omitted 2 of the 4 foam hands, and if I used the recommended layout, all the foam pieces wouldn’t fit. I changed the layout and managed to fit all the pattern pieces on the foam provided.
My next process was to make the rigid mouth plate that goes into the puppet. For some unknown reason, my bandsaw is not working, so instead of using the provided plywood, I decided to switch to Sintra plastic sheets which is what I normally use for puppet mouth plates as Sintra can be cut with a blade.
It was when I started reading the instruction booklet for making the mouth plate for this kit, that I came to the conclusion that this kit is not for first time puppet makers. The instructions were vague on the relationship between the size and shape of the velour pattern, and the gap between the mouth plate pieces. The size of the velour pattern must be the same as the length of the mouth plate, but these are not covered in detail in the instructions.
The process I followed was-
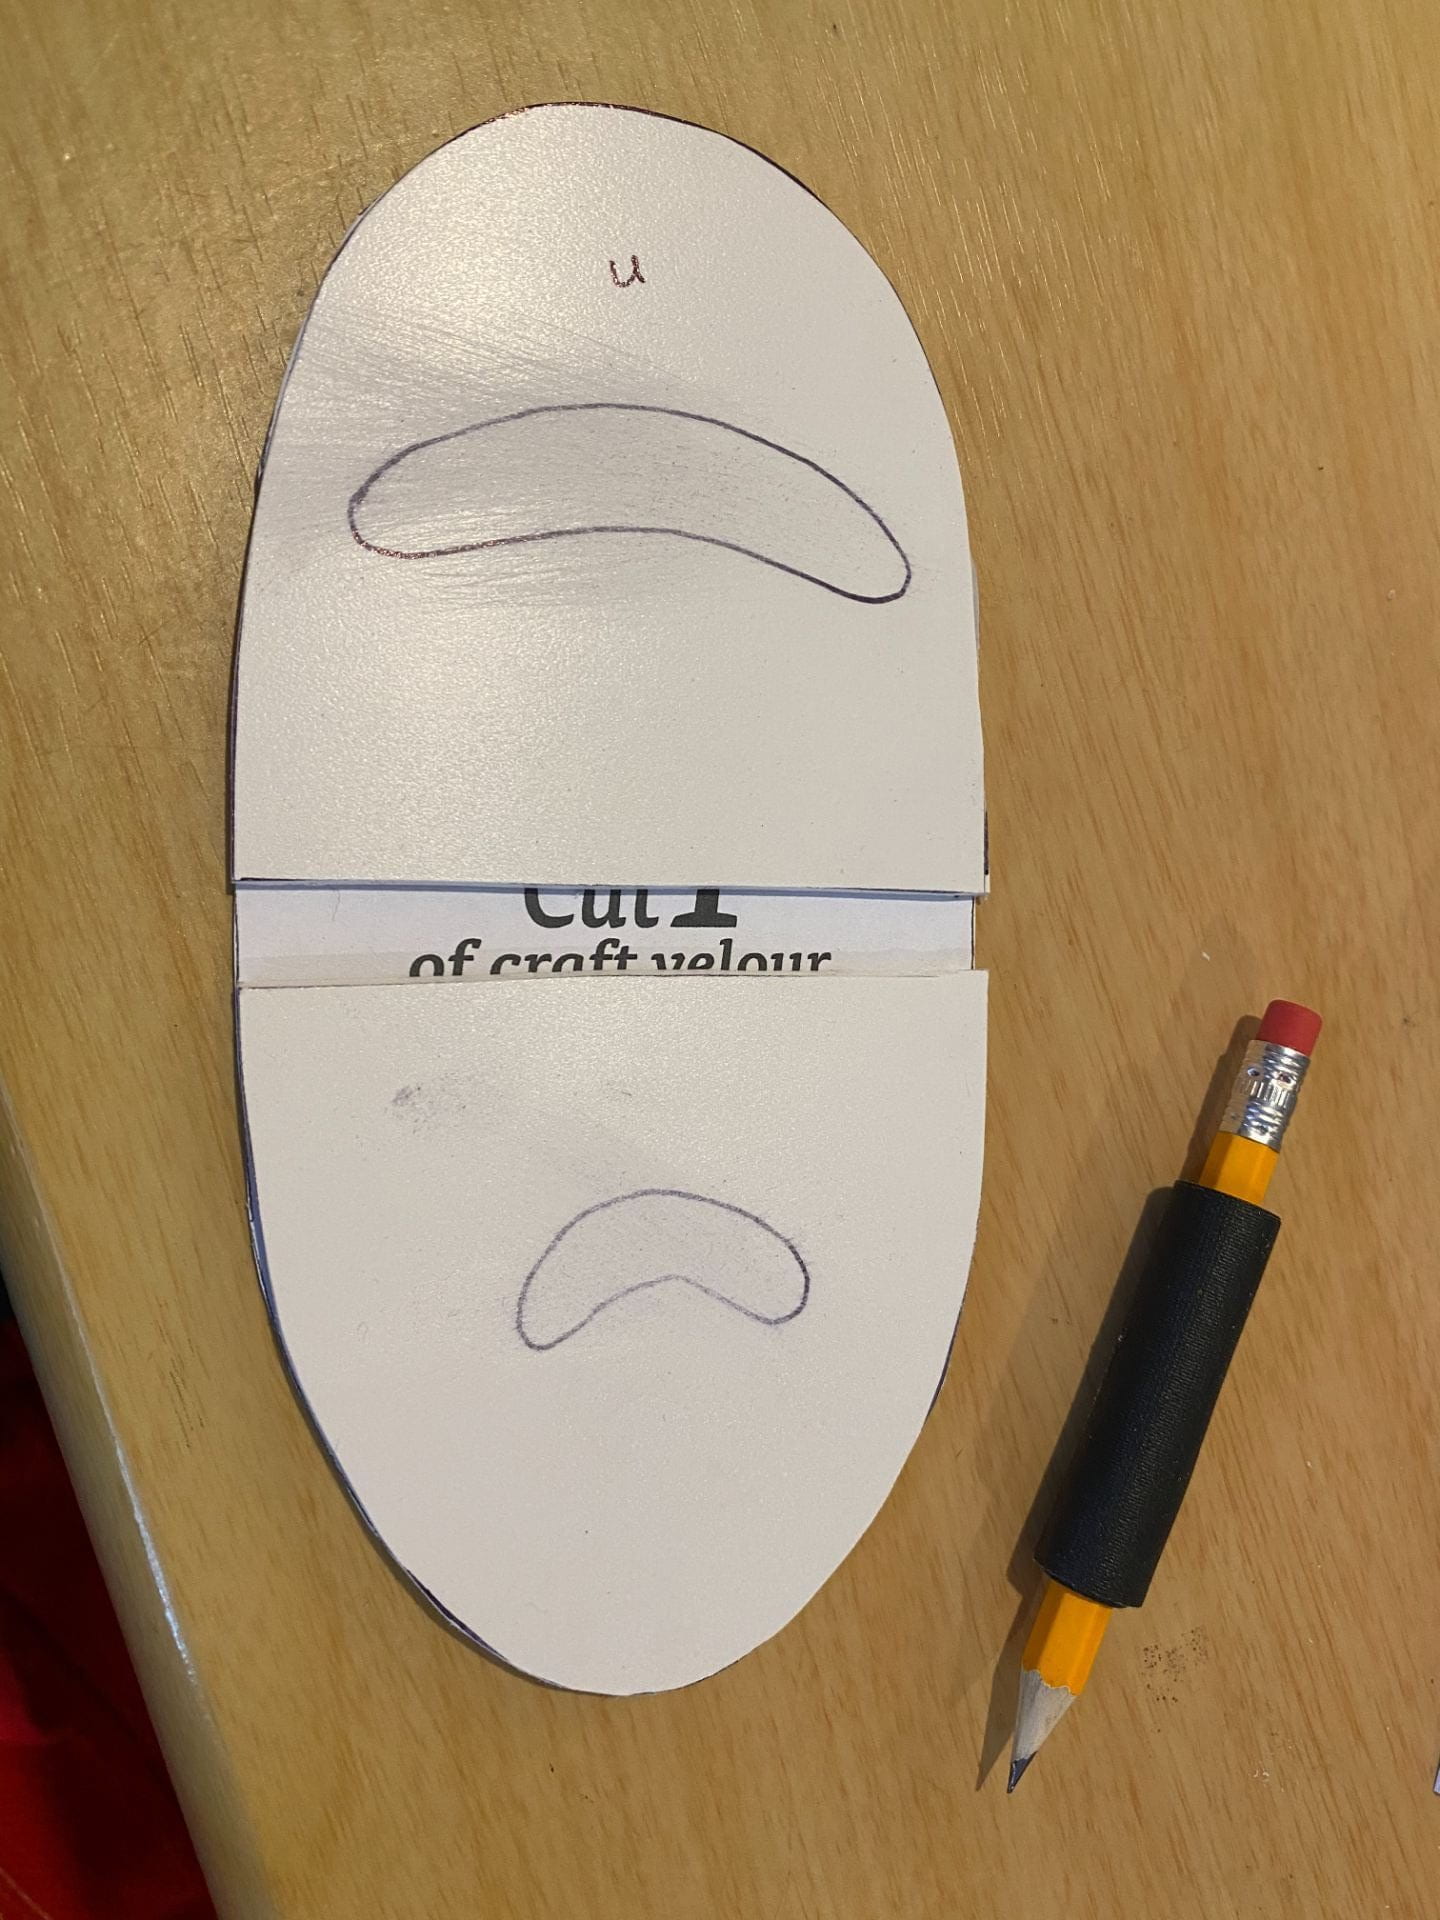
- Lay the plates on top of the velour pattern piece to find where the gap is.
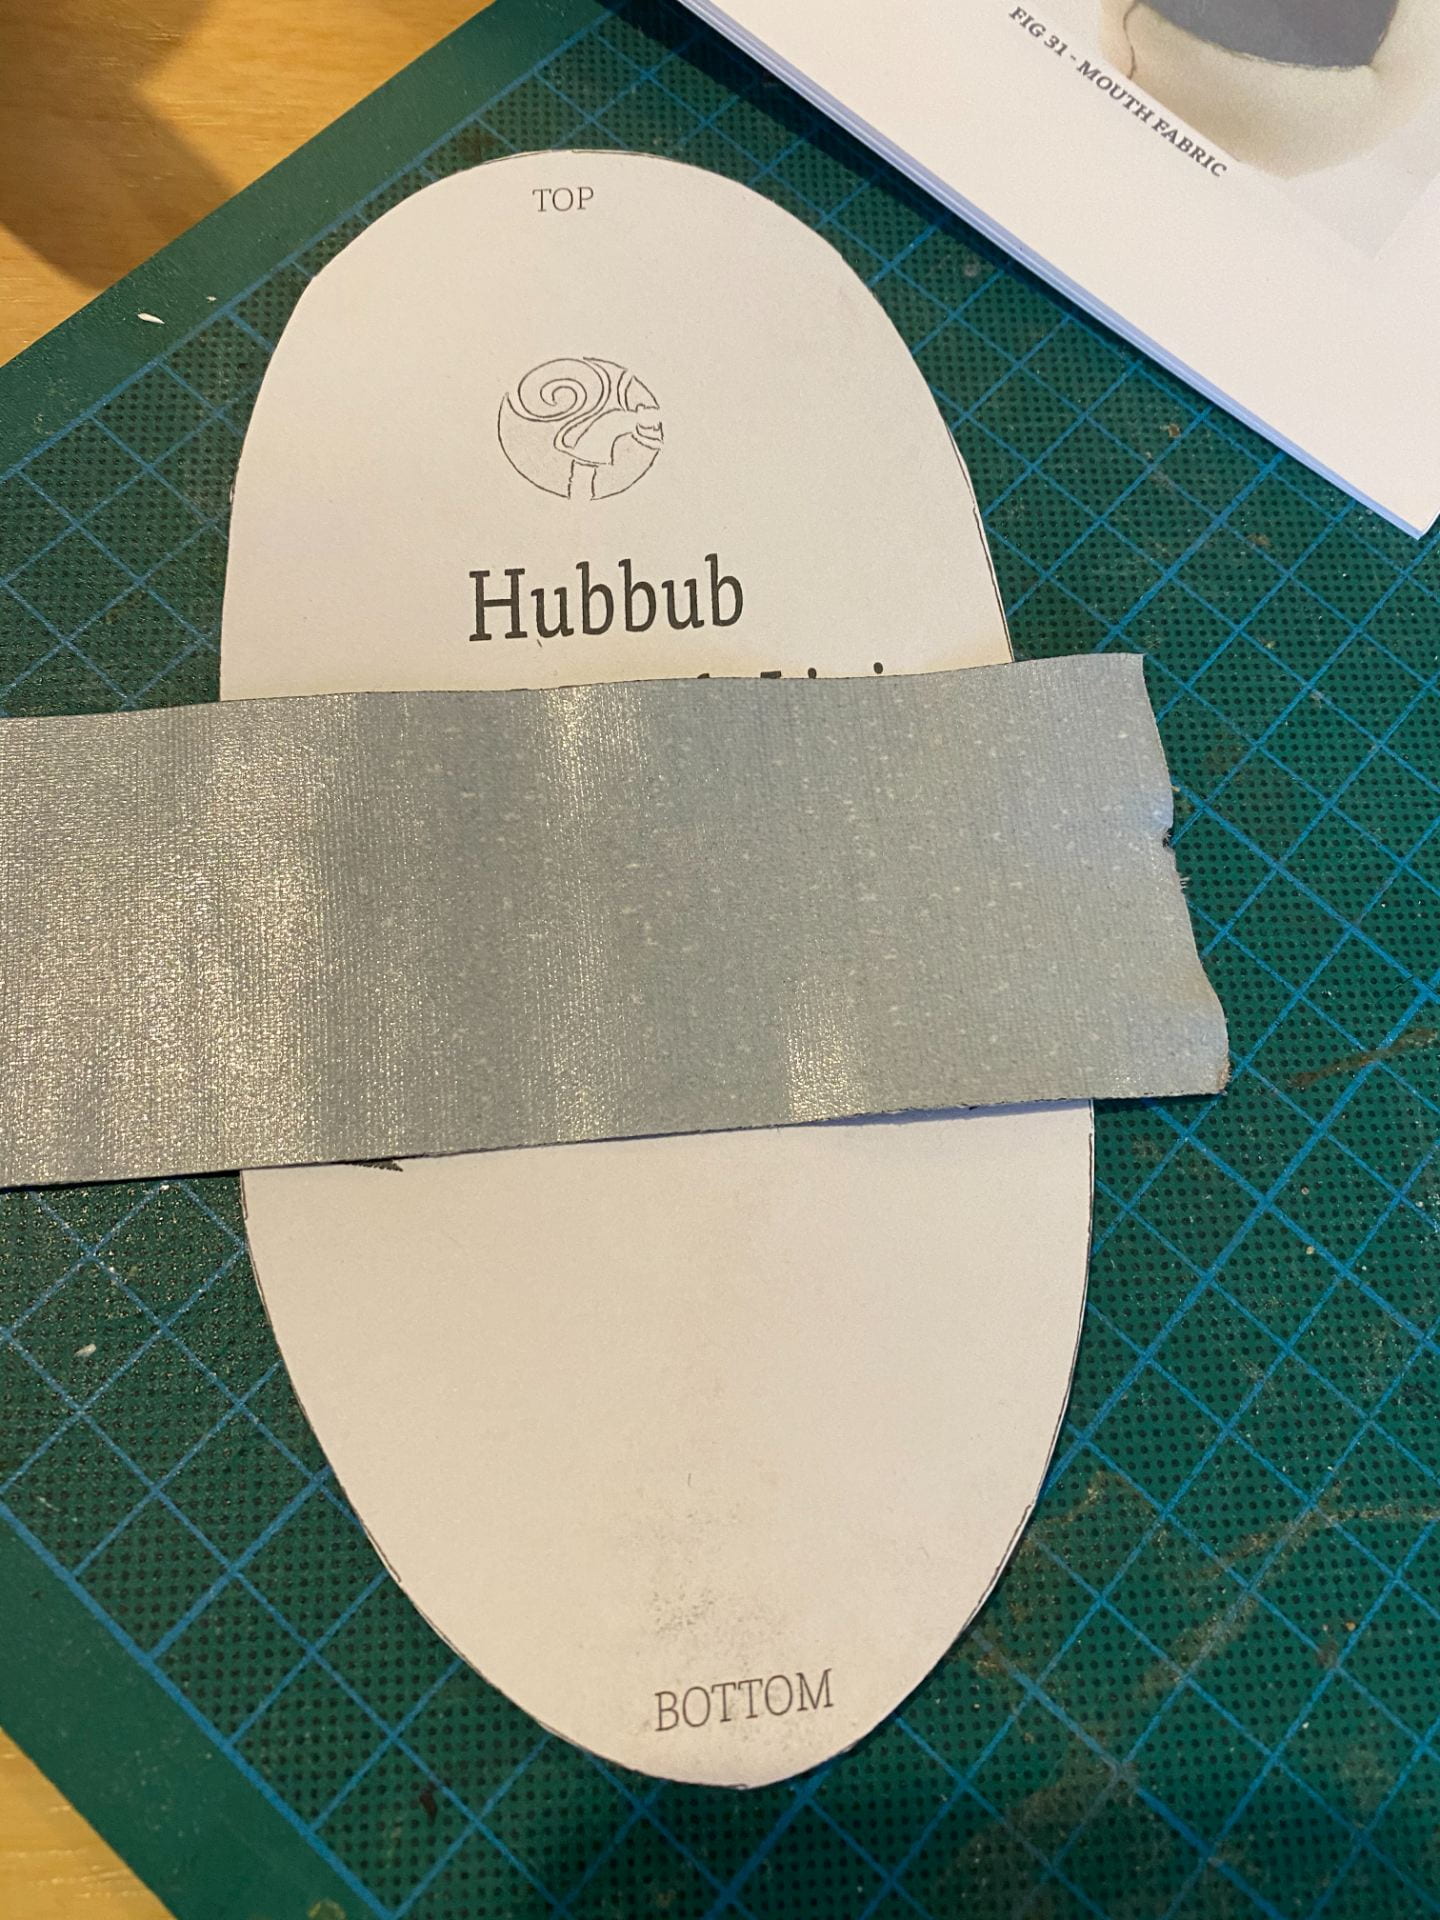
- Lay a piece of gaffer tape on top of the velour pattern piece sticky side up where that gap will be
- Lay each piece of the plate on top aligning the edges with the pattern piece and pressing it down onto the gaffer tape.
- Flip the assembly over and attach the second piece of gaffer tape ensuring that the tape wraps around the edges of the mouthplate gap.
Using this method allowed me to get the gap proportions right for this pattern since the dimensions are not outlined in the instructions.
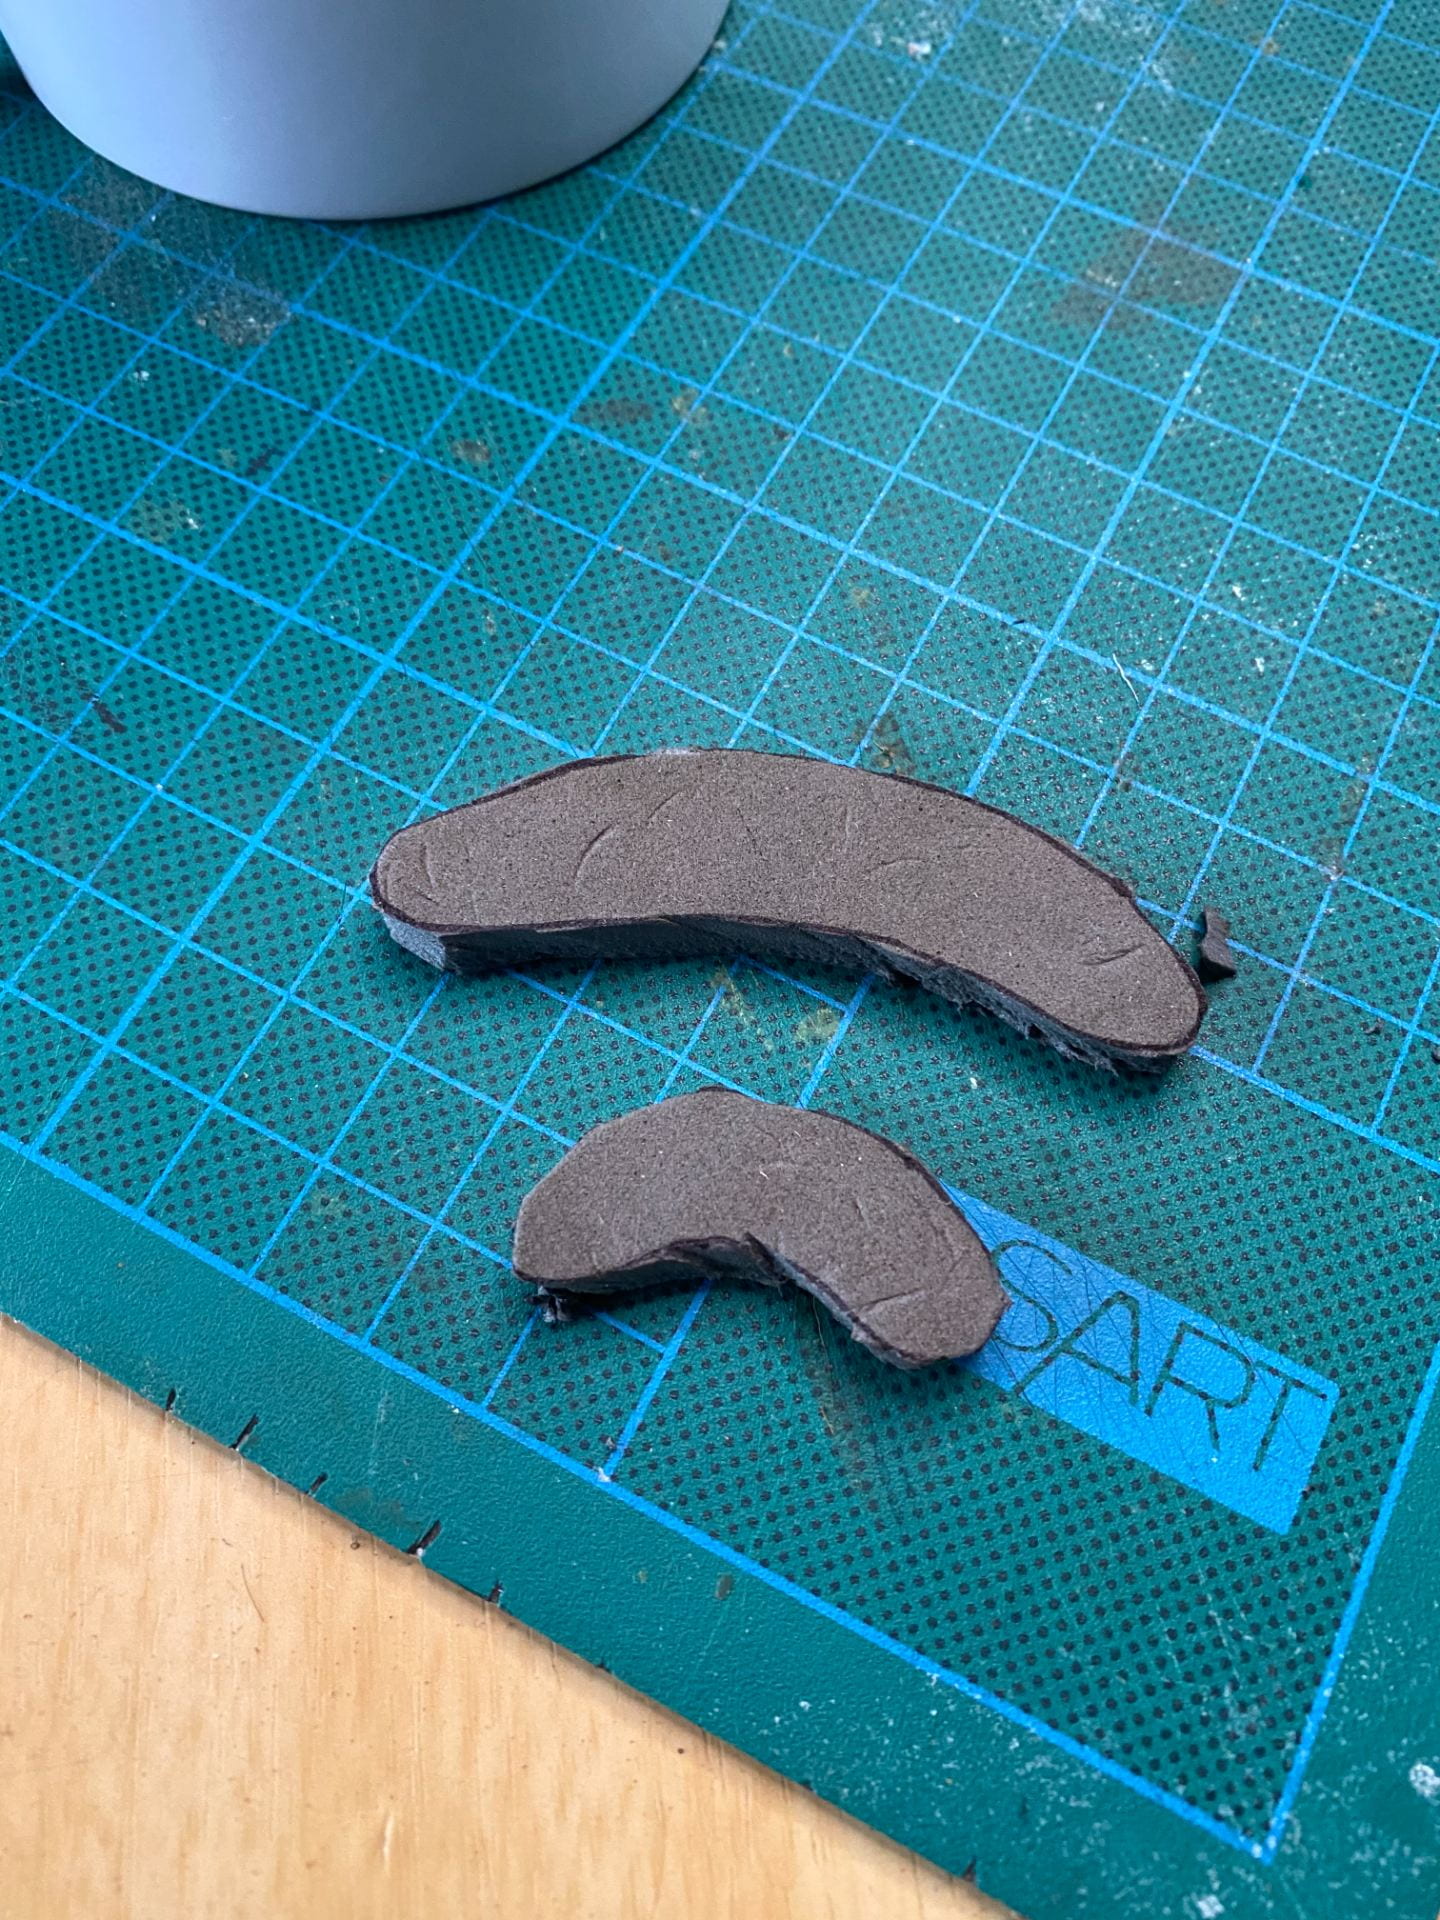
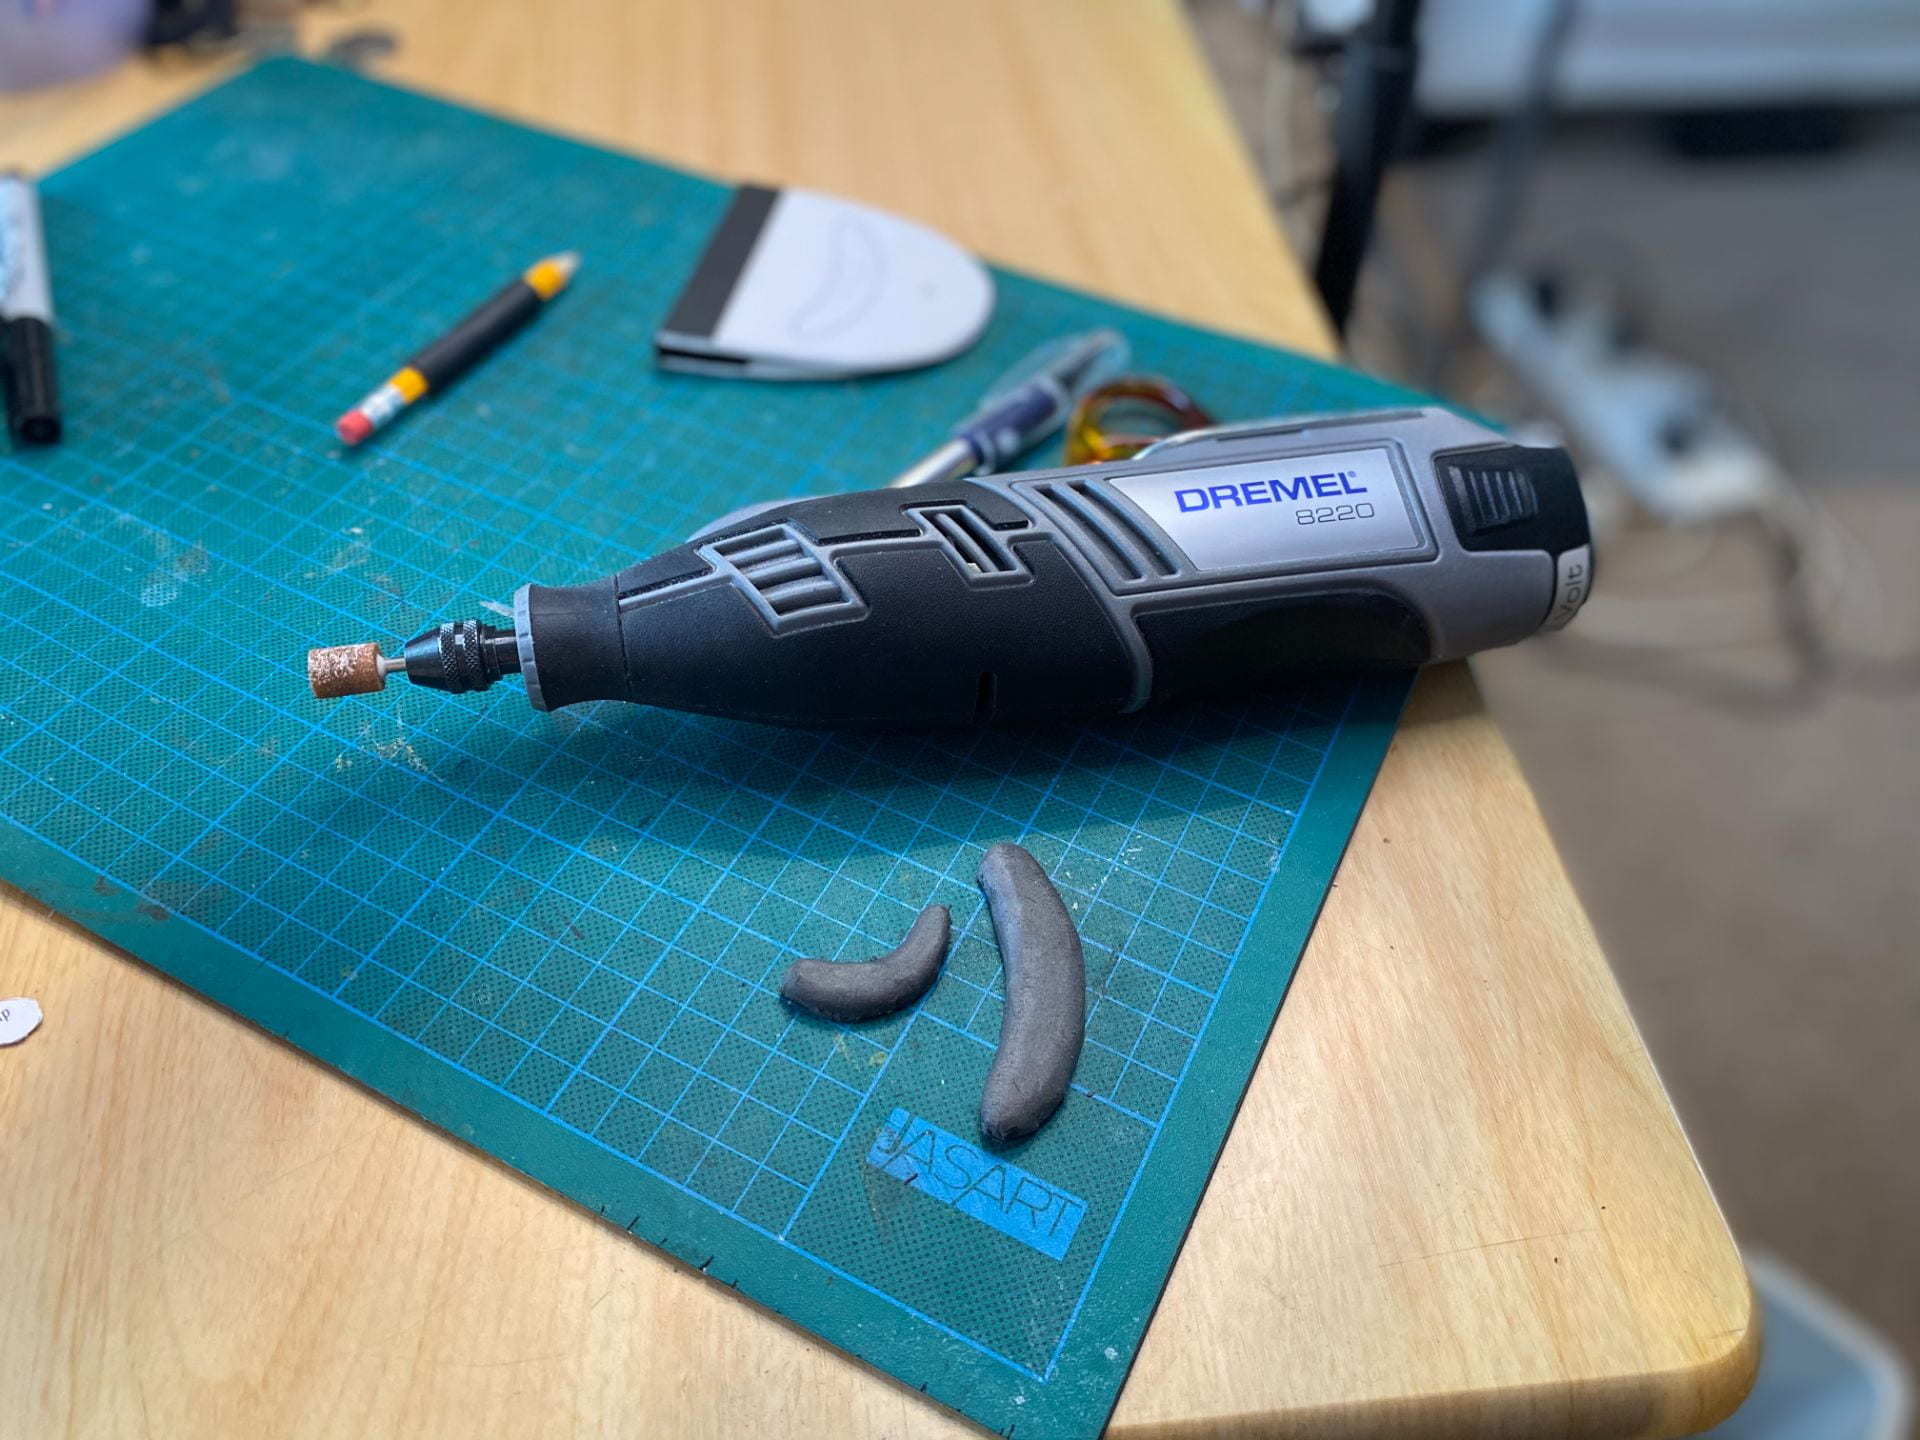
Once the plate was assembled, I used my cordless Dremel to round off the top edges of the finger grips. I then sanded the mouth plates where the grips would be located and used contact cement to glue the grips down.
Katherine

